Building a Virginal: The Lid and Music Stand
April 12, 2023
Roscoe, N.Y.
The lid for the Troubadour Virginal is optional, but I knew I wanted one, and yesterday and today — Virginal Construction Days 11 and 12 — were partially devoted to getting the lid onto the case. Much of the work I’m doing these days is leading up to applying a finish to the case, which is still uncertain. I know I’m going to shellac it, but after that I don’t know.
Preparation for shellacking involves sanding, which is something I find annoying because I don’t know how much is enough and when I should stop. Cleaning up the case is another prerequisite, and ever since I marked up my soundboard with carbon paper, I’ve been wondering how to get rid of it. I tried sandpaper, and that worked slowly, but I saw on the internet I could use toothpaste, and that worked quite well:
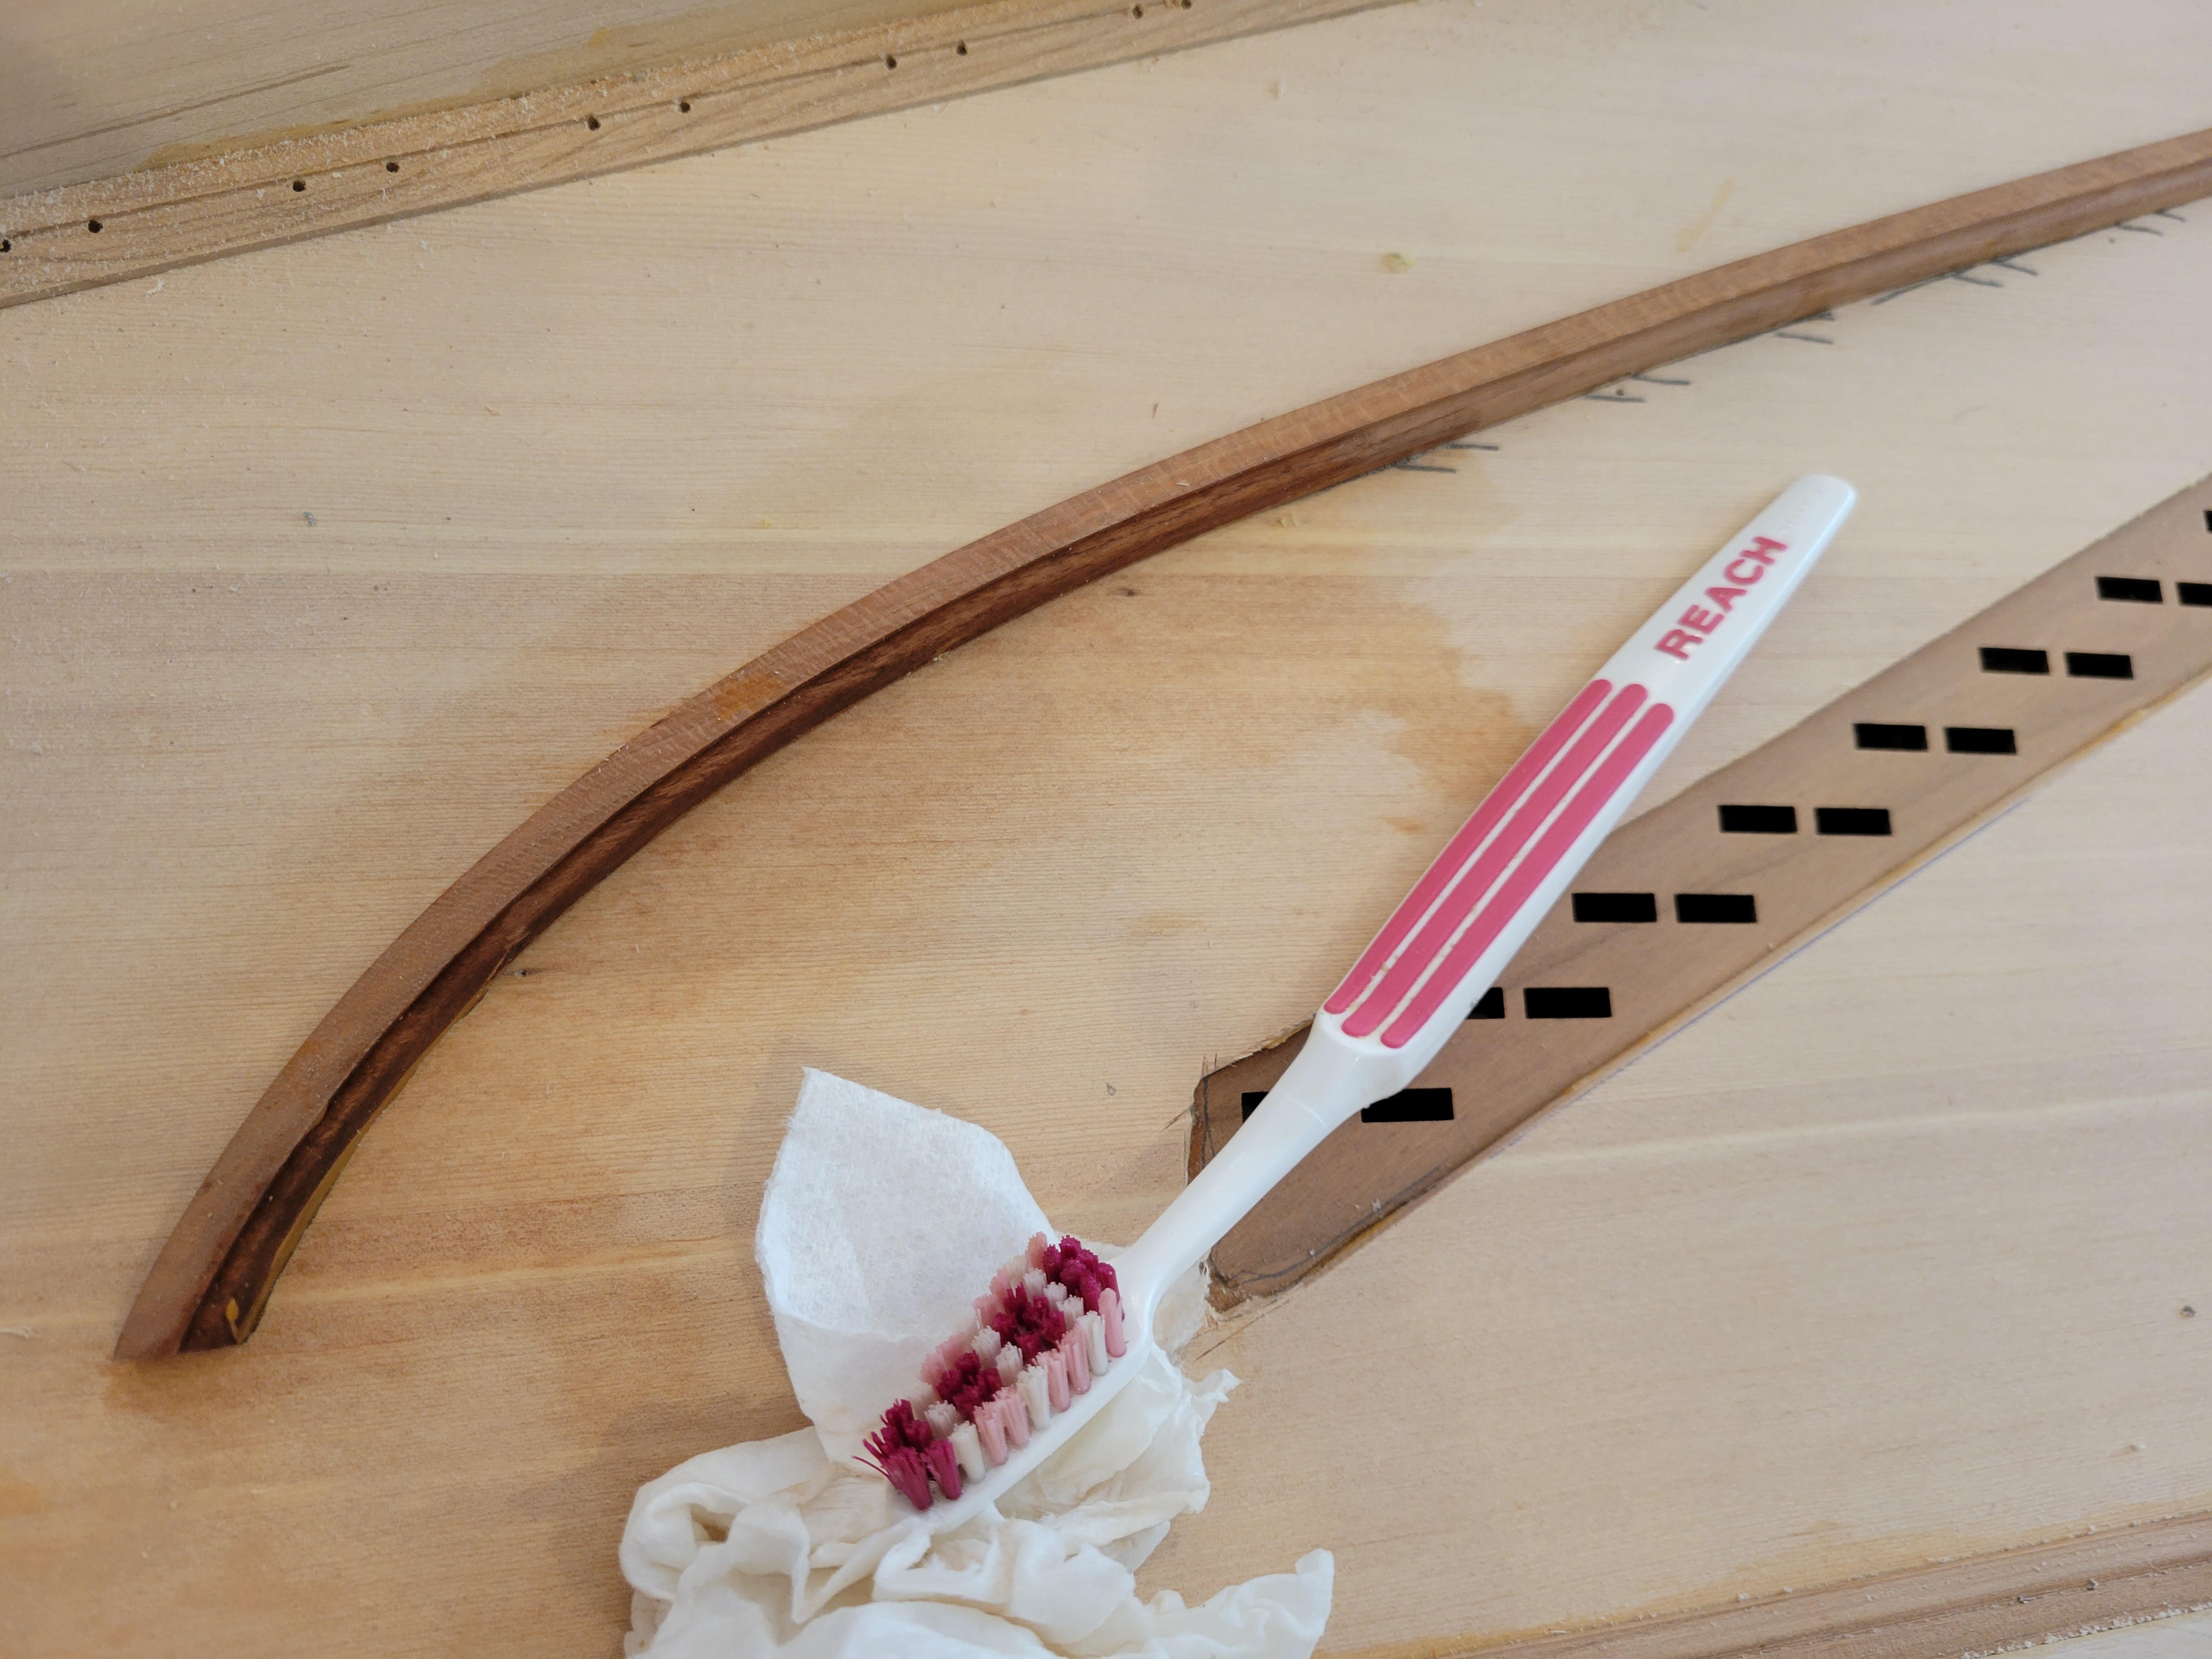
I should have known, because I’ve been using toothpaste to clean carbon paper marks from my teeth for decades. The soundboard got a little damp in the process — because everybody knows you’re supposed to wet the brush — but it dried quickly.
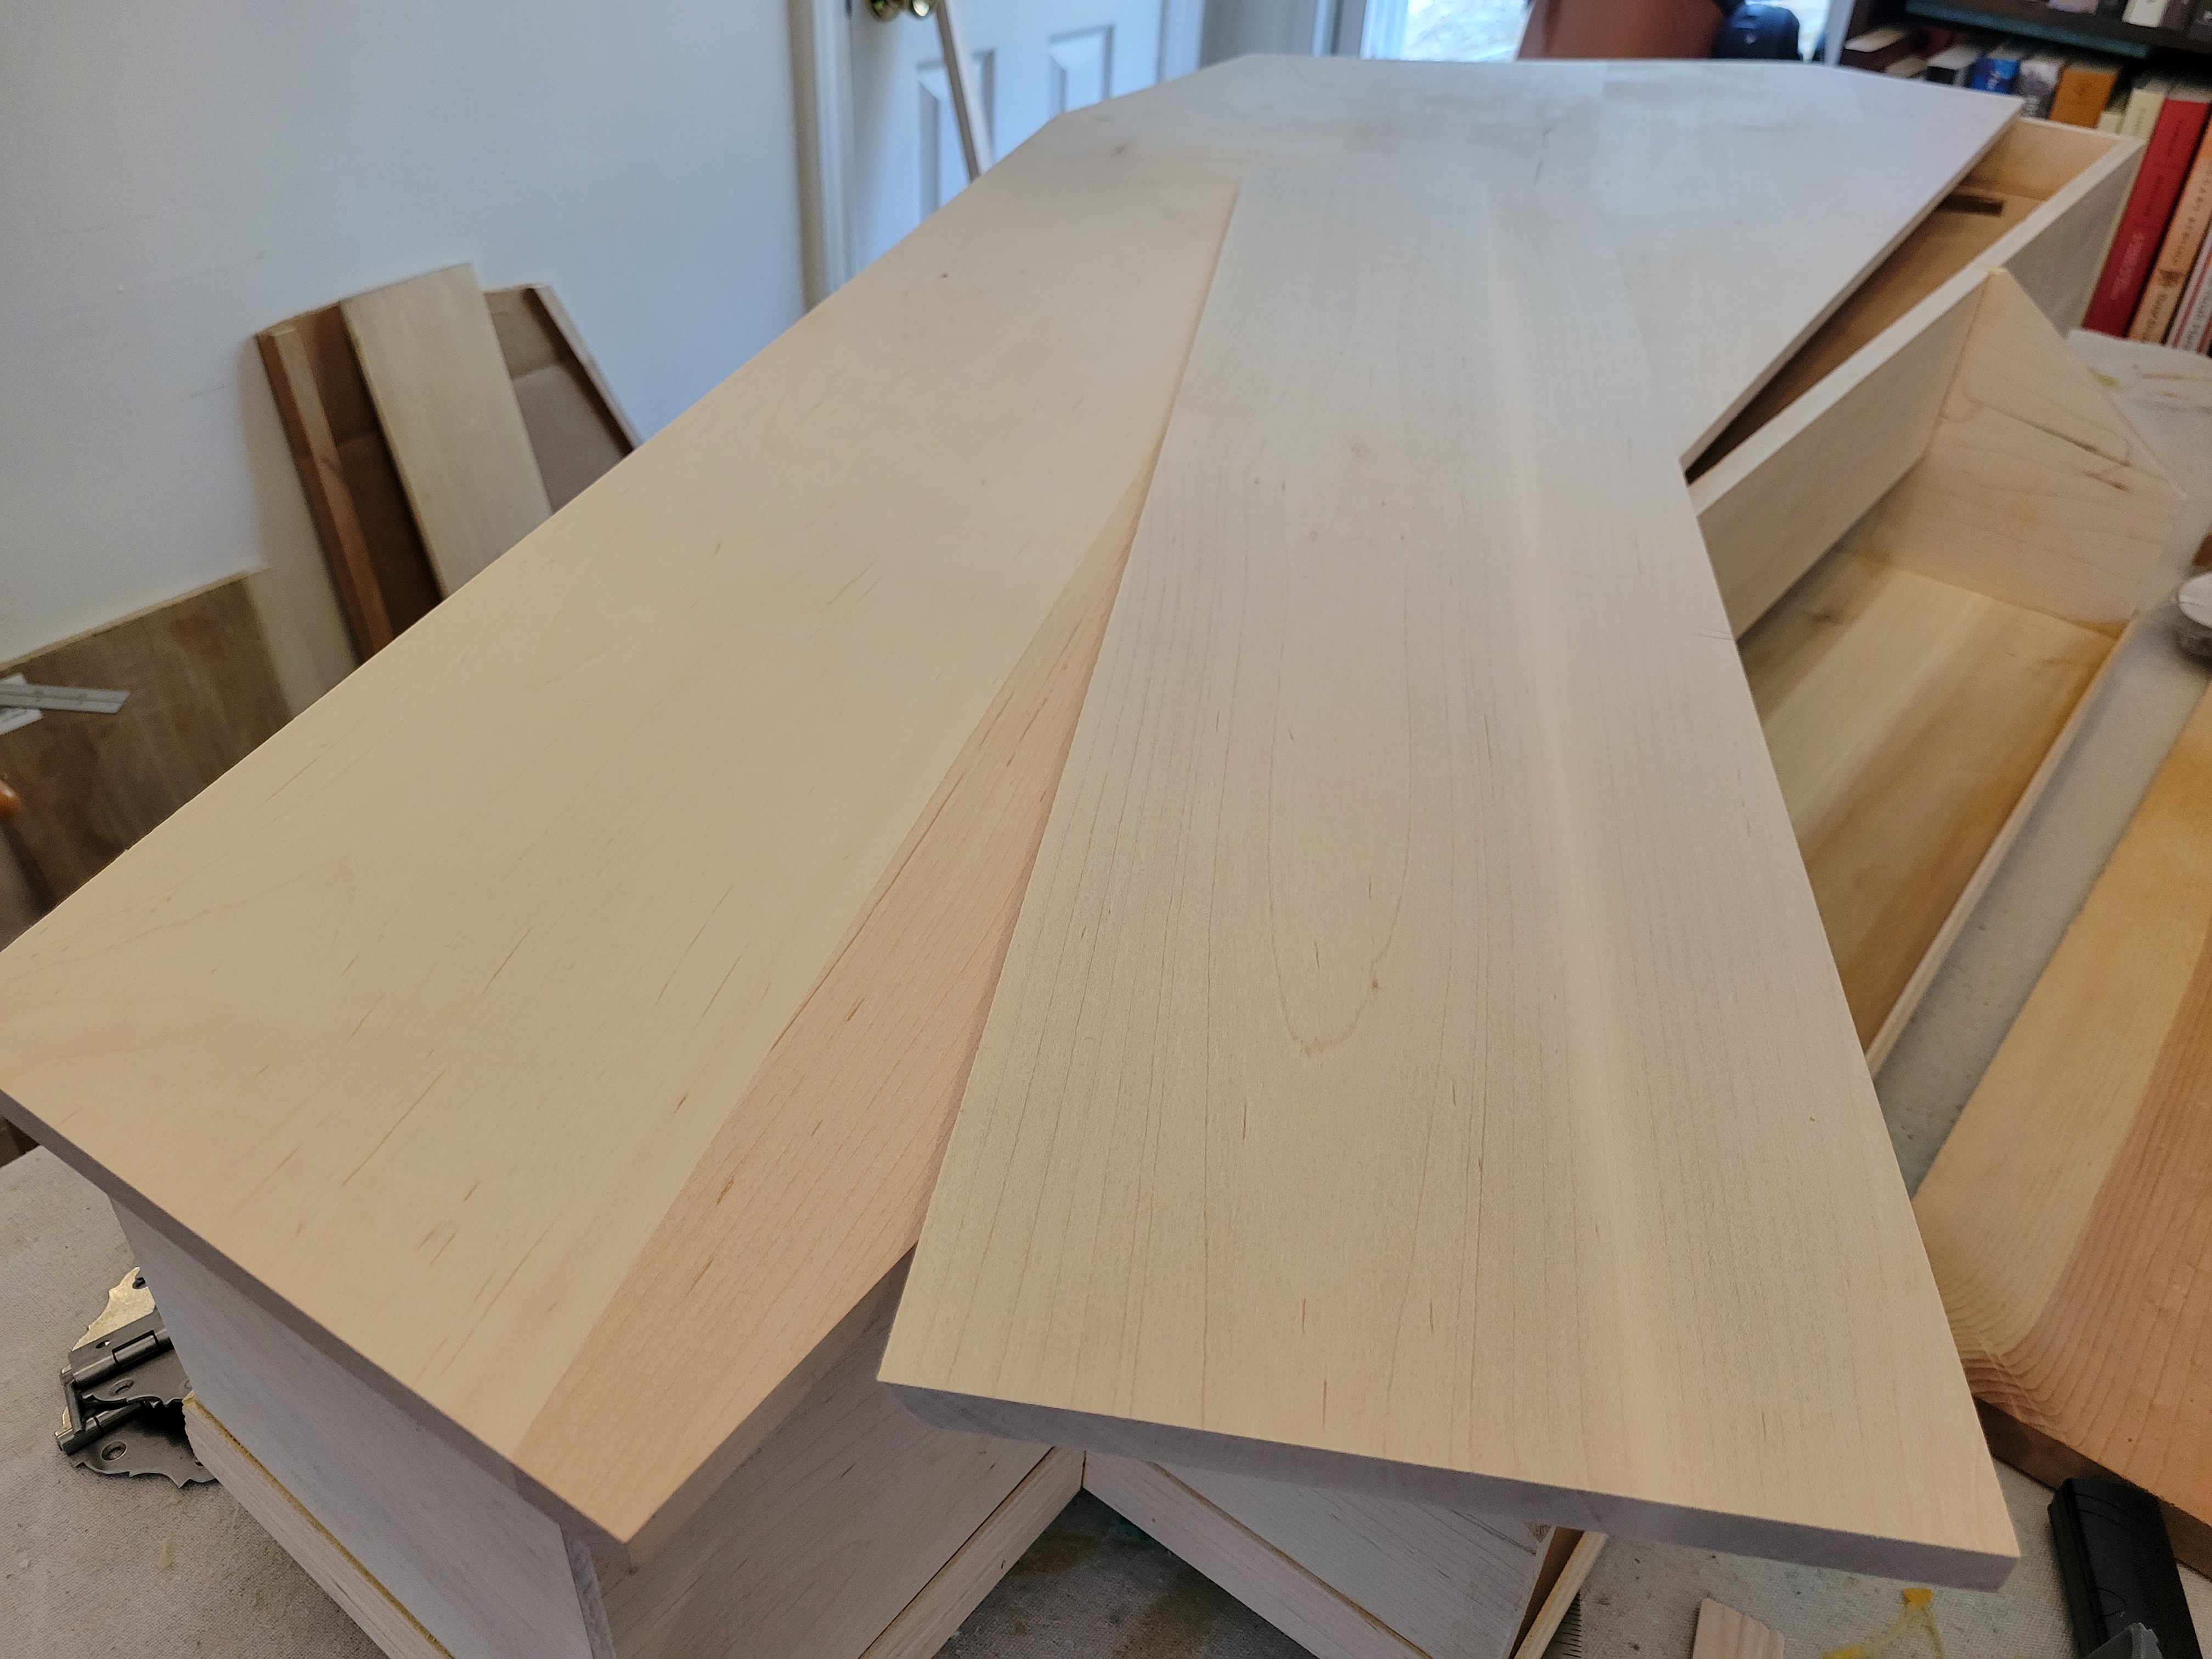
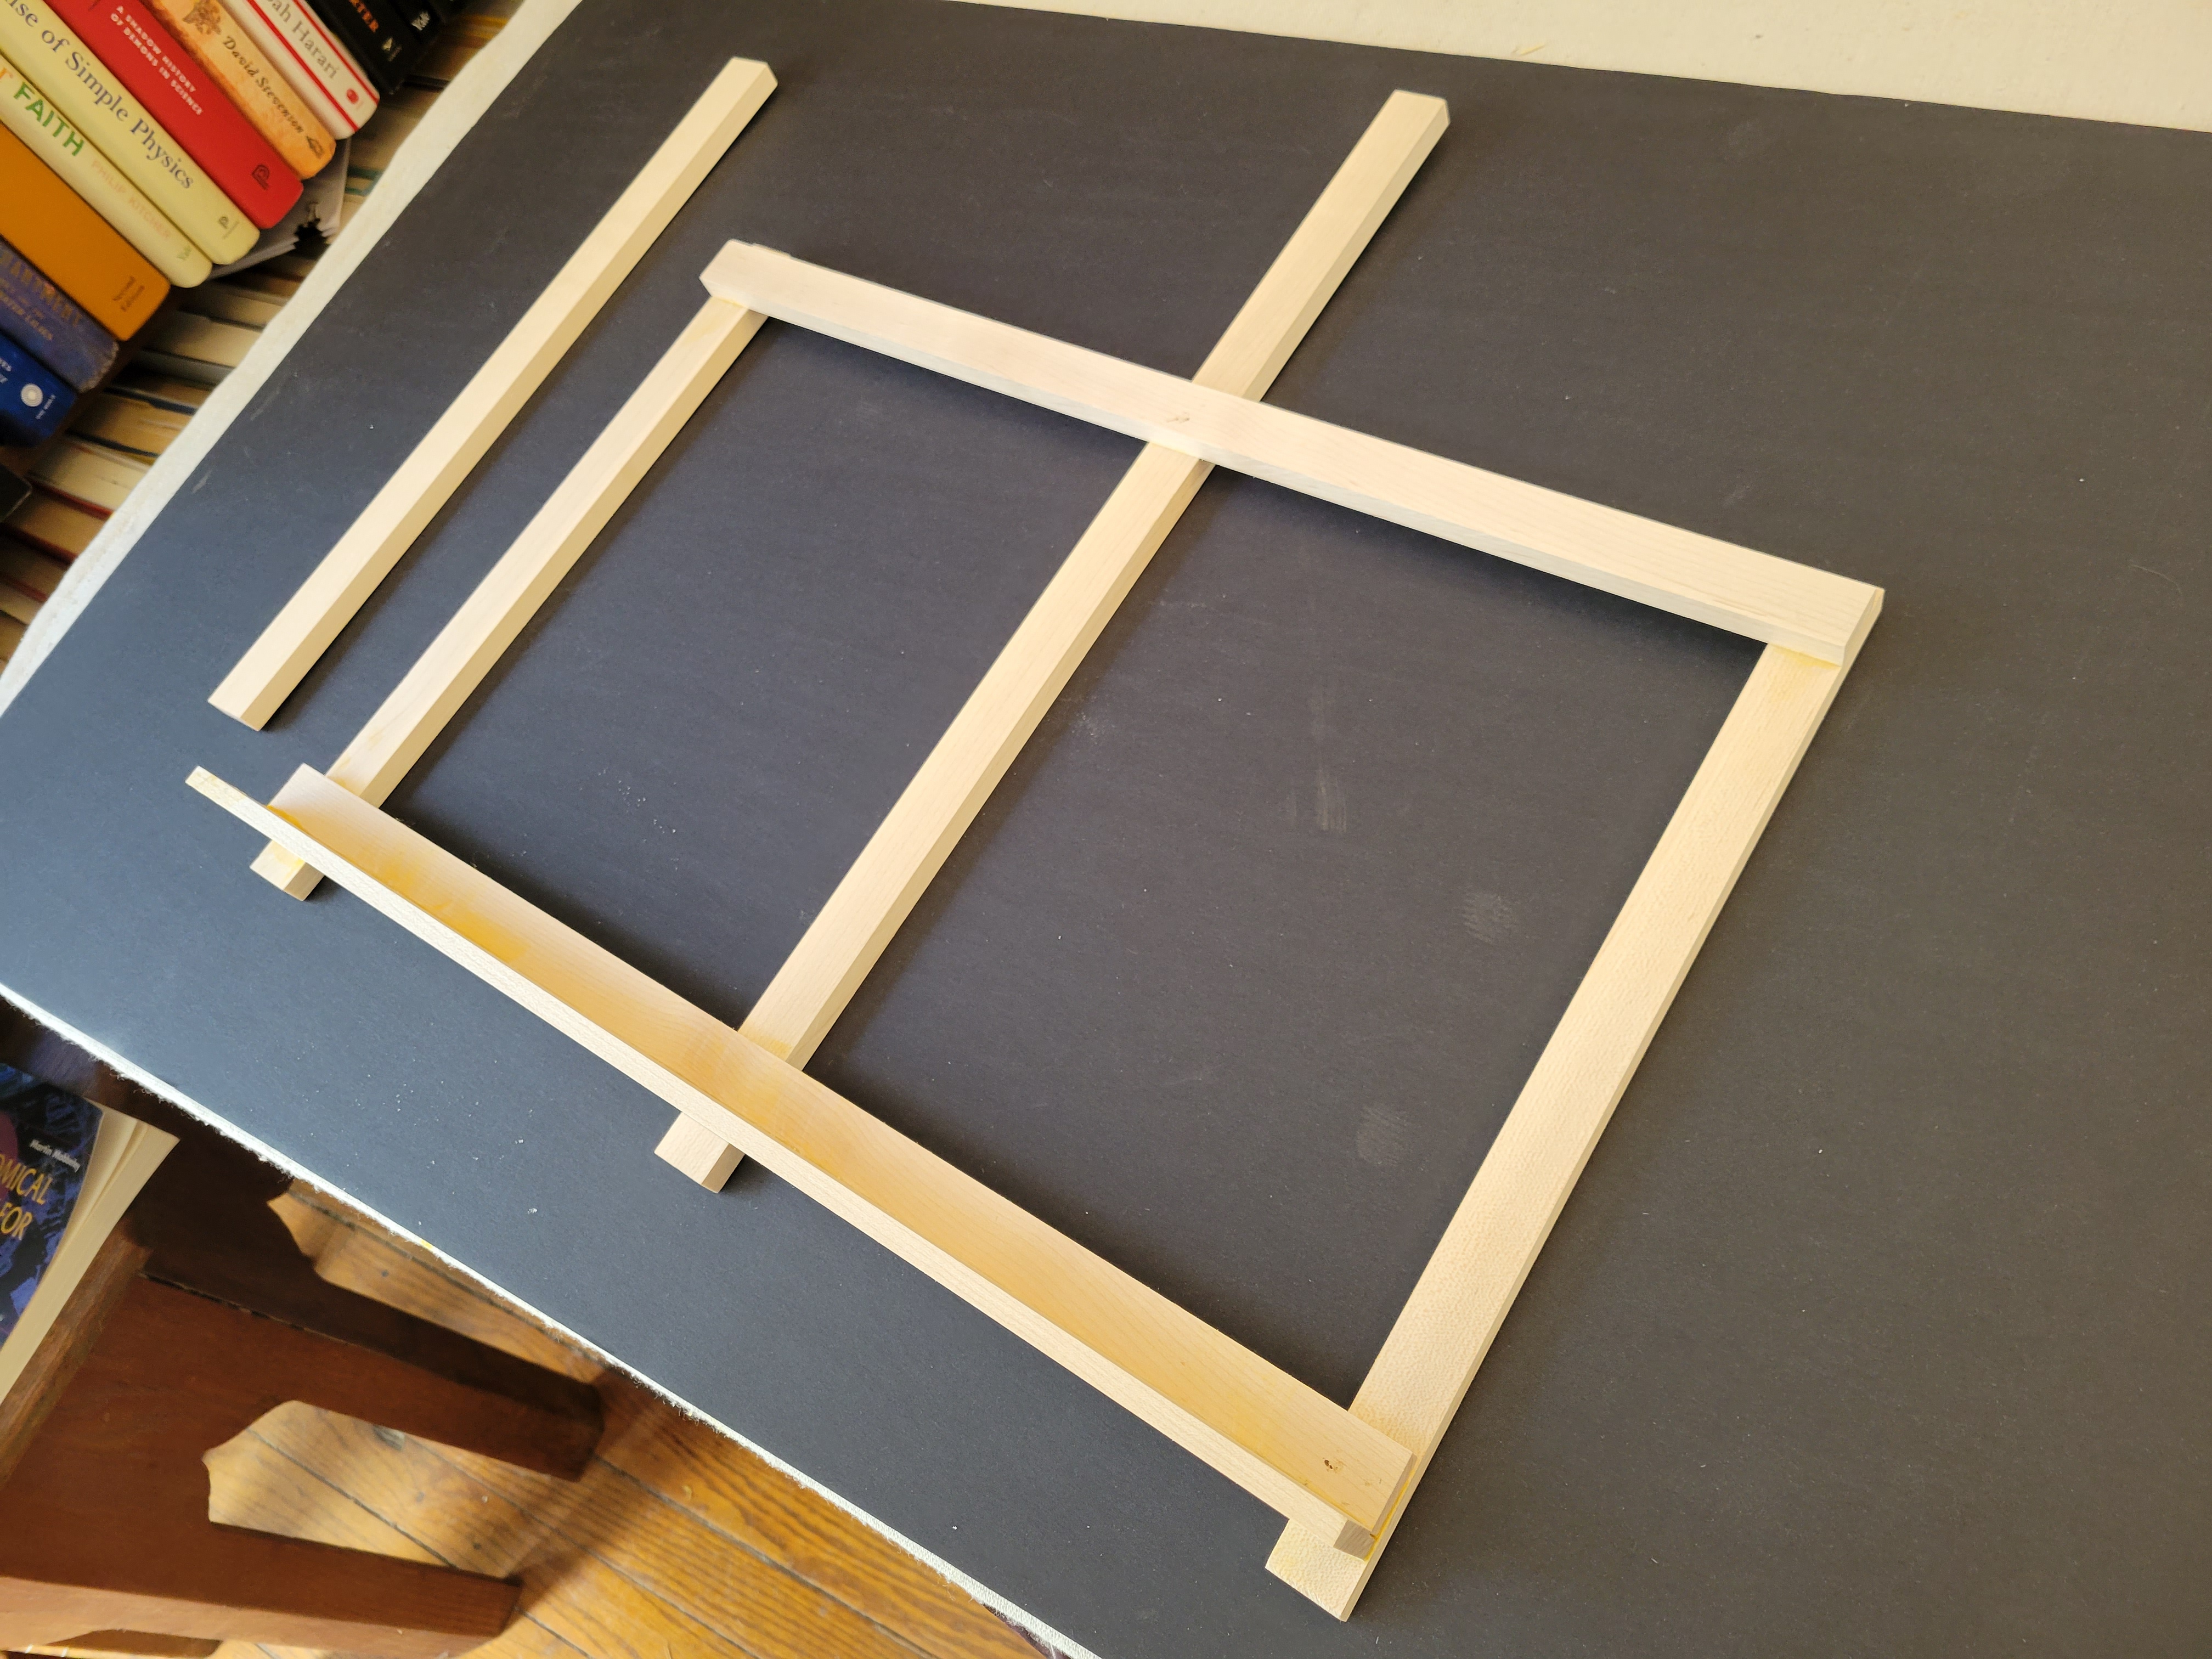
The lid is in two parts: There’s a large piece of wood the same shape as the case that goes on top, and then a flap that fits over the keyboard well:
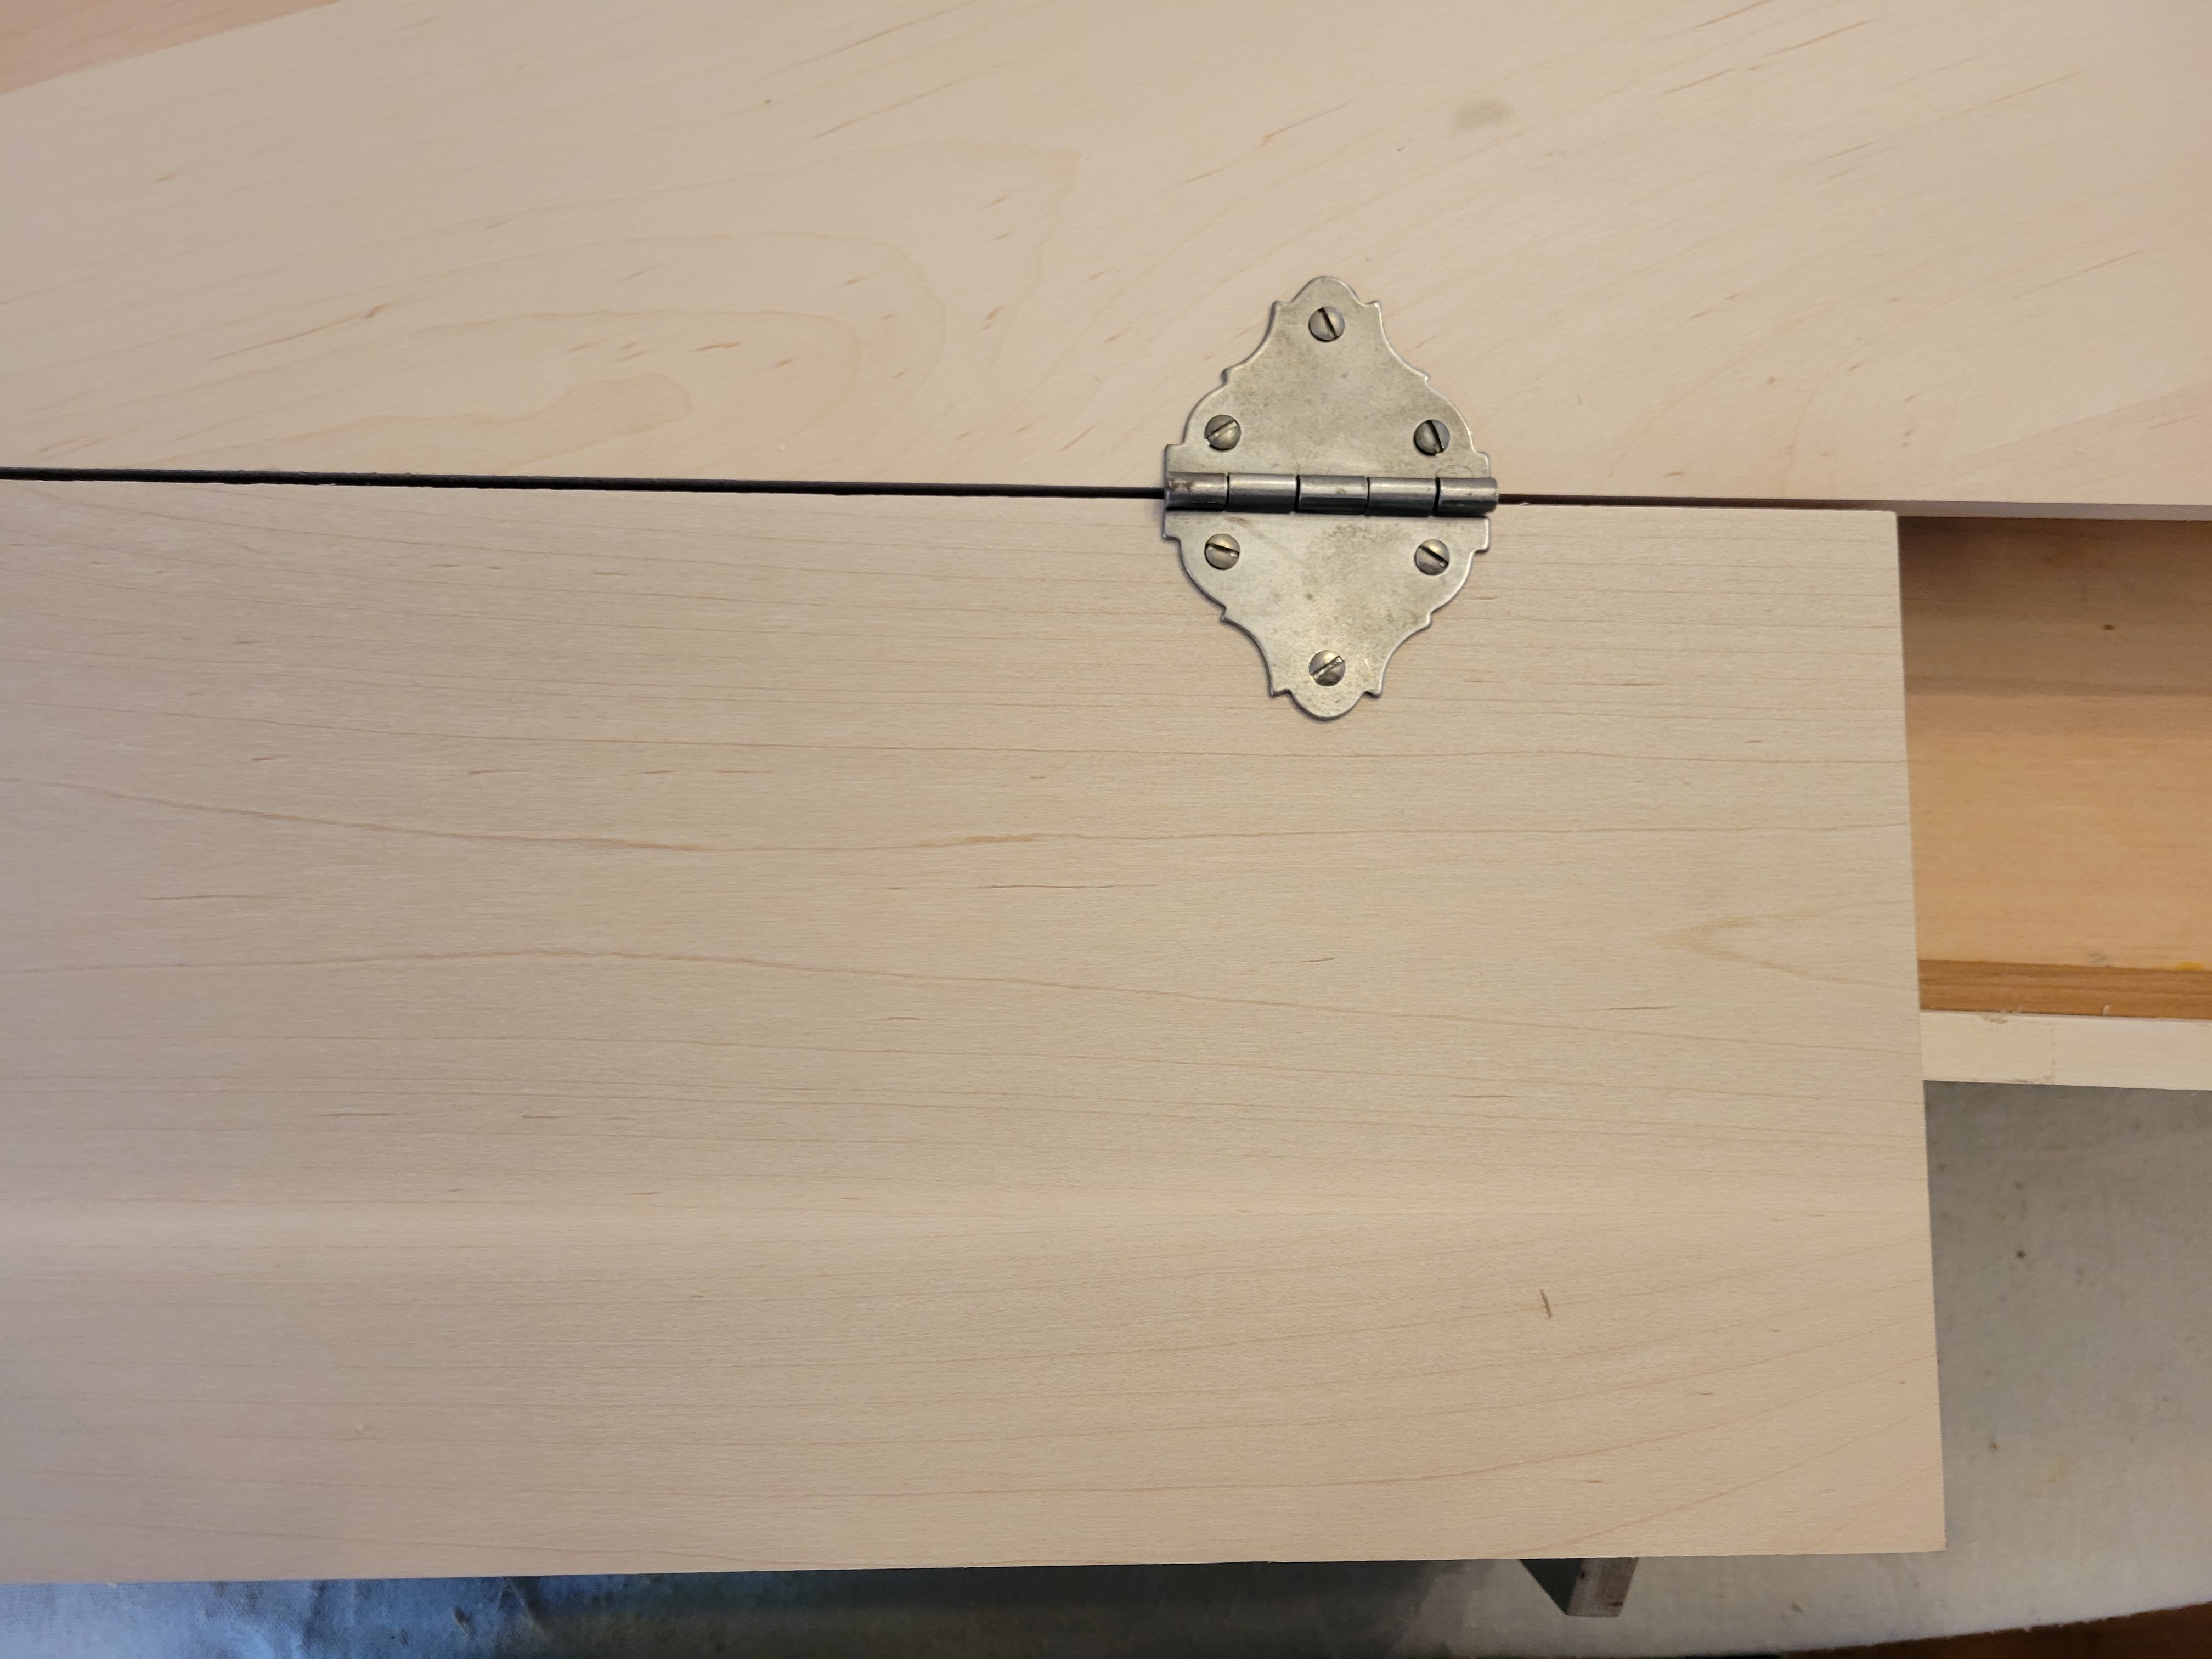
Also supplied are two sets of hinges, one set to connect the keyboard flap to the lid (on top in this photo) and the other set to connect the lid to the back of the case:
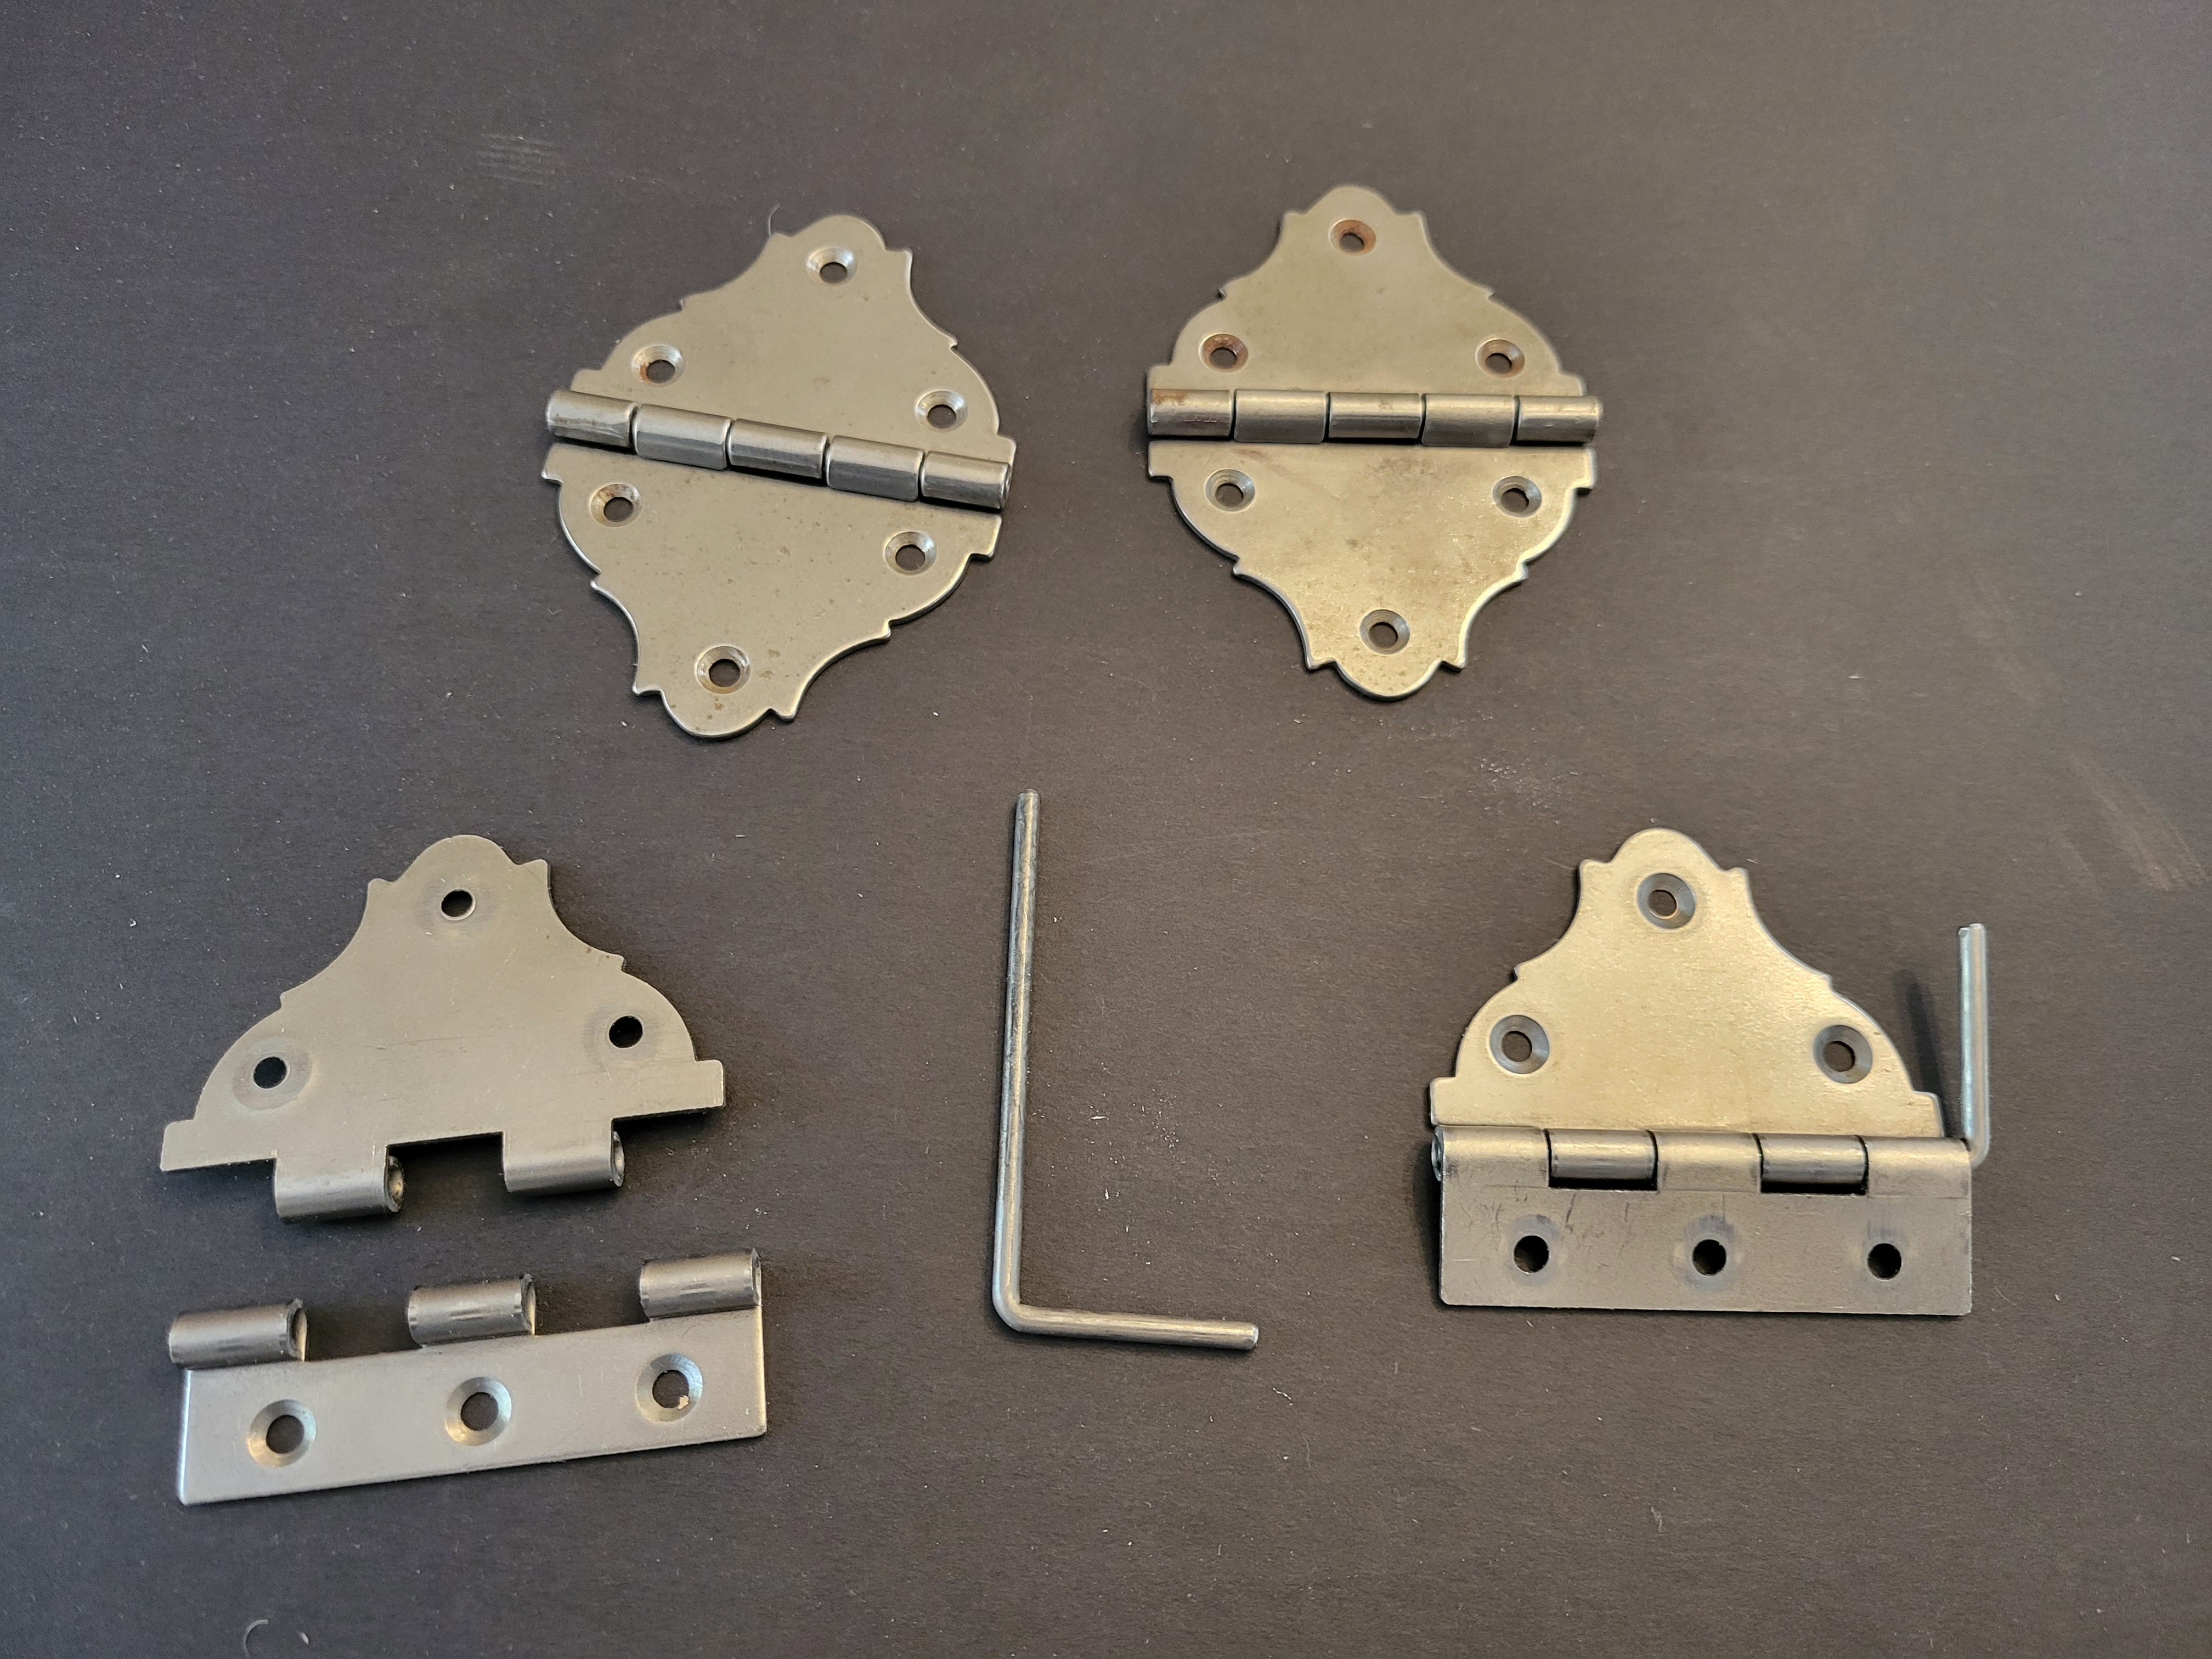
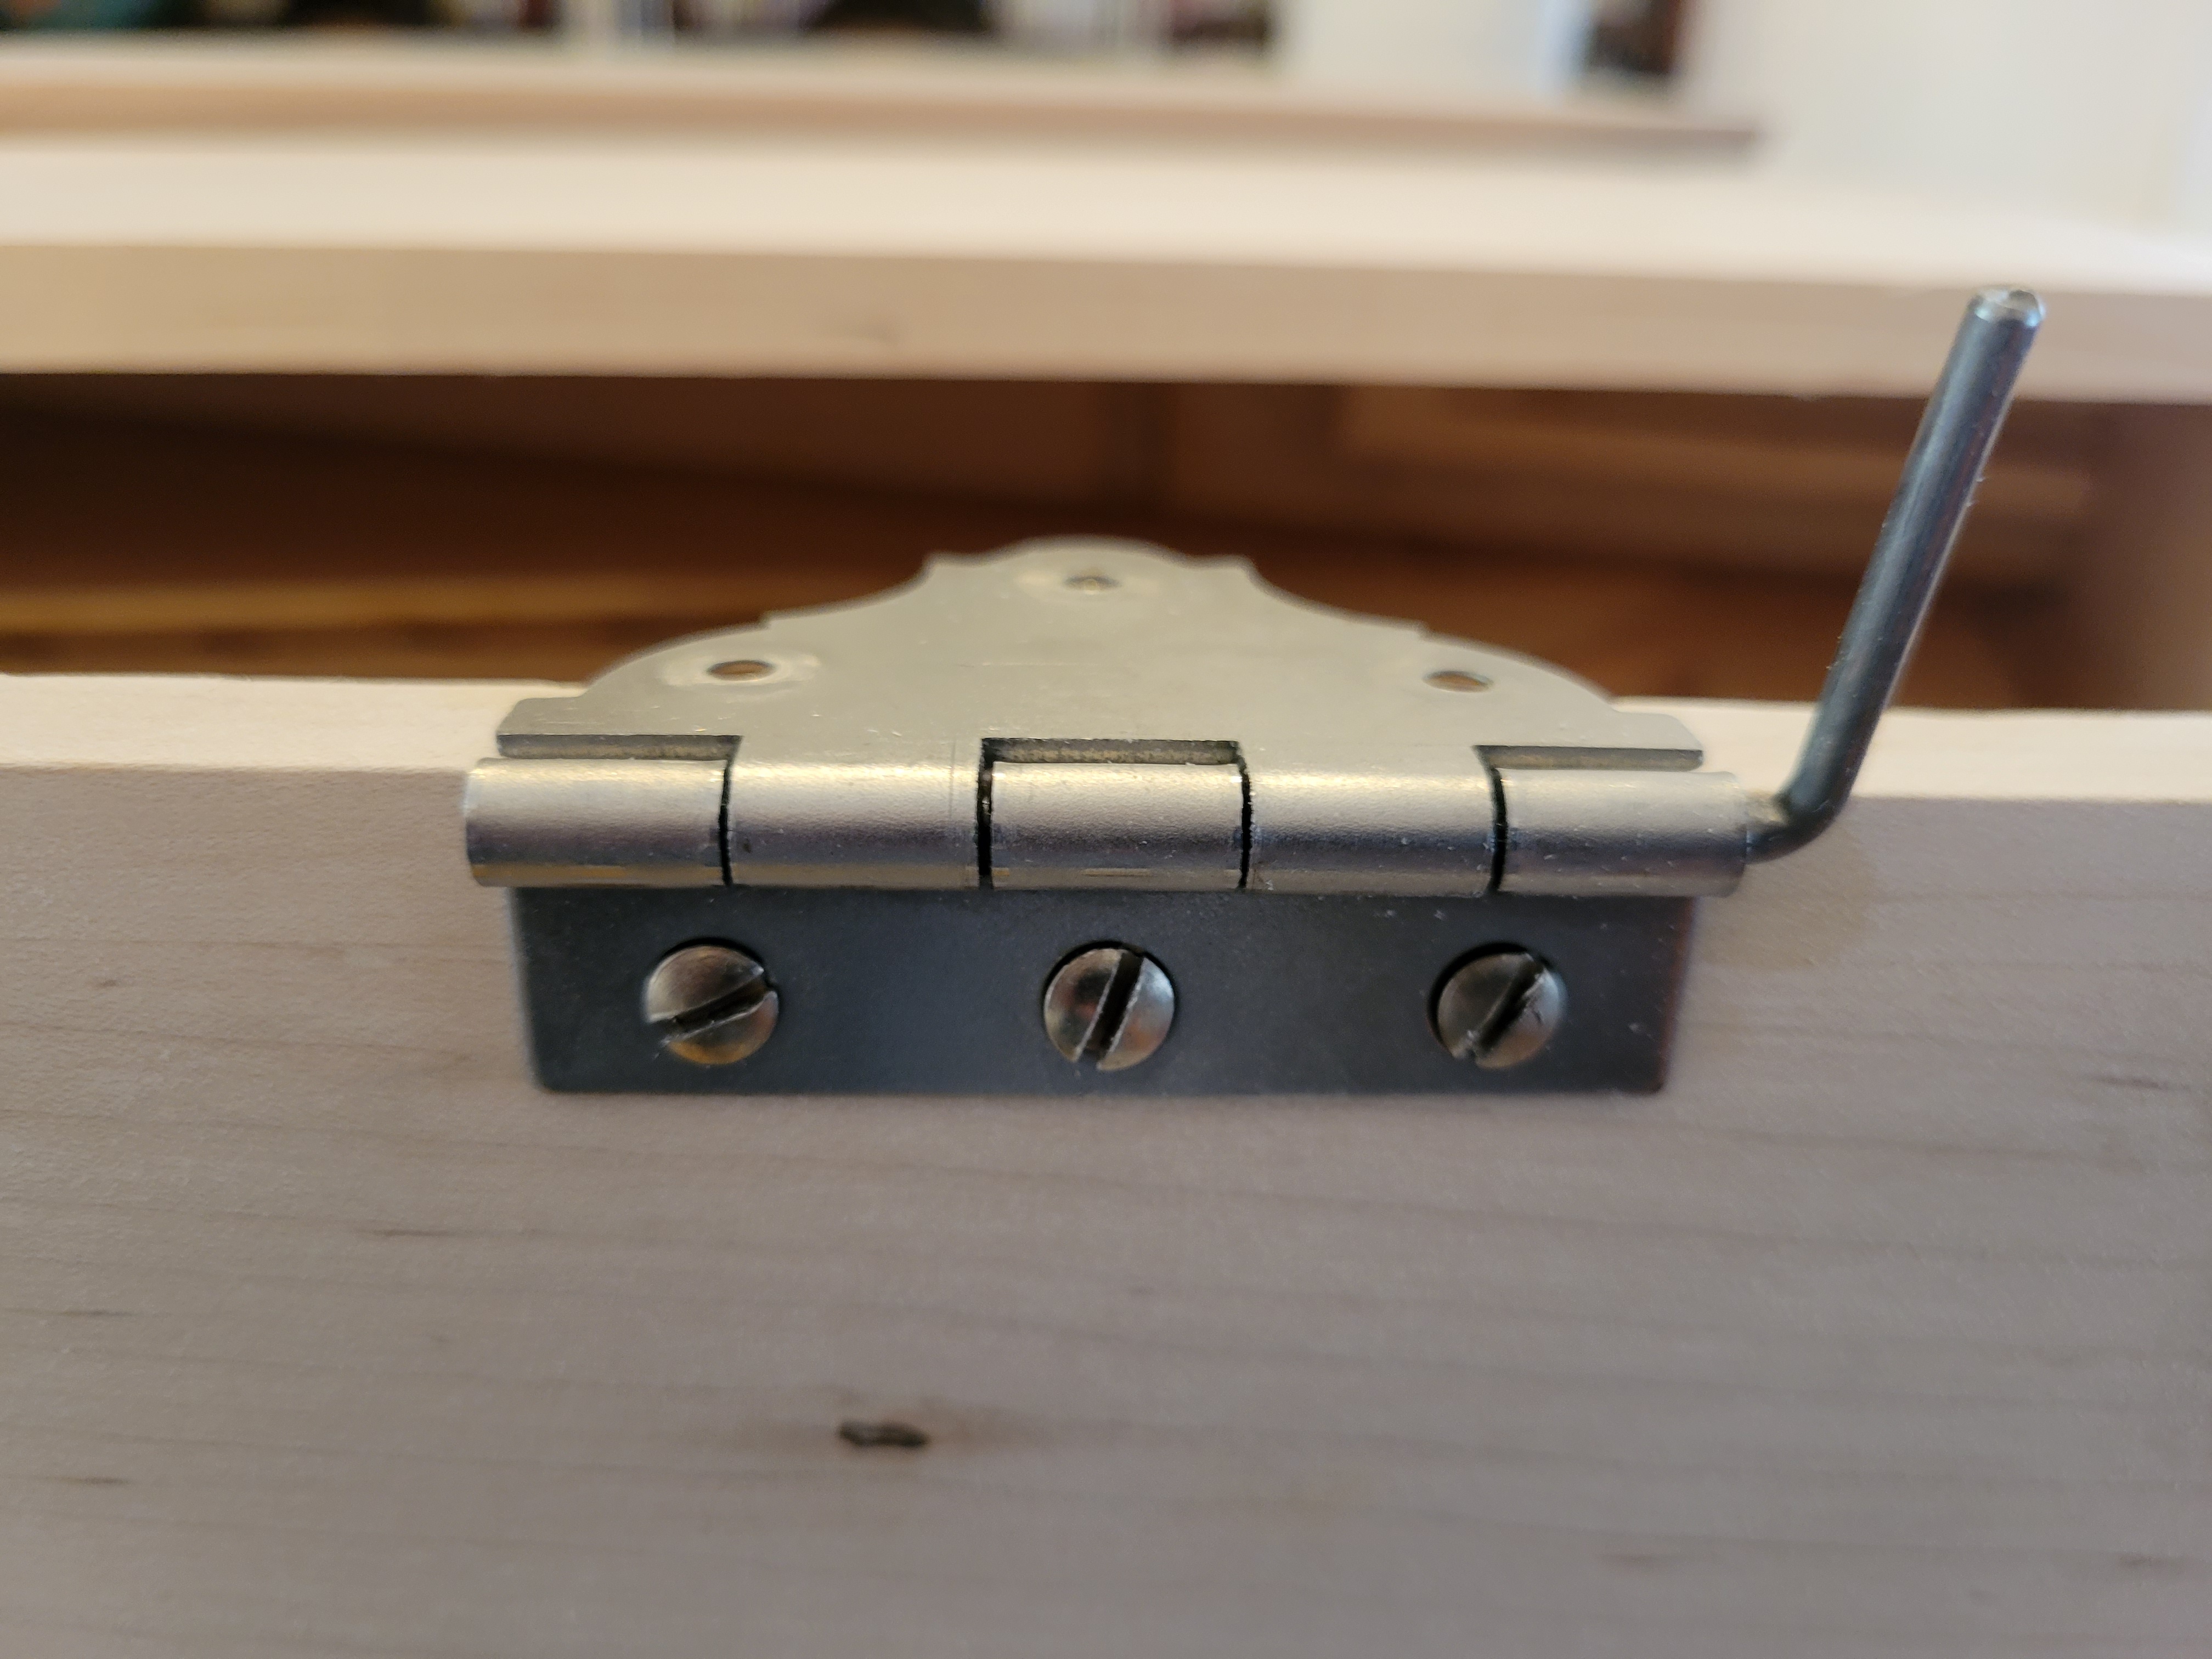
Notice that the hinges to hold the lid to the case have a removable pin, allowing the lid to be removed entirely from the instrument. However, those hinges must be put together so that the two pieces face different way, as shown in the lower-right of the photo. The reason for this is that the hinge must be attached to the outside of the case and the underside of the lid:
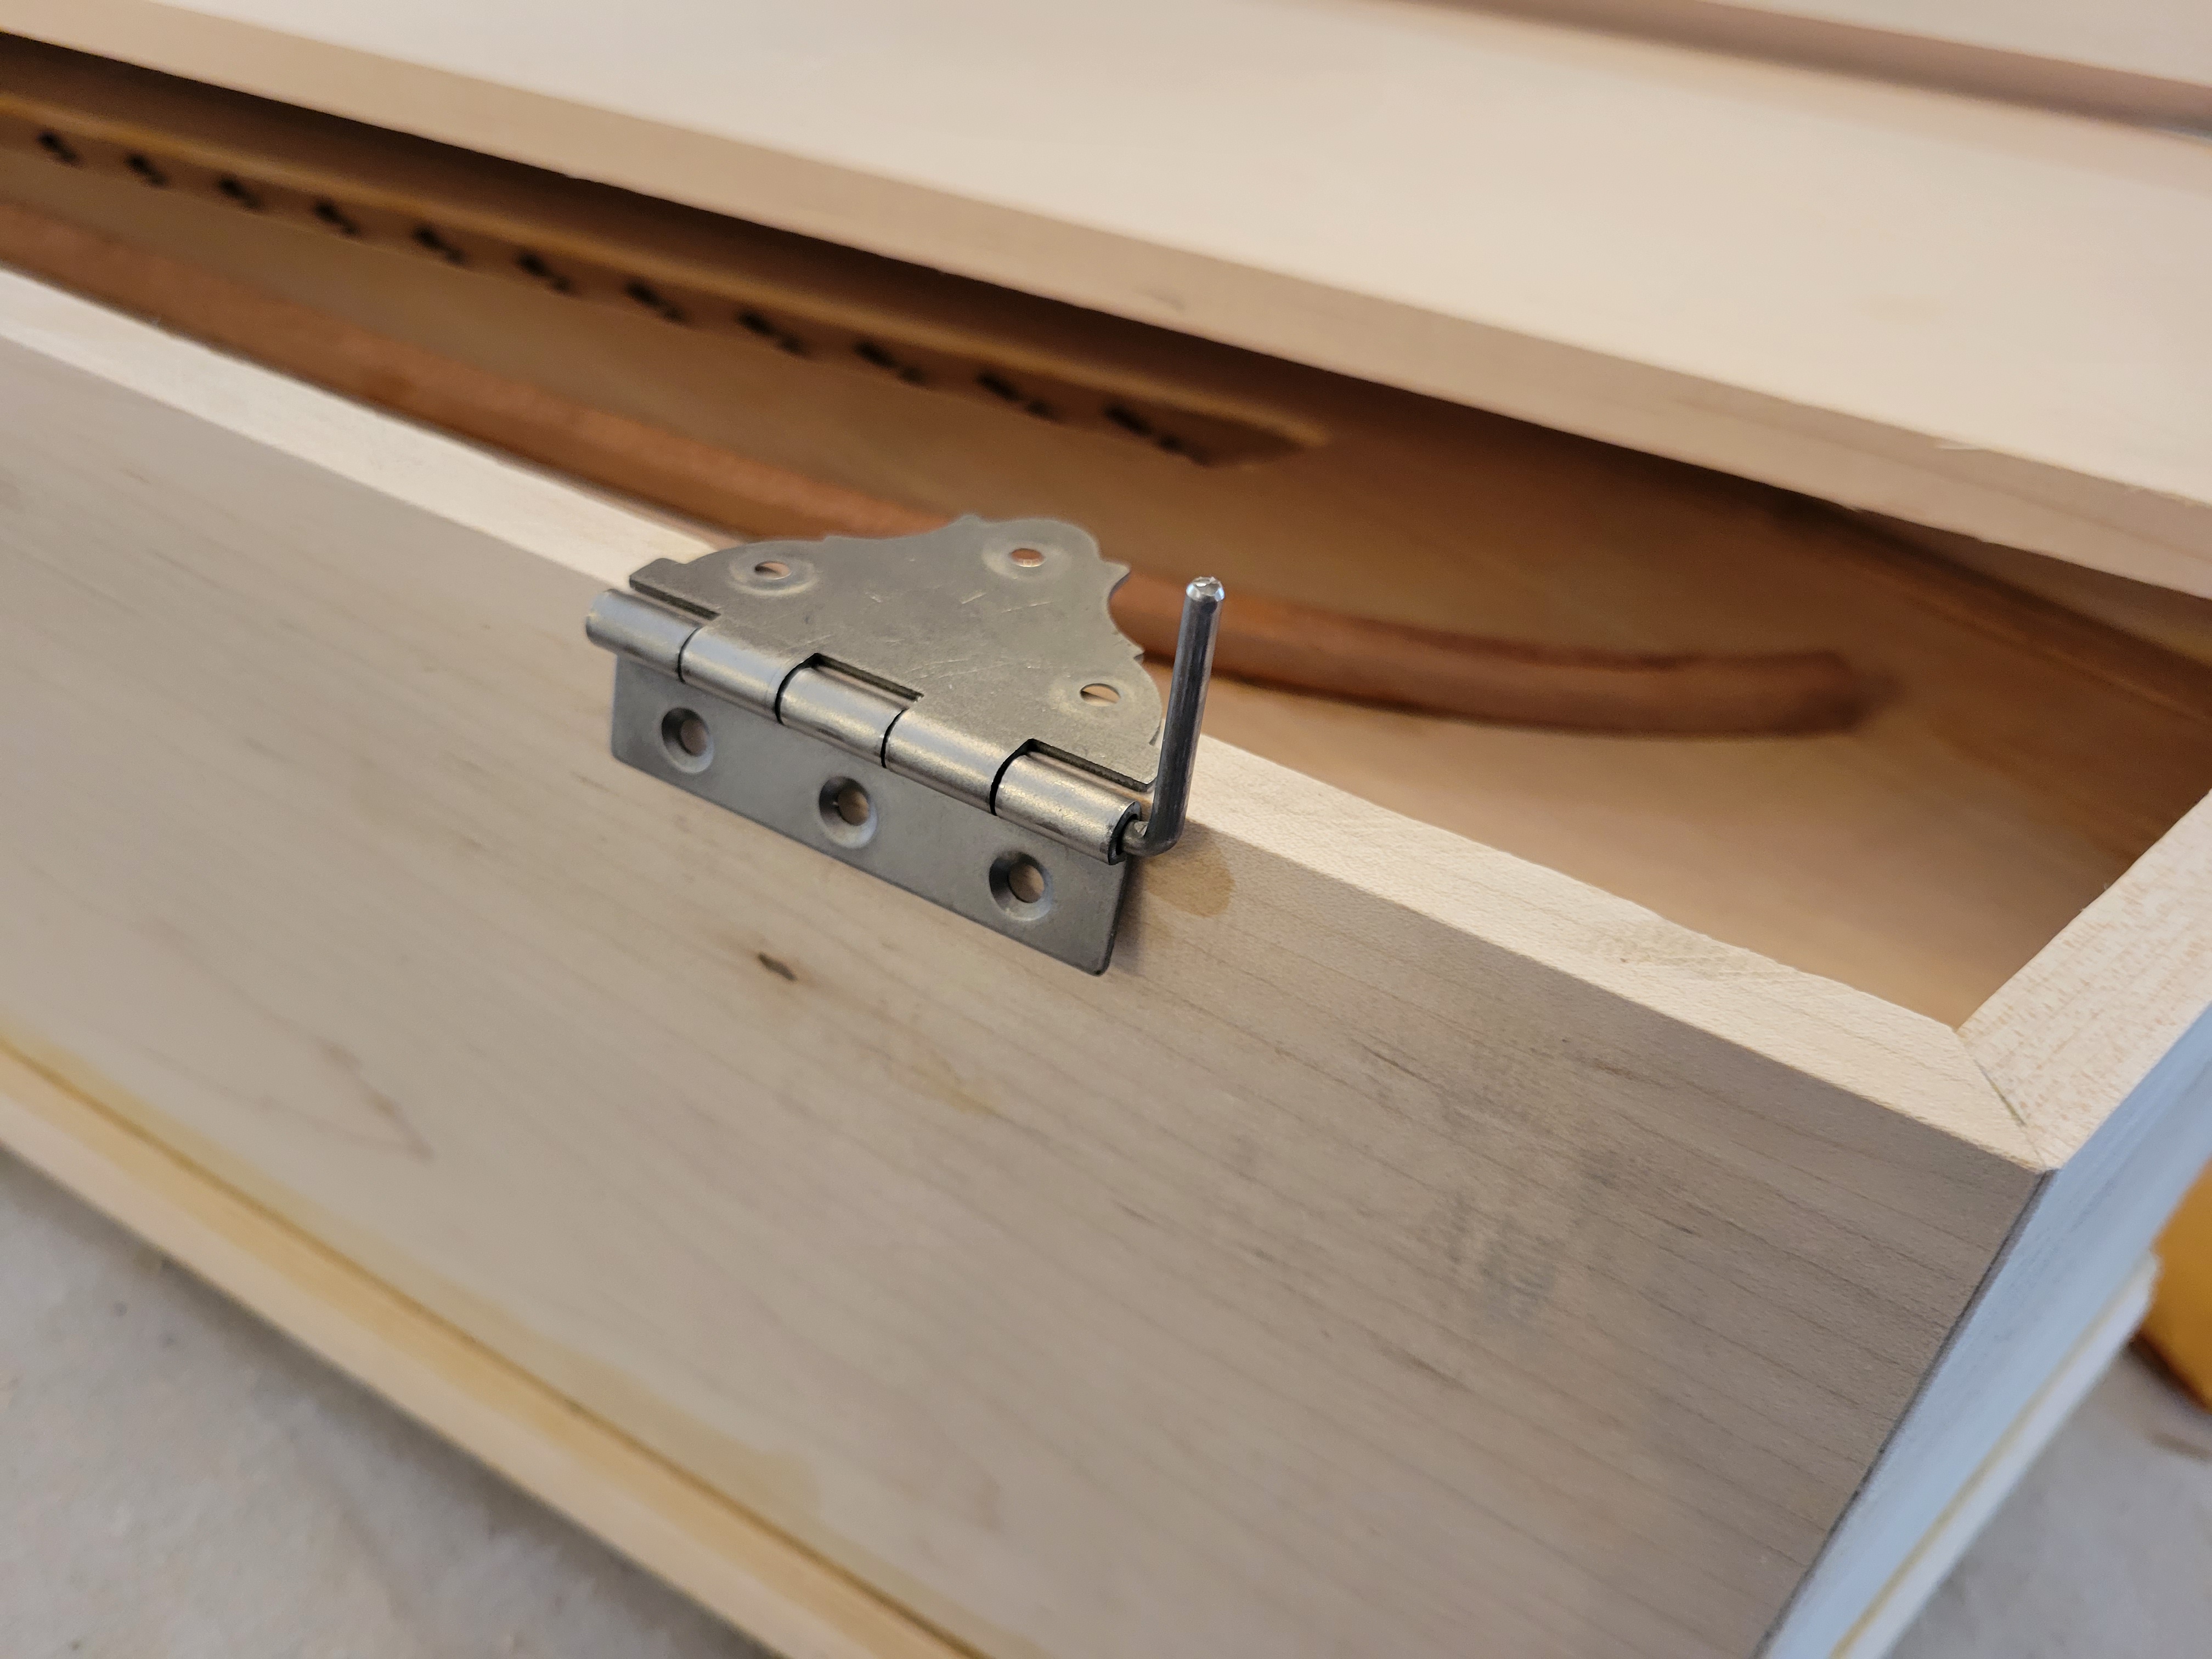
Here’s the hinge screwed to the back of the long side of the case, positioned three inches from the corner:
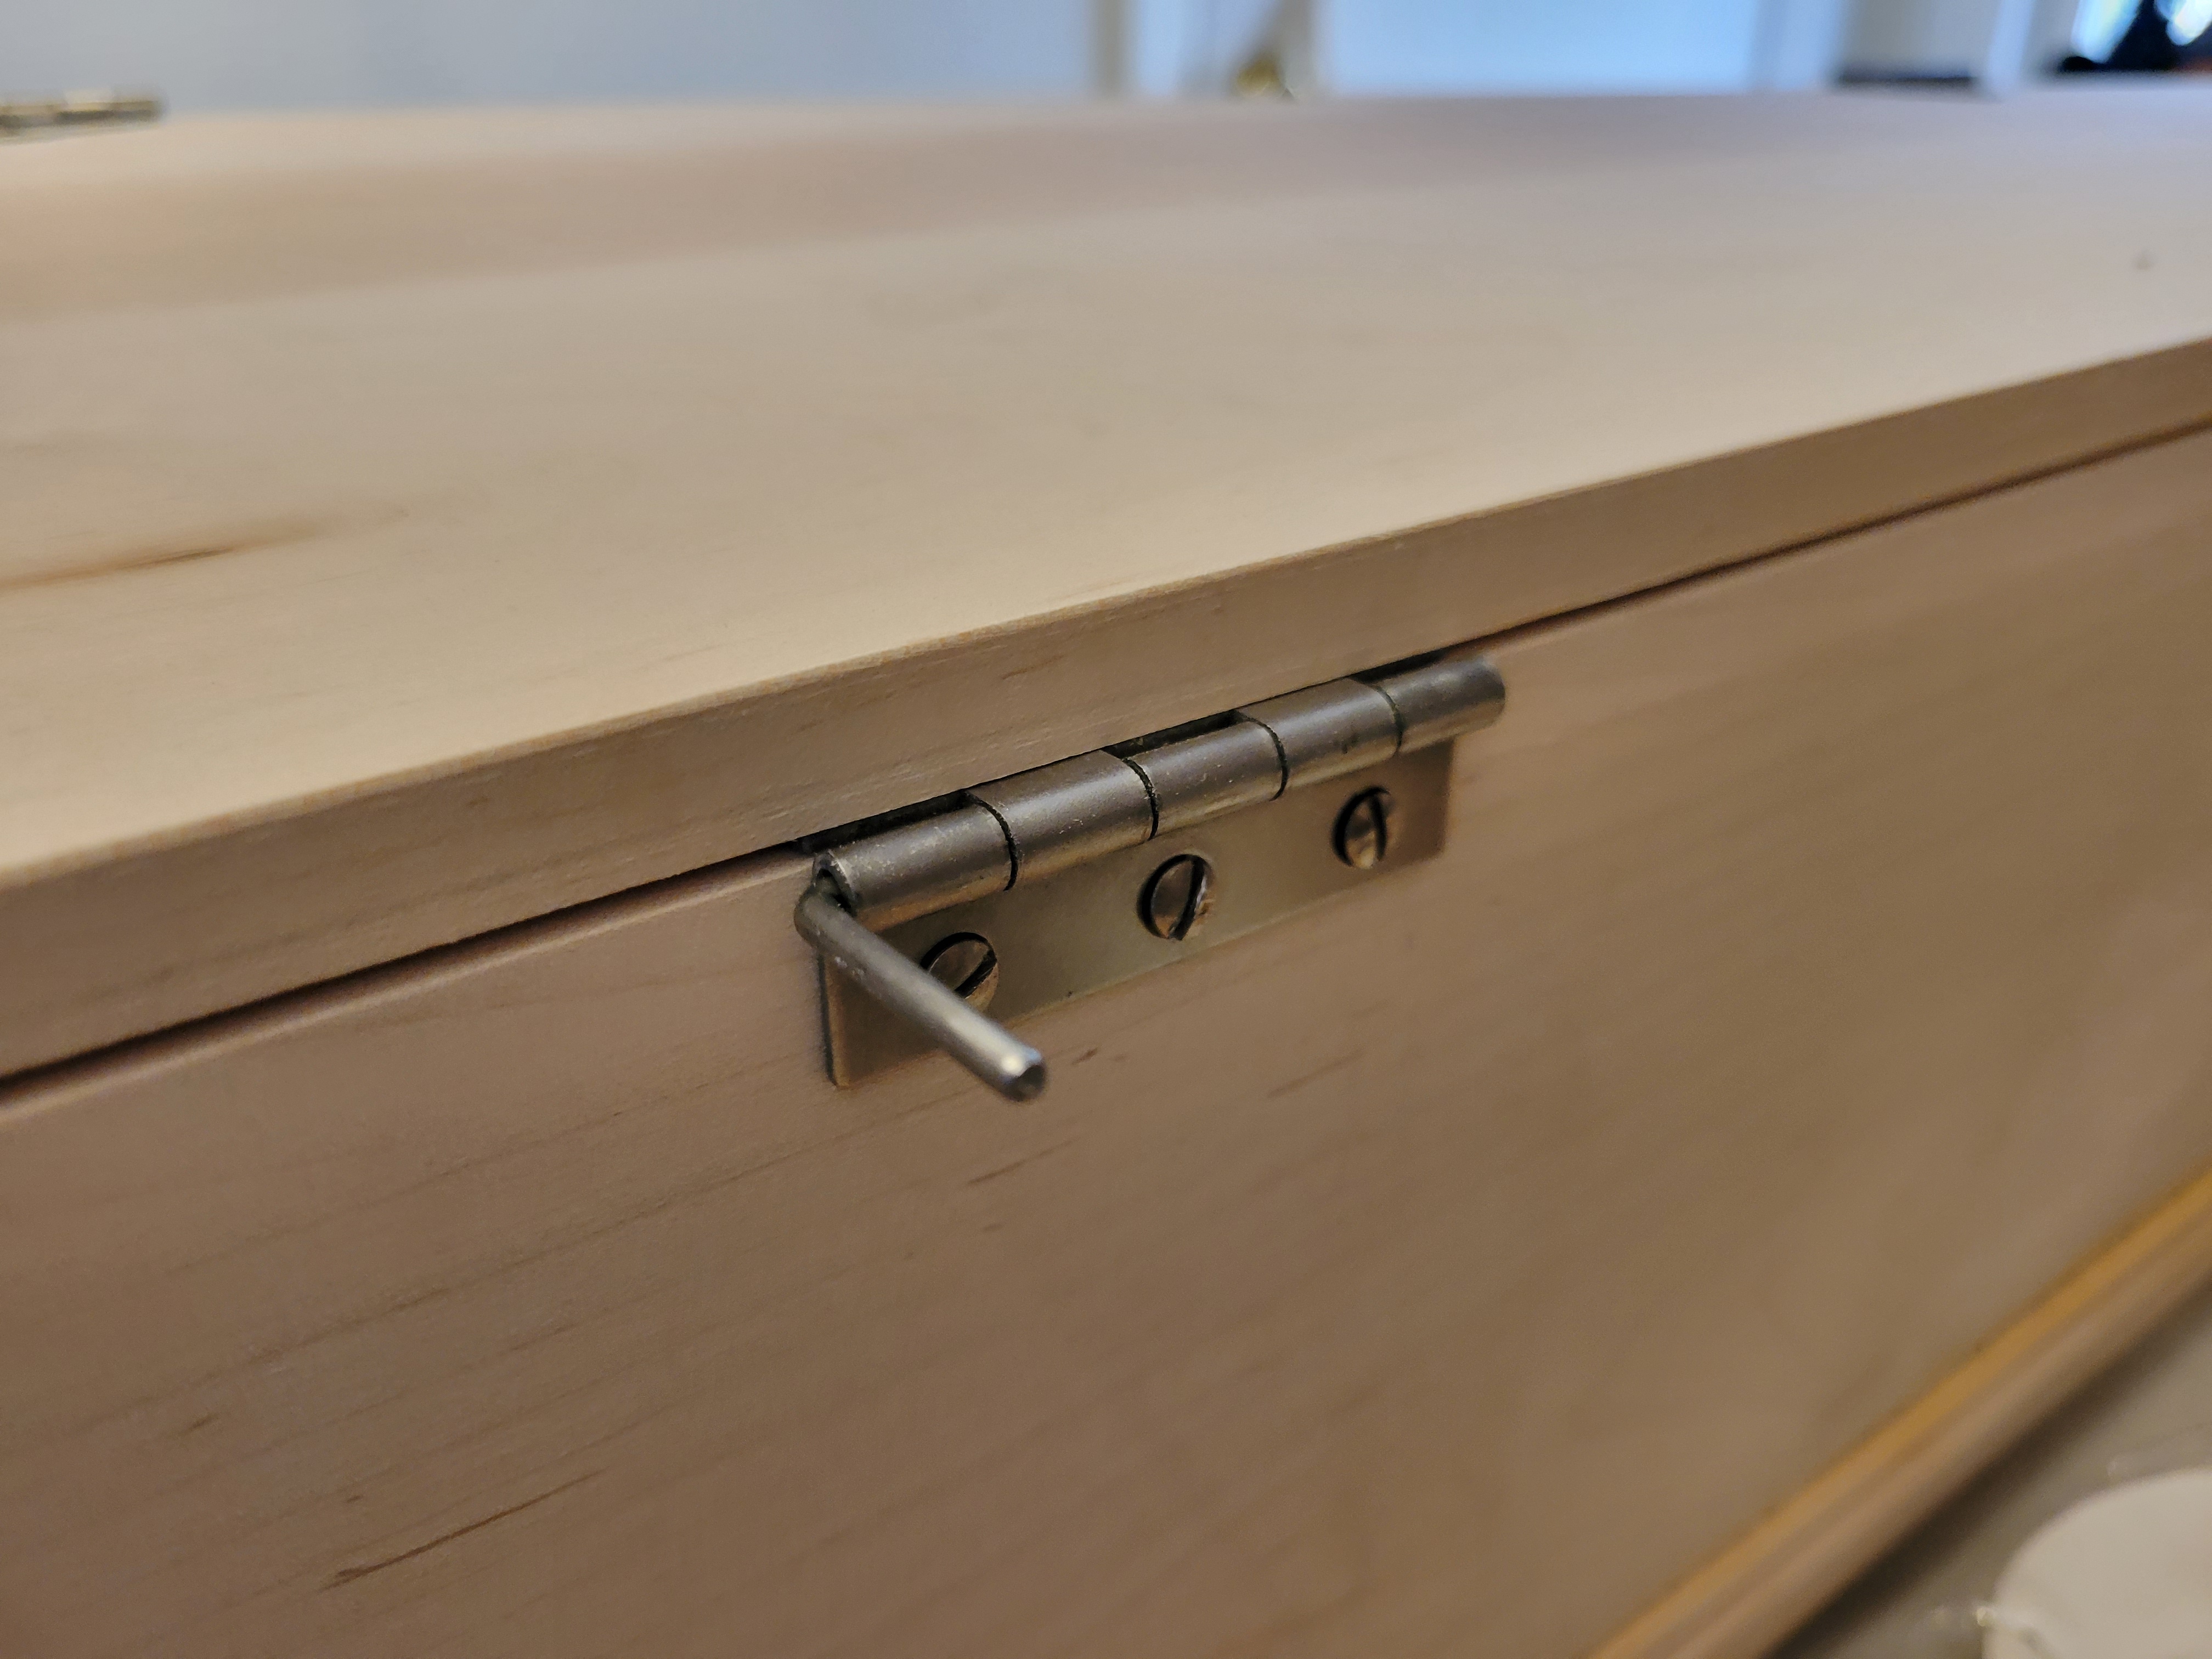
But I hesitated attaching it to the lid. As I fit the lid pieces over the virginal case, I discovered they were oversized with a generous overhang meant to extend a little over the dimensions of the case. I also realized that the flap over the keyboard well had to be fairly precisely positioned to fit snugly on the cheeks. I felt I needed to attach the flap to the lid first. This is contrary to the instructions on pages 71 to 72 in The Troubadour Virginal Construction and Maintenance Manual but I was nervous not being able to anticipate how much the lid needed to hang off the back.
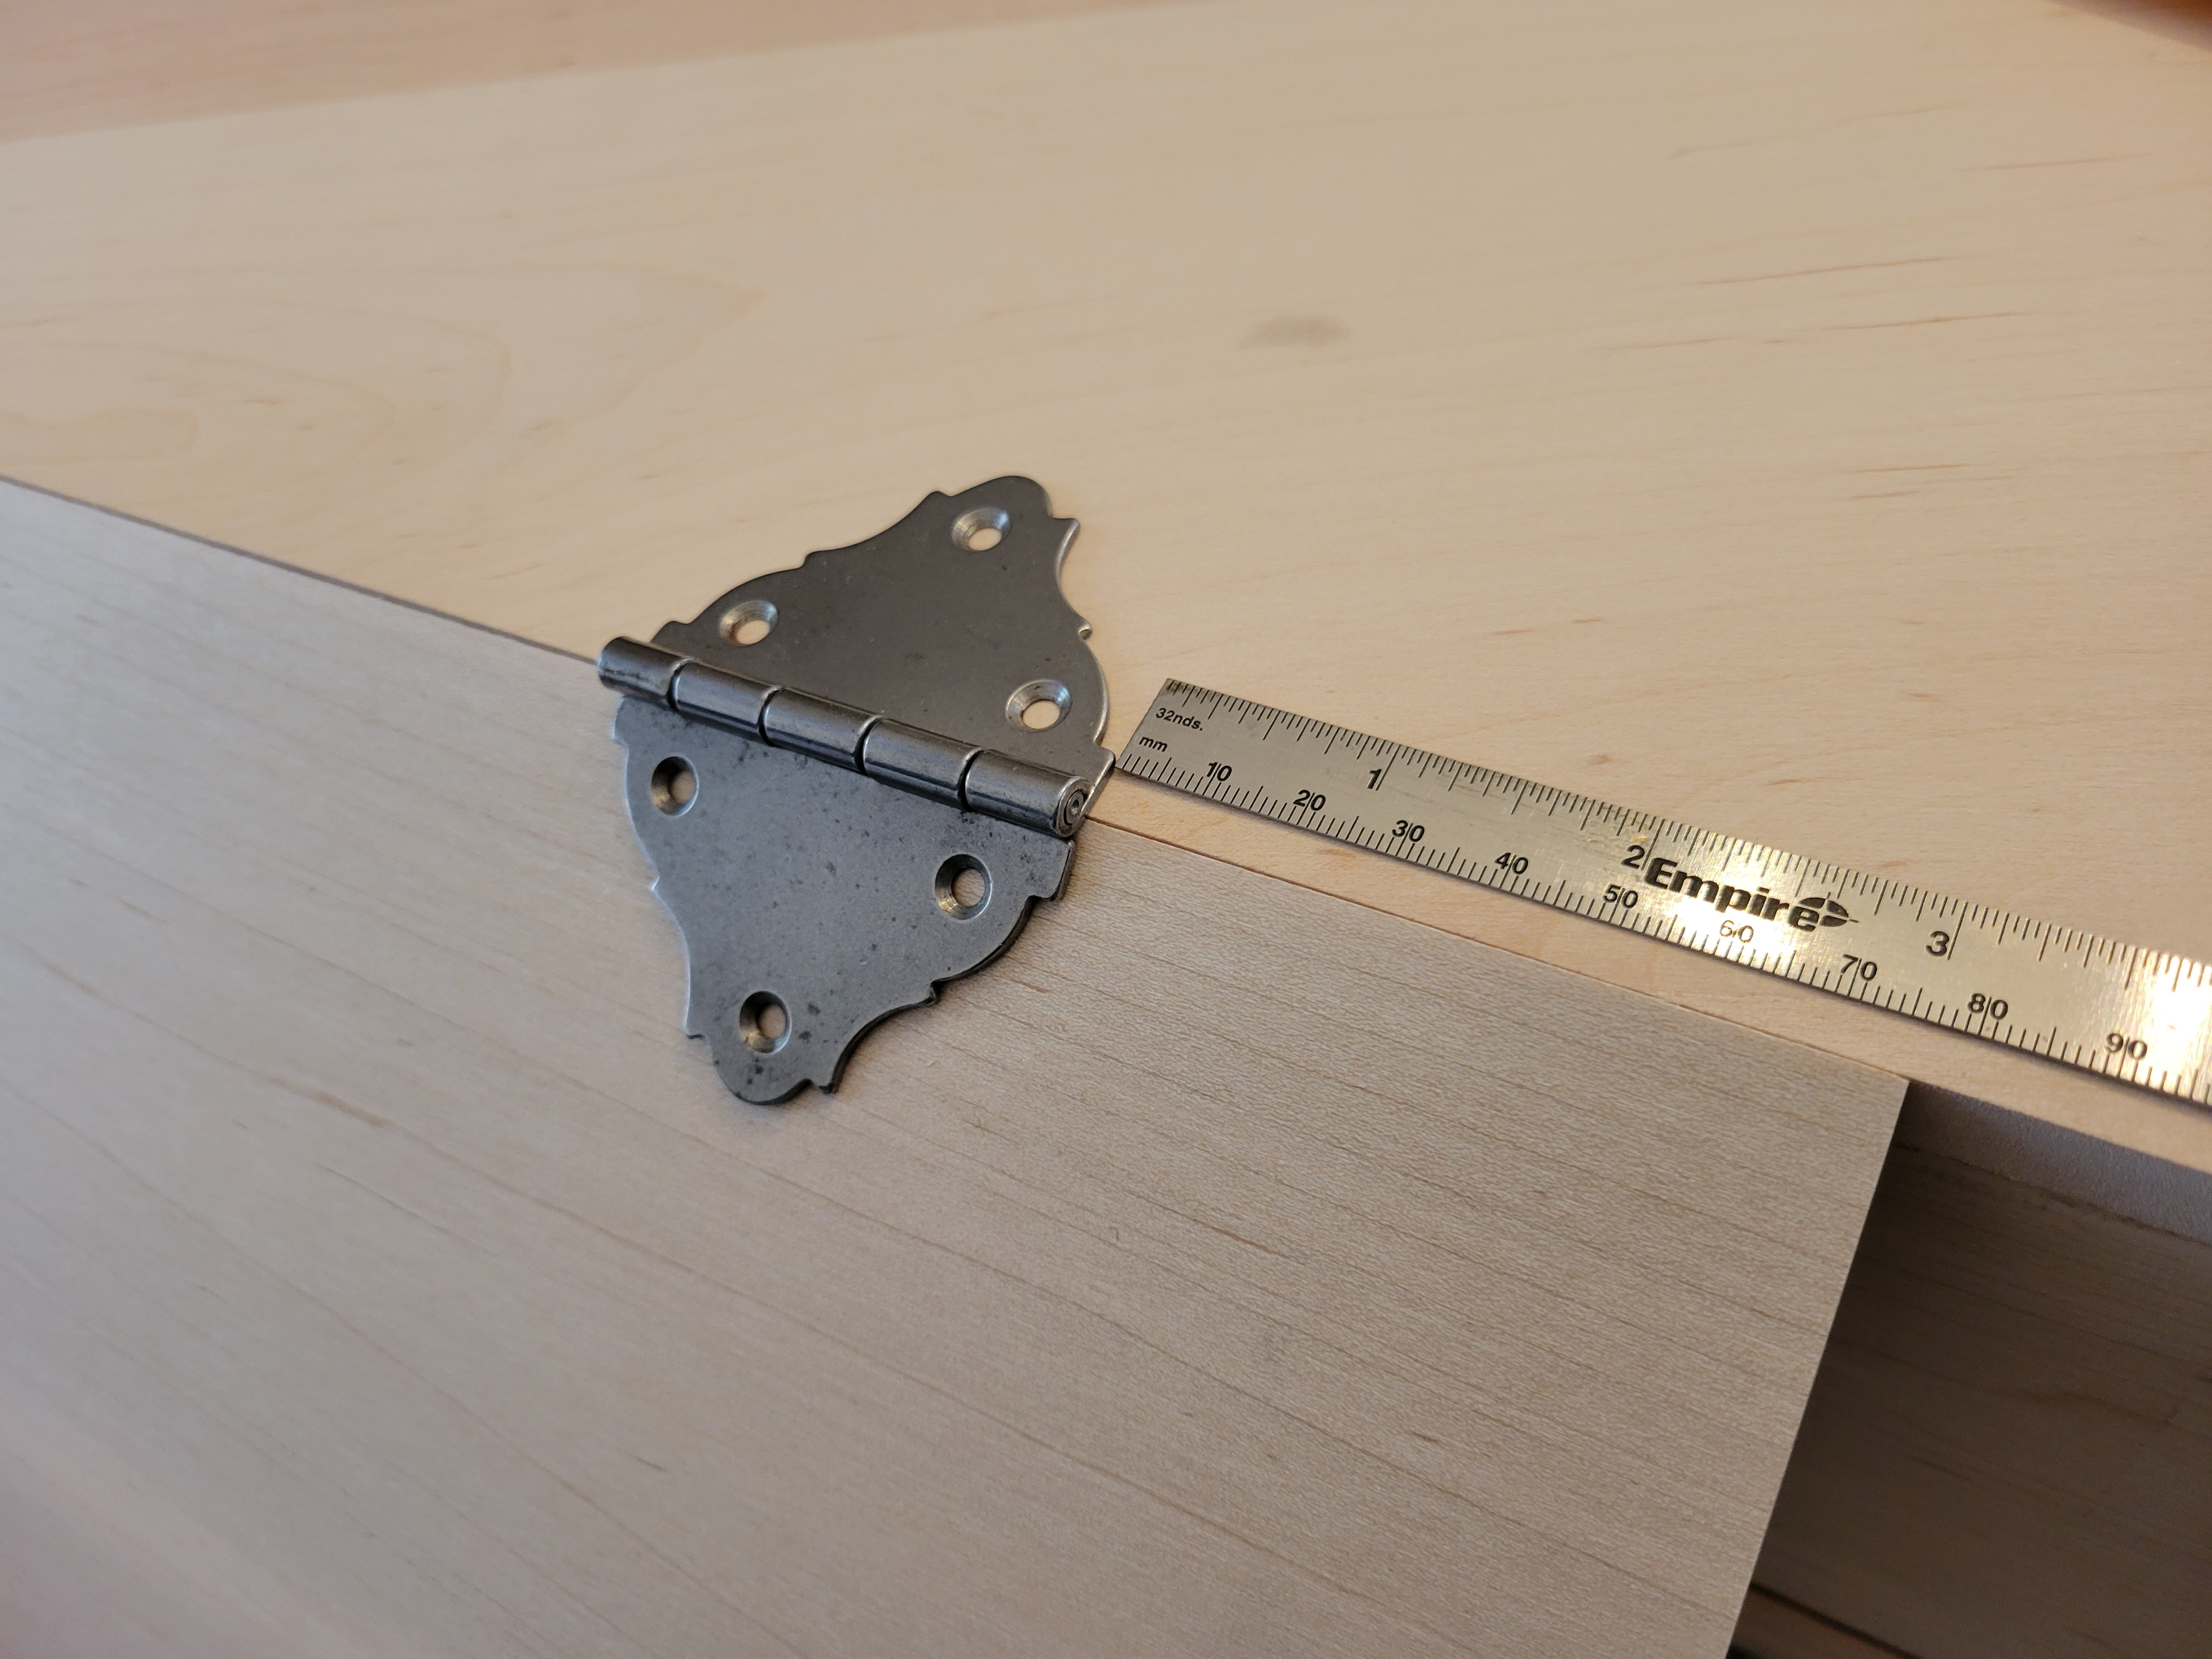
I positioned the hinges for the flap three inches from the edge of the flap:
The flap has an angled edge designed to fit tight against the top part of the lid. Then I screwed those hinges to the flap:
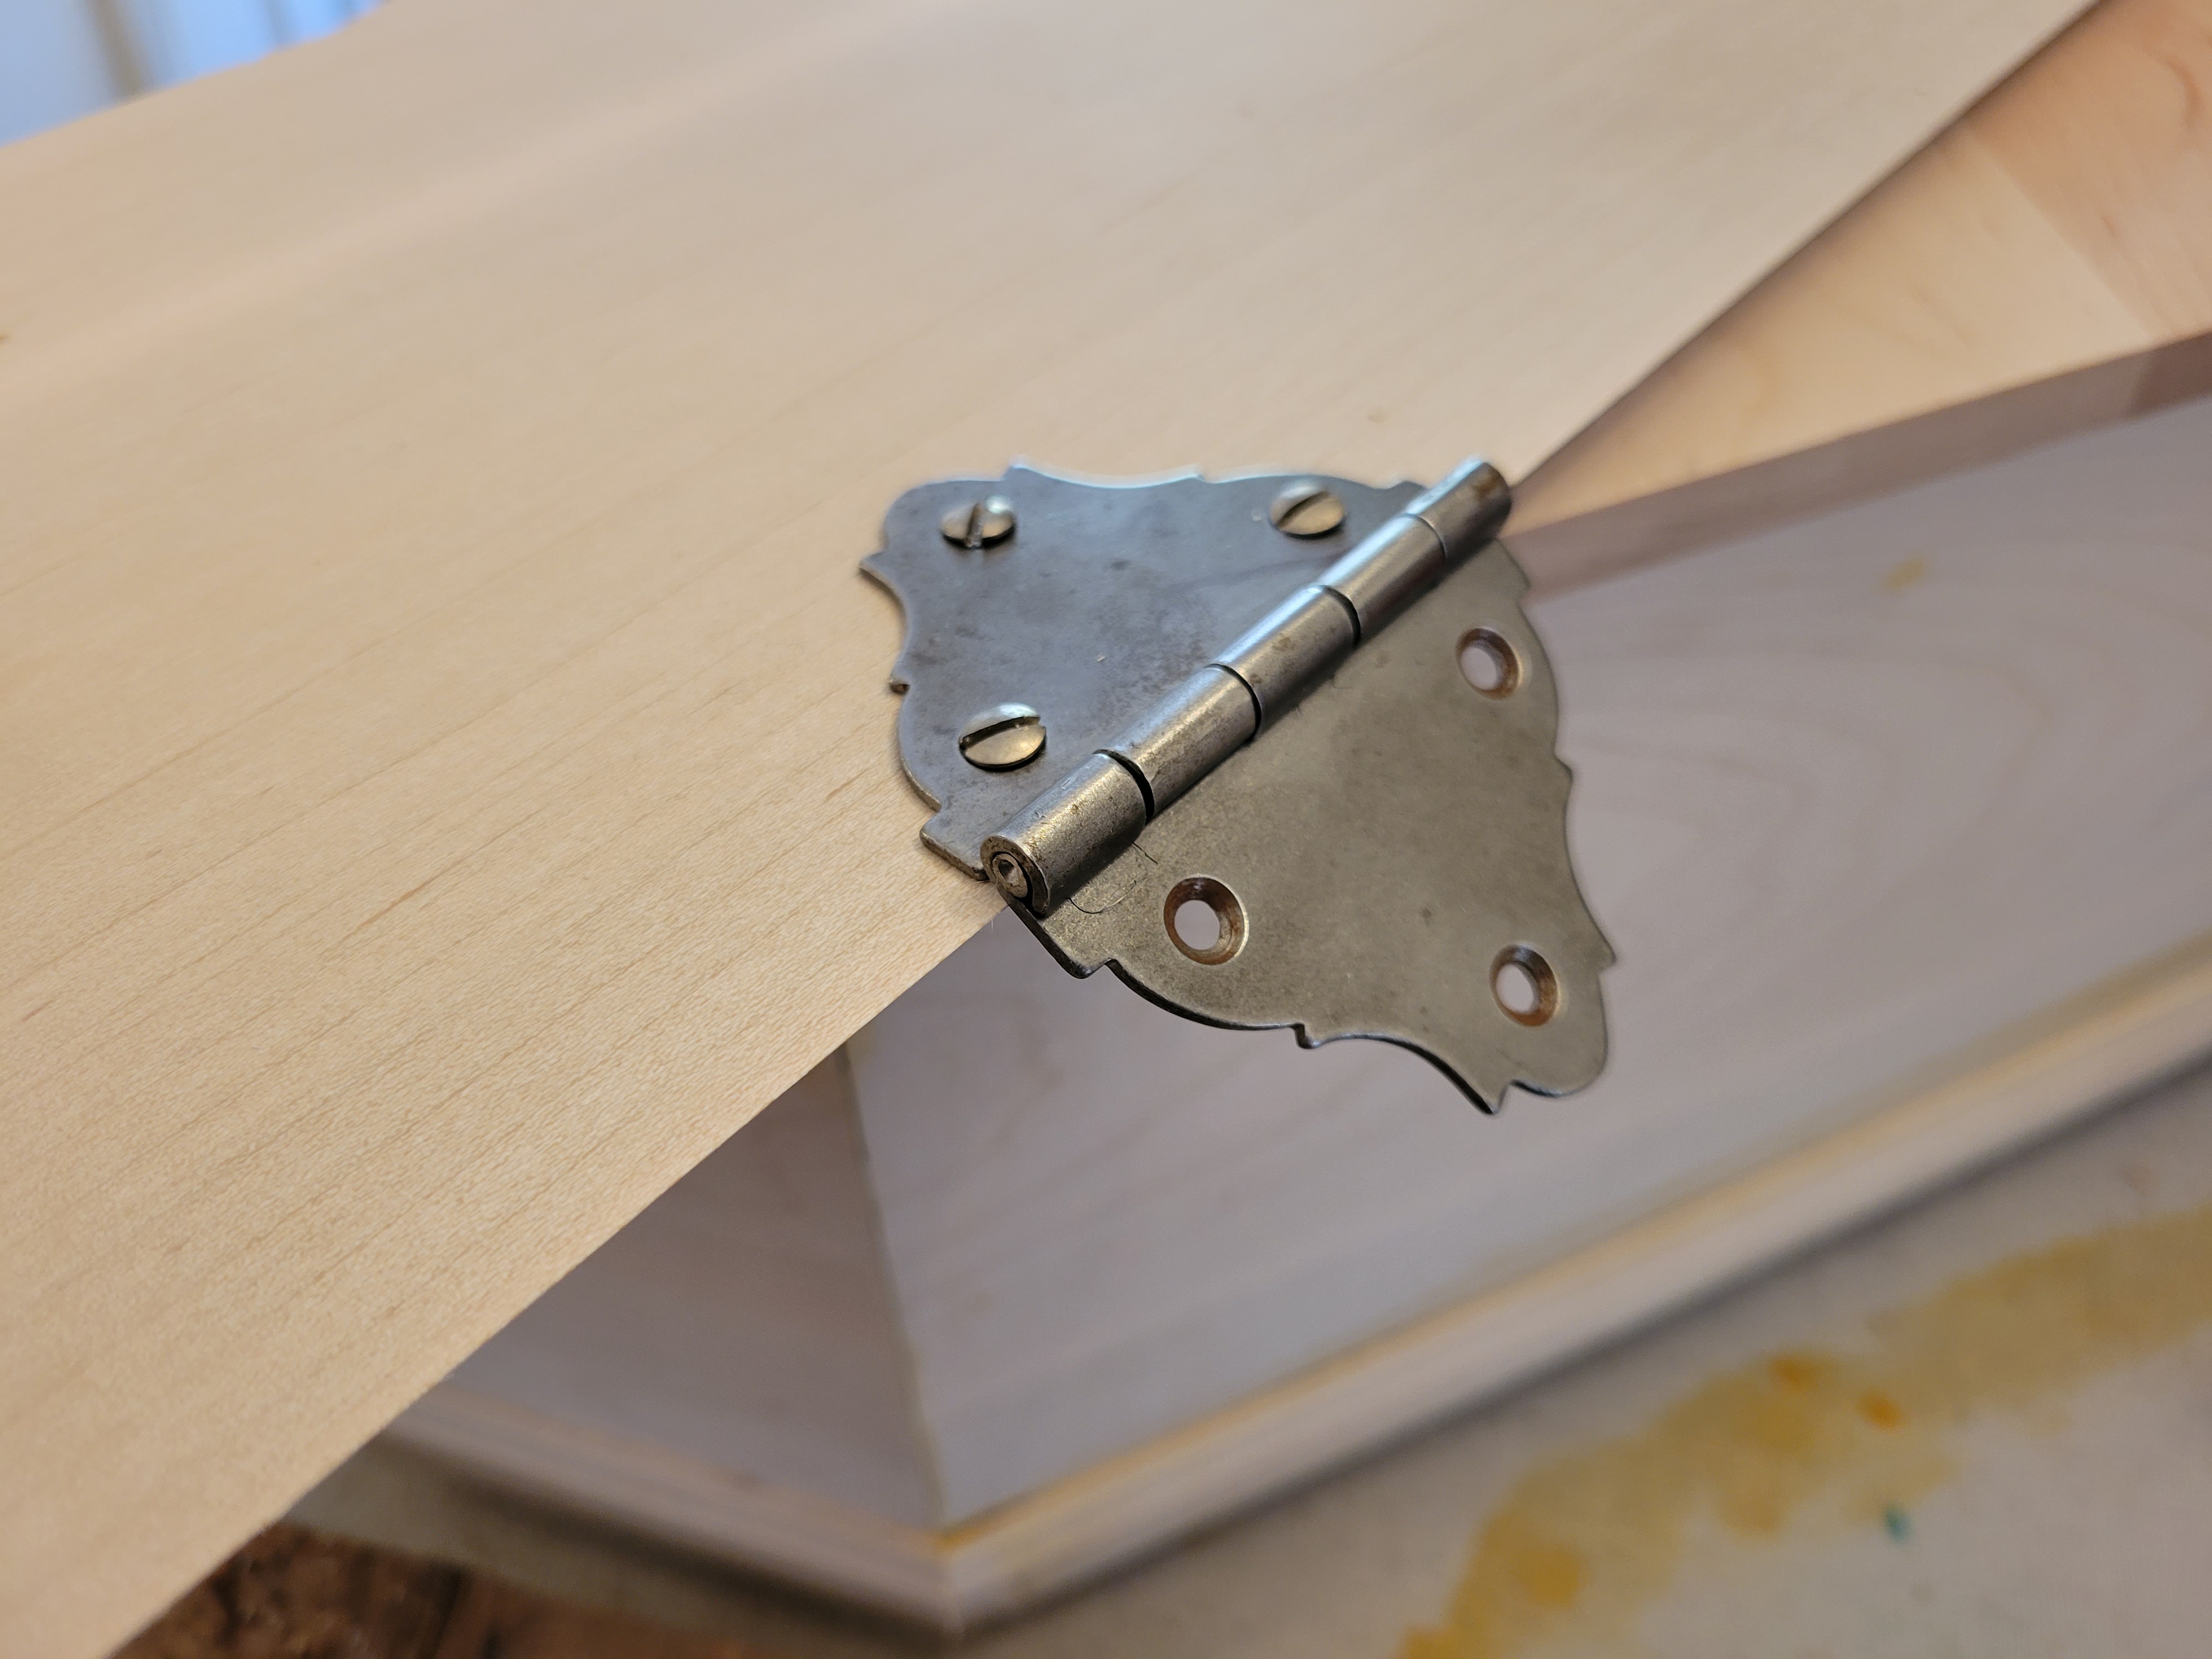
The next step was to position the flap against the top of the lid and mark the screw holes:
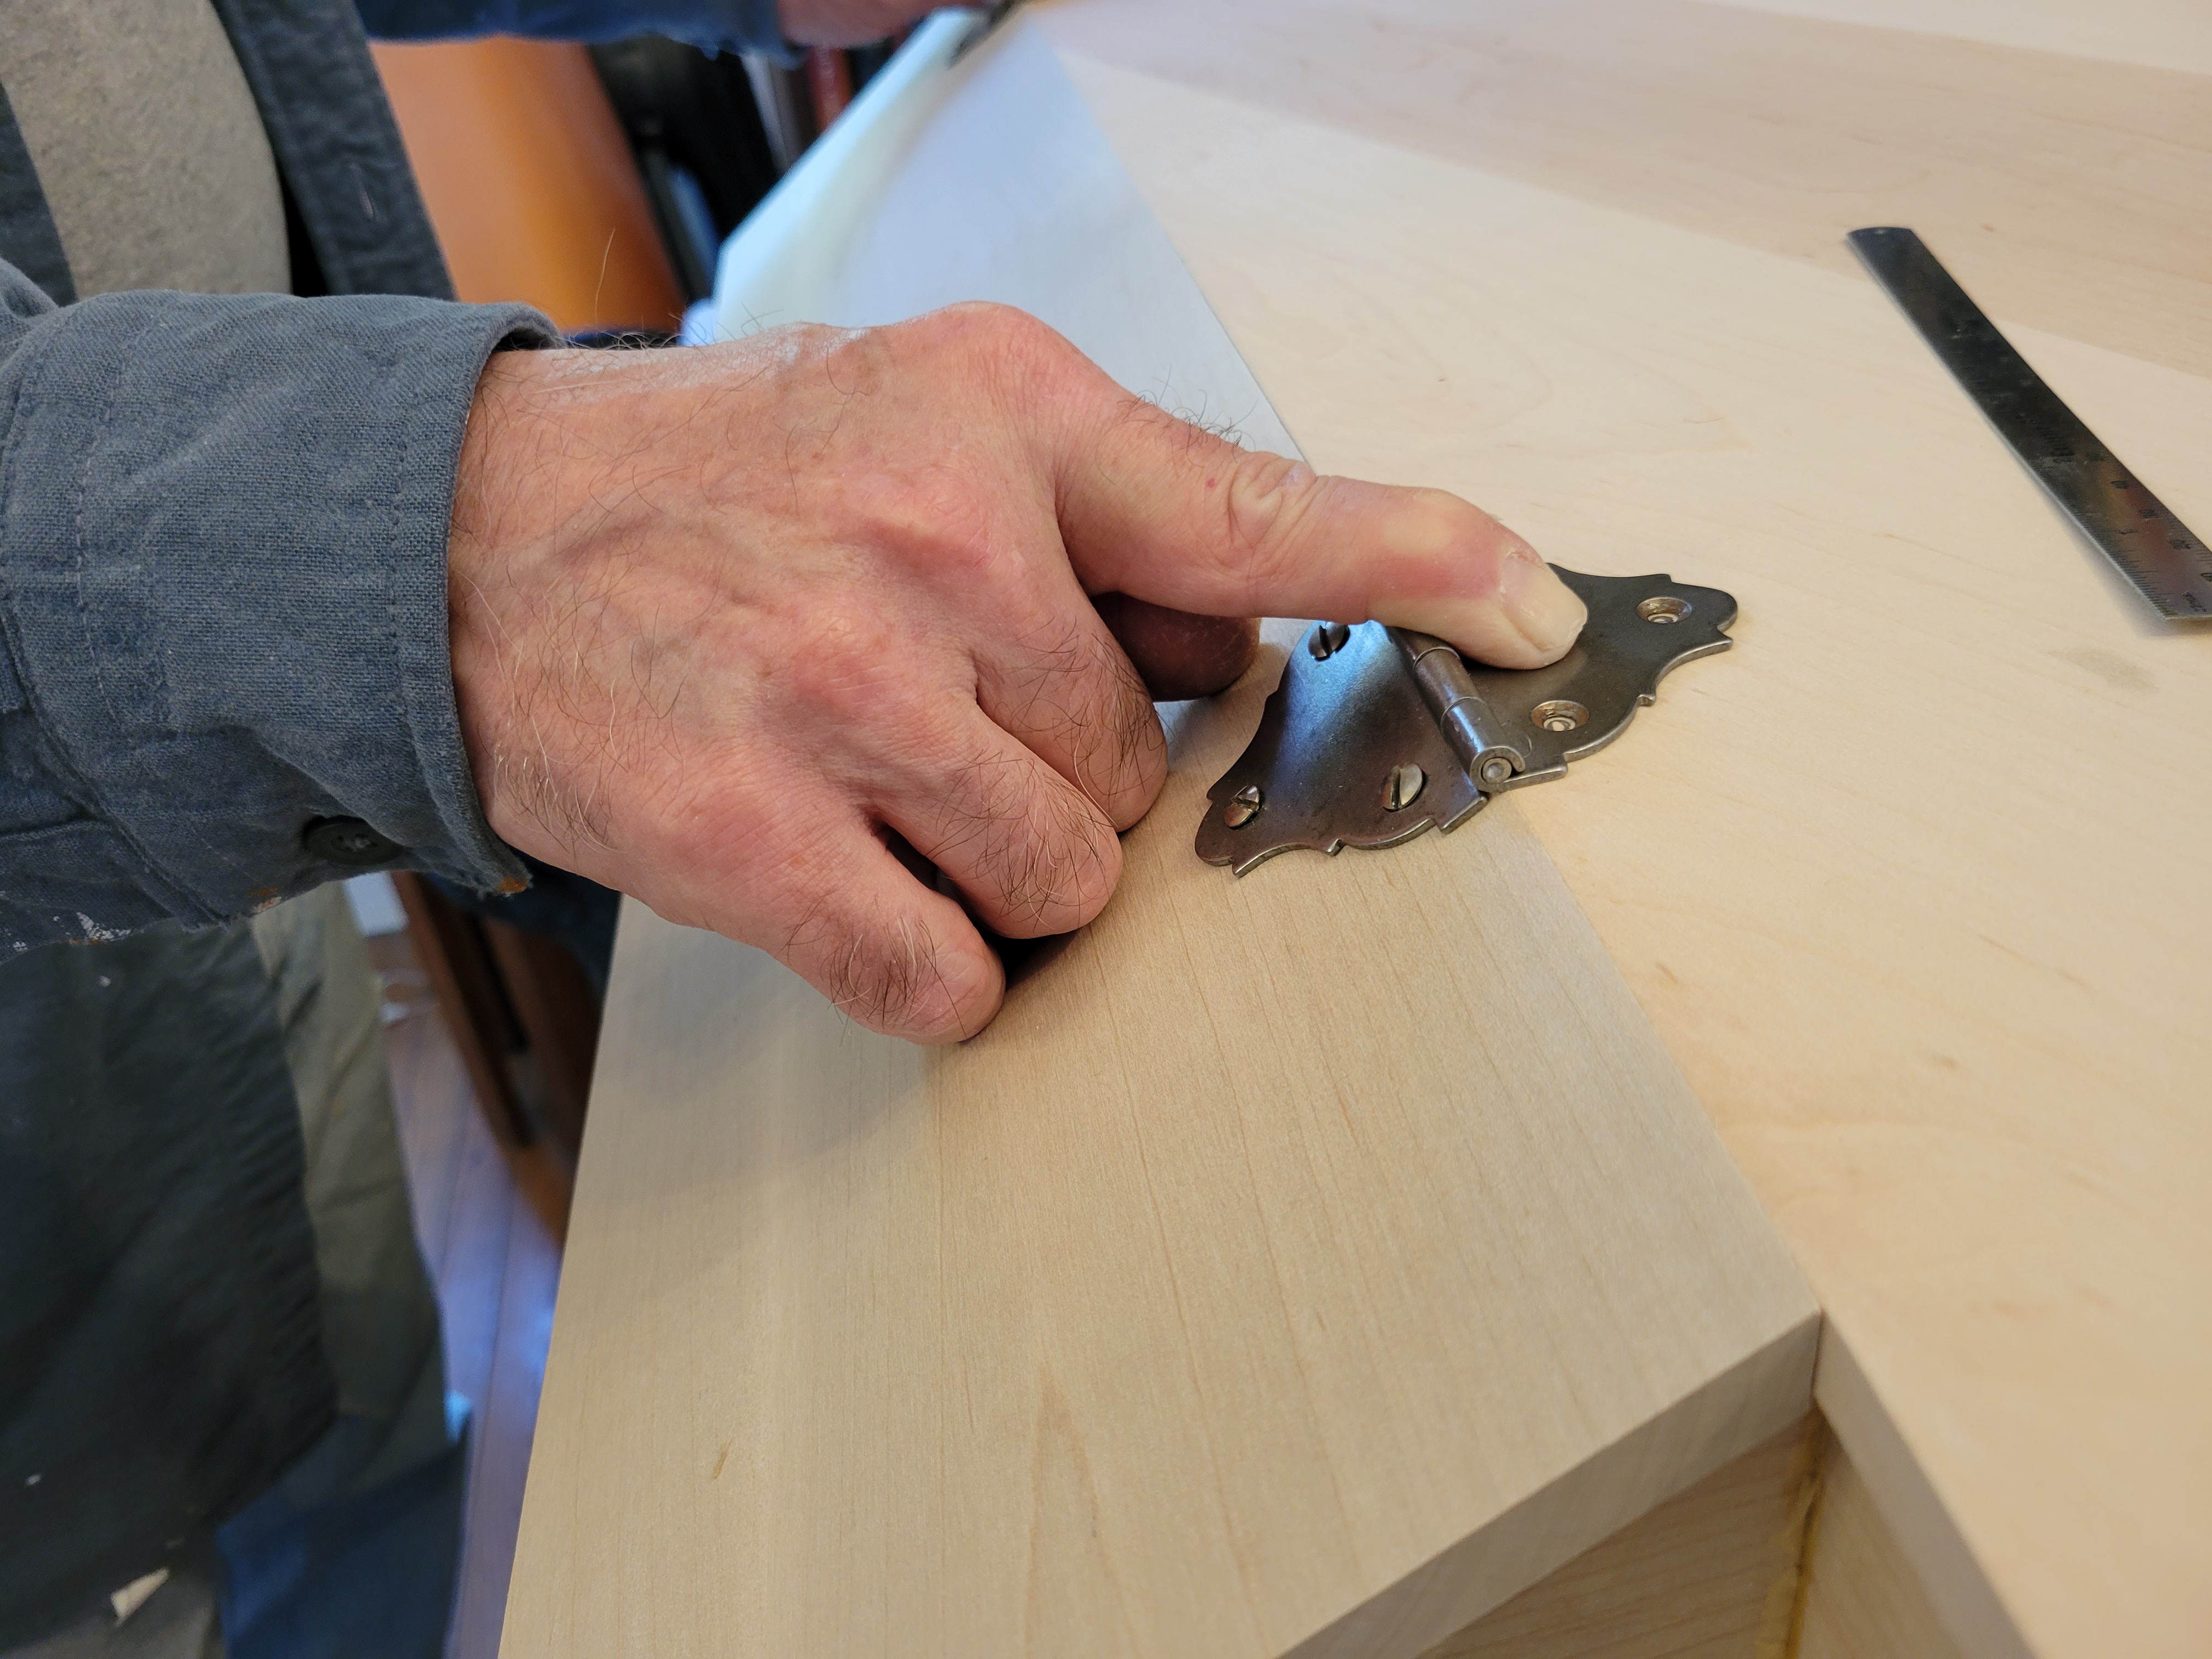
When the hinge is attached to the top and the two pieces are side by side, there’s a gap between the two boards:
But that’s OK because it disappears when the flap is positioned over the keyboard well.
The next step was to position the combined lid and flap to determine how the hinge at the back of the case must be attached:
That’s when I discovered that the lid was designed and measured to have no overhang over the back! Which meant that I could have trusted the documentation, and started at this point, and worked my way forwards.
Here’s the lid in action:
The problem is: There’s nothing to hold the lid open!
That’s one of the purposes of the music stand. It comes in pieces, which can be either screwed together to make a folding collapsible music stand, or simply glued, as I preferred:
I think the extra piece in that photo was supposed to be the center vertical, but it didn’t seem long enough to me, so I instead used a horizontal piece that was supposed to be between the other two, leaving only two when I think there should be three. I’ll replace that at a later time.
Notice that the vertical pieces extend past the bottom of the wide piece that holds the music. This is necessary to secure the music stand against the inside of the case.
The most laborious job was sawing and sanding the top of the center vertical to match the angle of the opened lid. When that’s done, a hole is drilled and a hitch pin is inserted to stick out maybe a quarter inch or so.
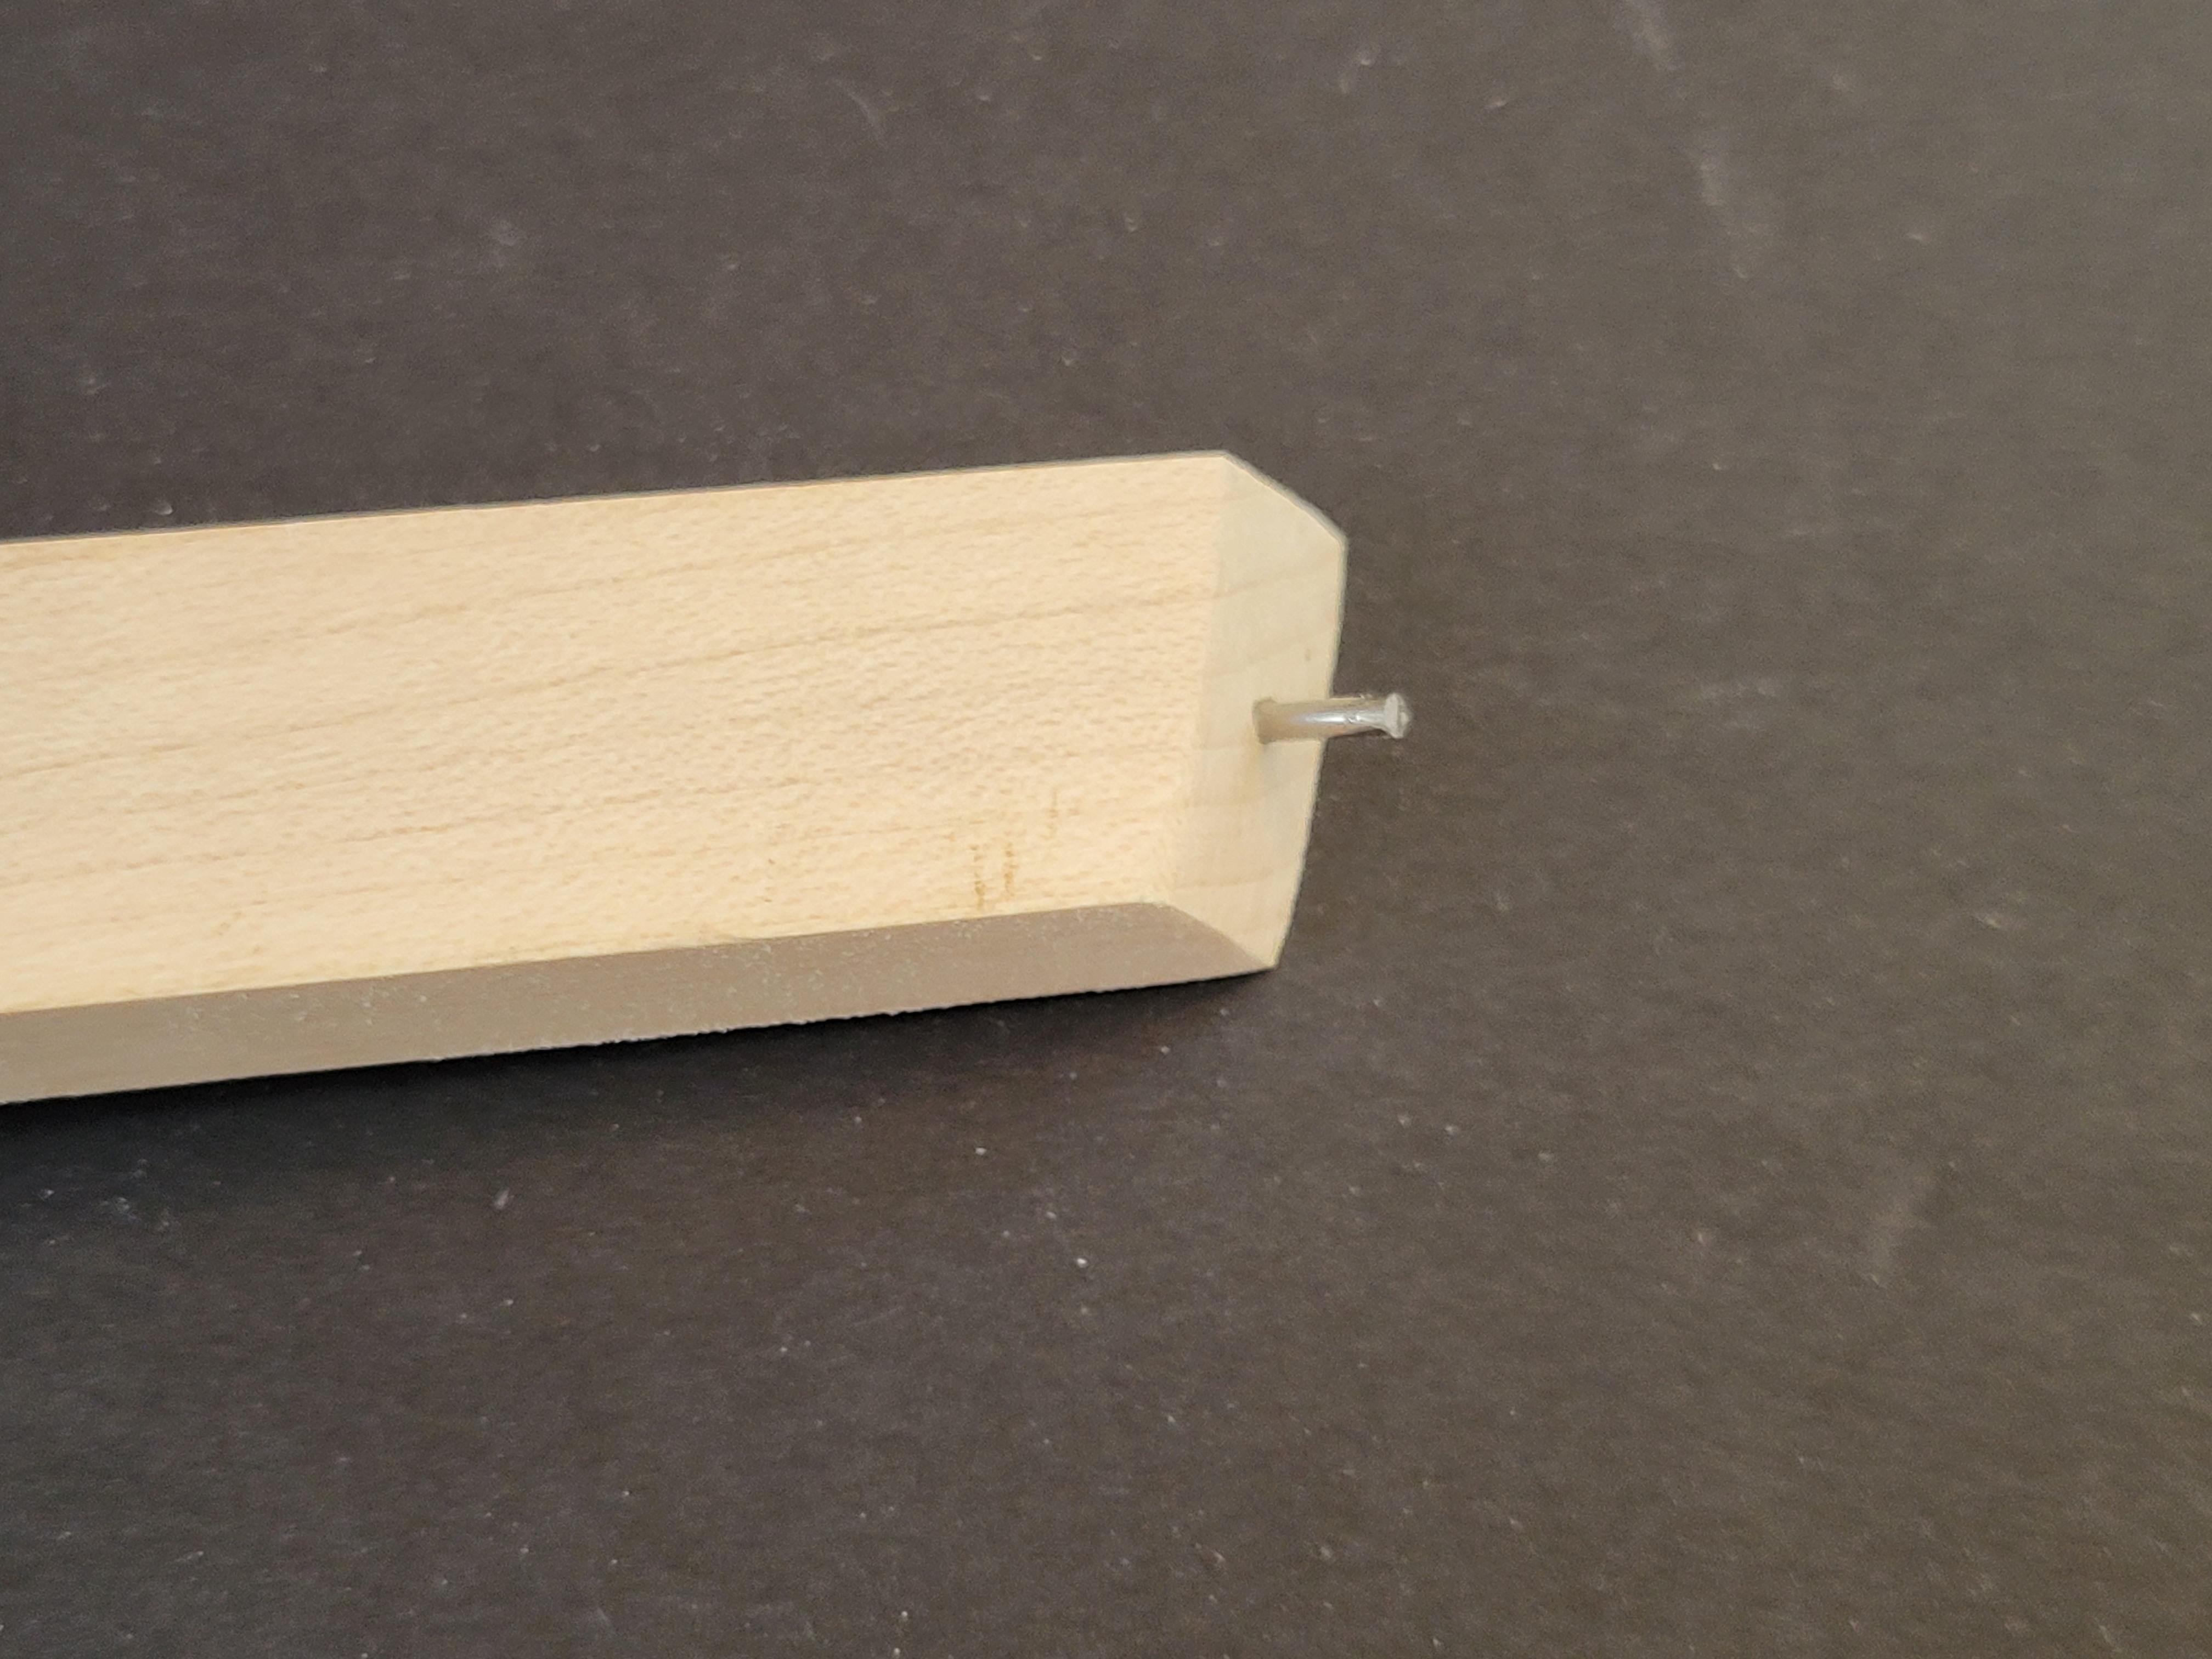
Don’t do as I did and try to drill orthogonal to the surface. You’ll come out the side. Instead, drill straight down, and then use pliers to bend the hitch pin to be orthogonal to the surface. A matching hold is then drilled in the underside of the lid (but not all the way through).
Here’s how it all works: