Building a Virginal: Stringing Progress I
April 16, 2023
Roscoe, N.Y.
As I was brushing shellac on the wooden components of my in-progess Zuckermann Troubadour Virginal on Friday, perhaps I could be forgiven for briefly feeling that I was in the home stretch. The lid sure looked fine in the afternoon sun:
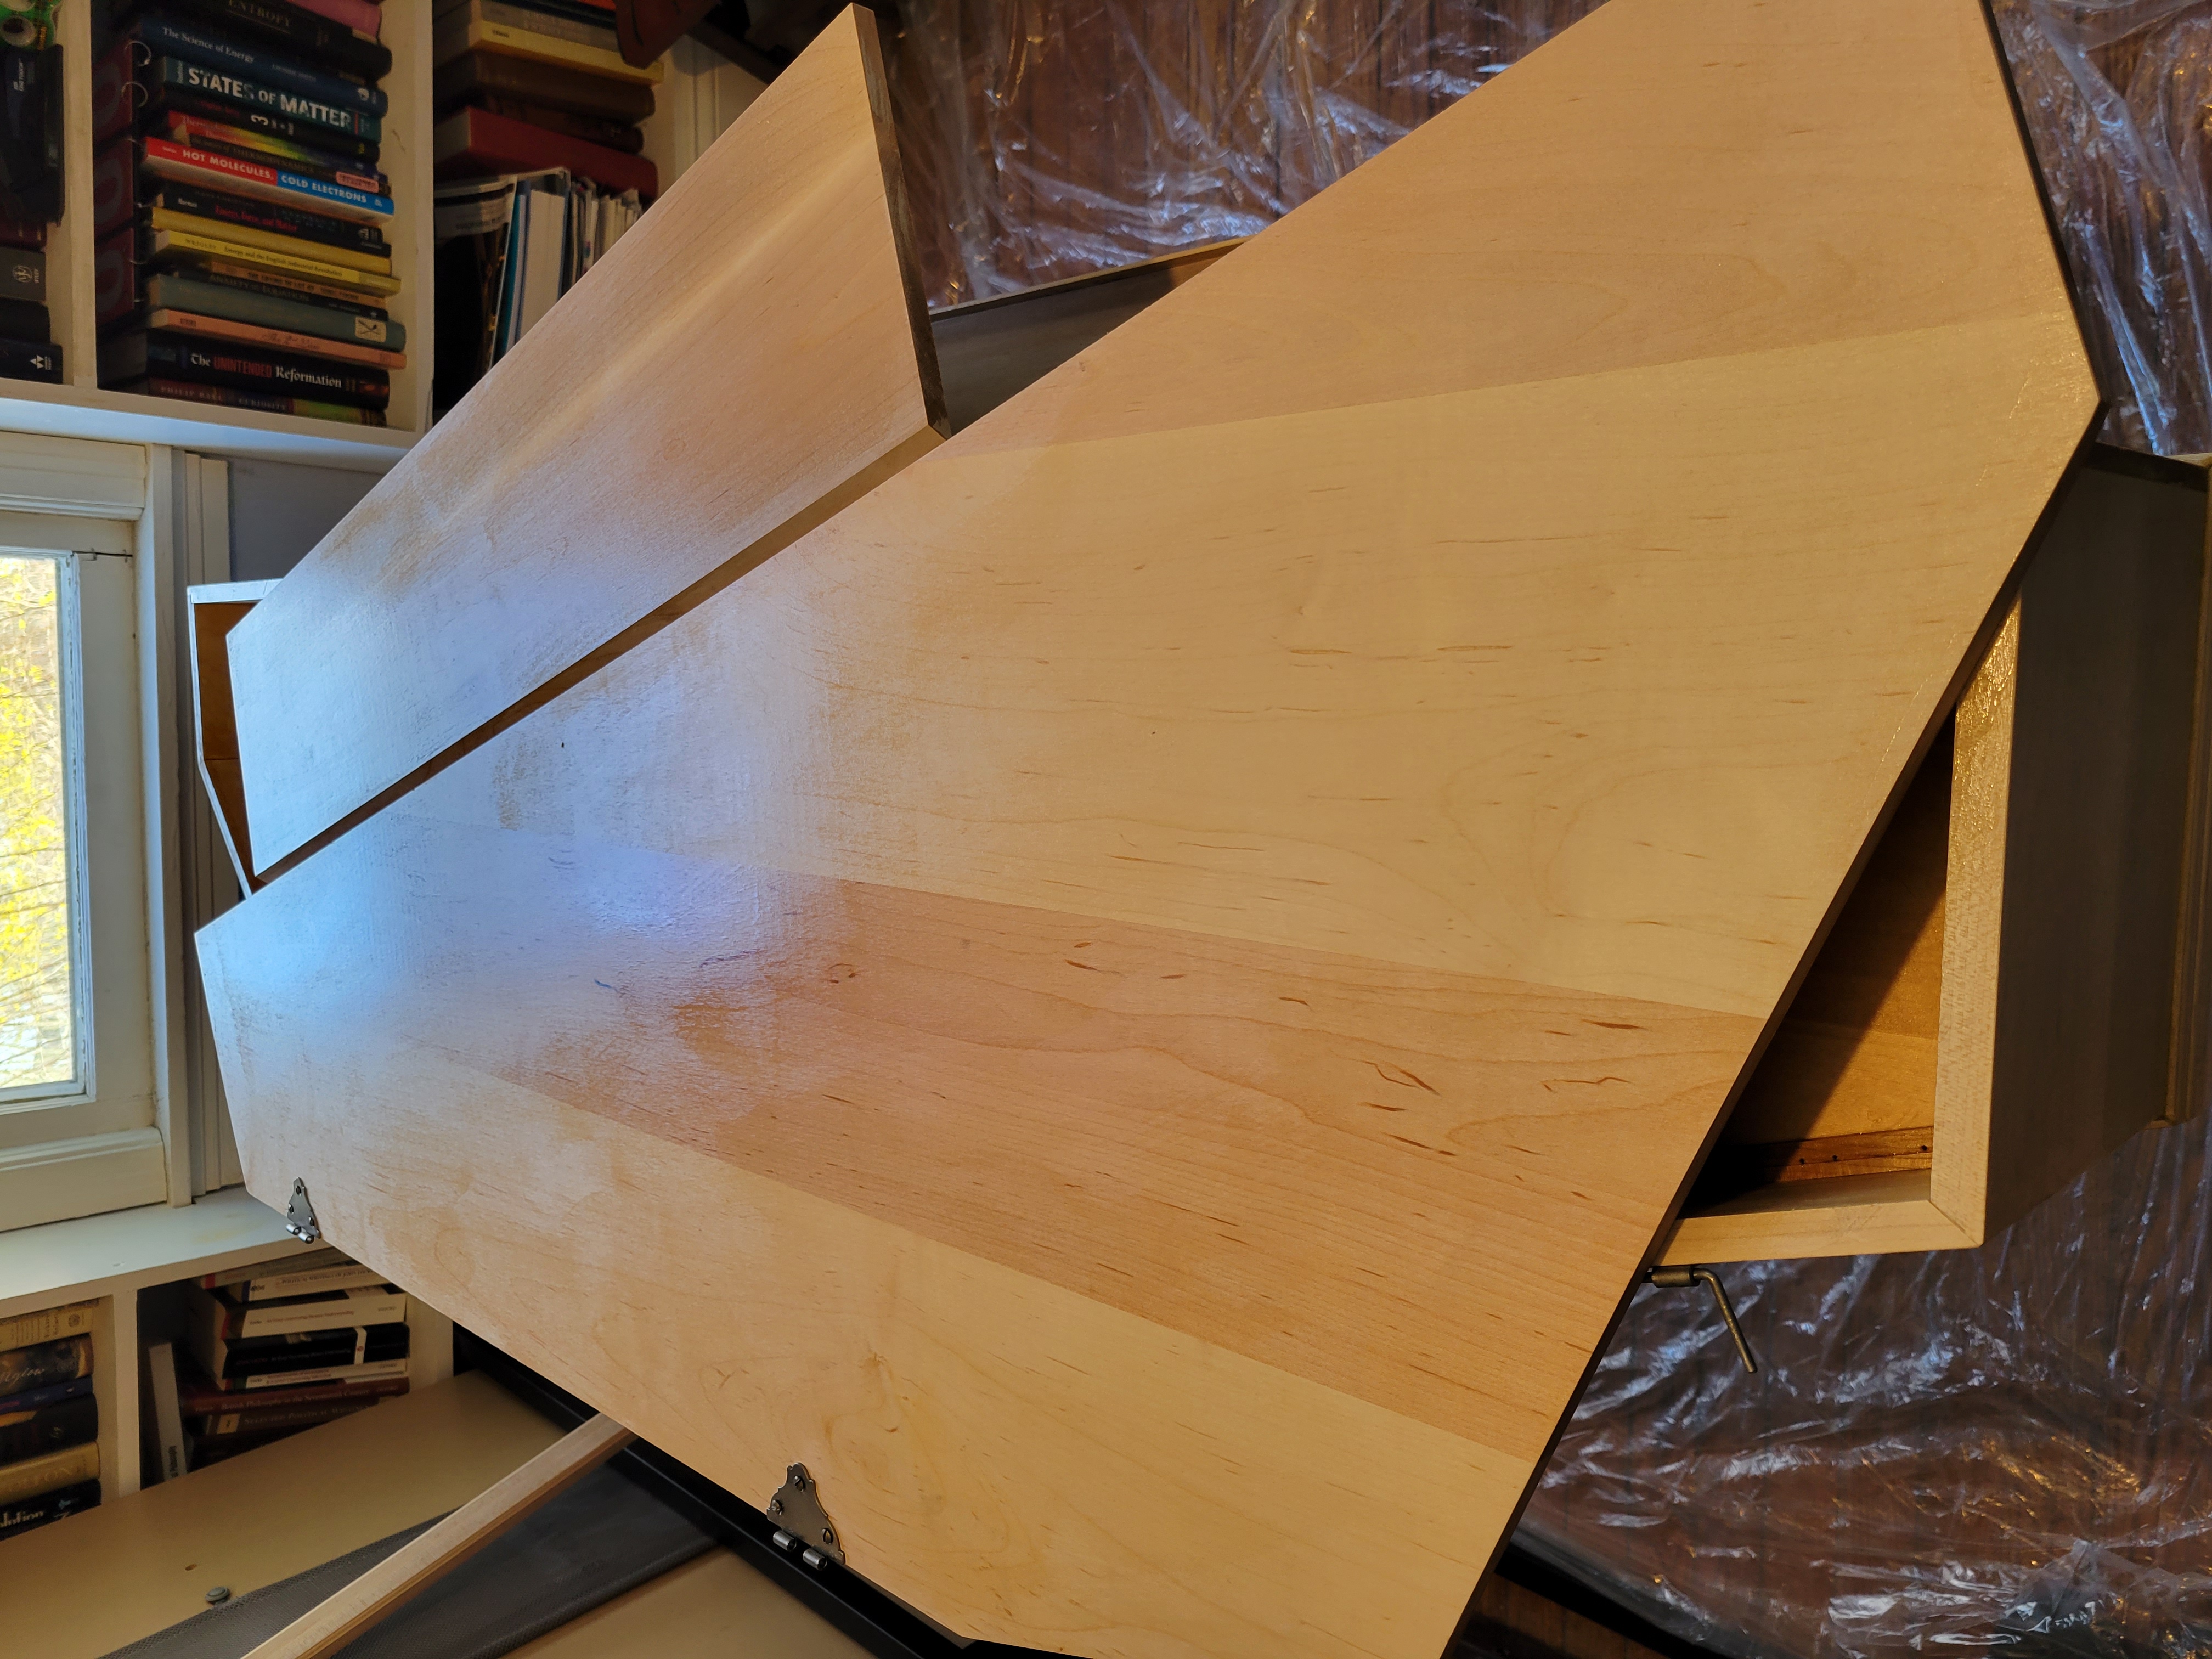
That was Construction Day 14, and the primary purpose of shellacking at that point was to get the soundboard shellacked, for then it is ready for stringing.
The Troubadour Virginal kit comes with 10 rolls of wire held together with twist ties and labeled with their diameters:
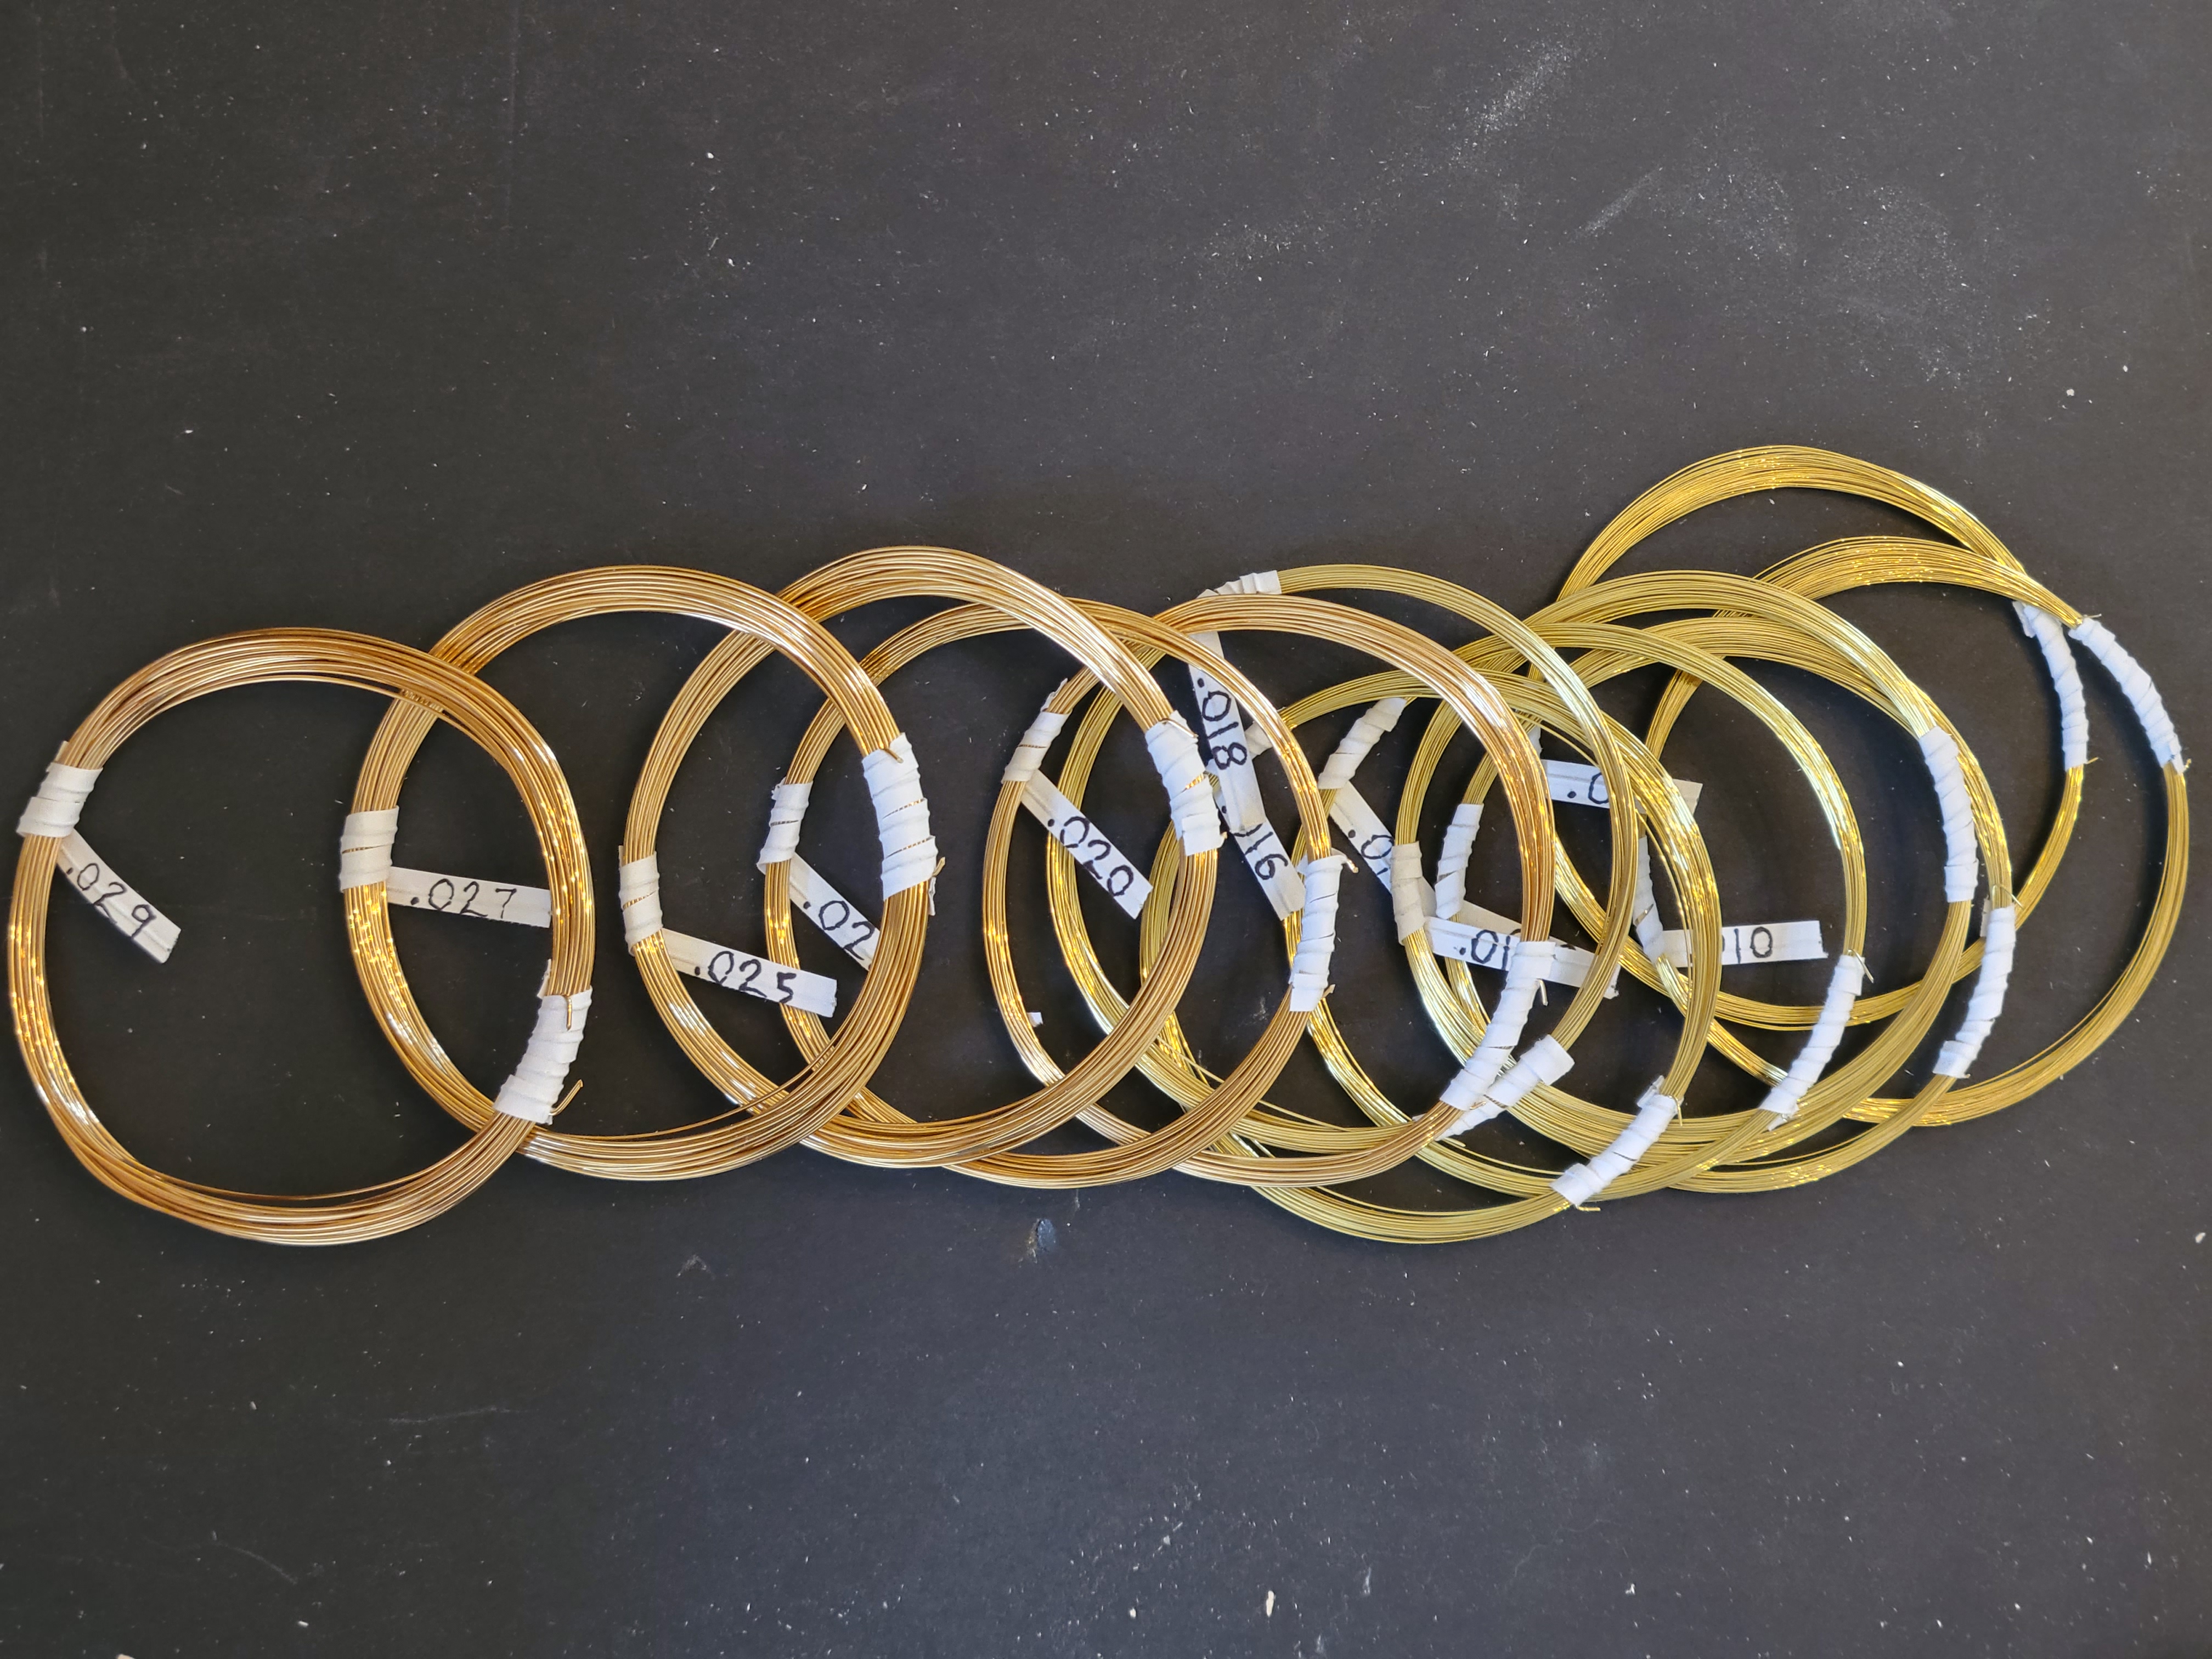
The diameters range from 0.010” for the 12 top notes of the treble to 0.029” for the bottom note of the bass. A stringing shedule lists which wires are used for which notes.
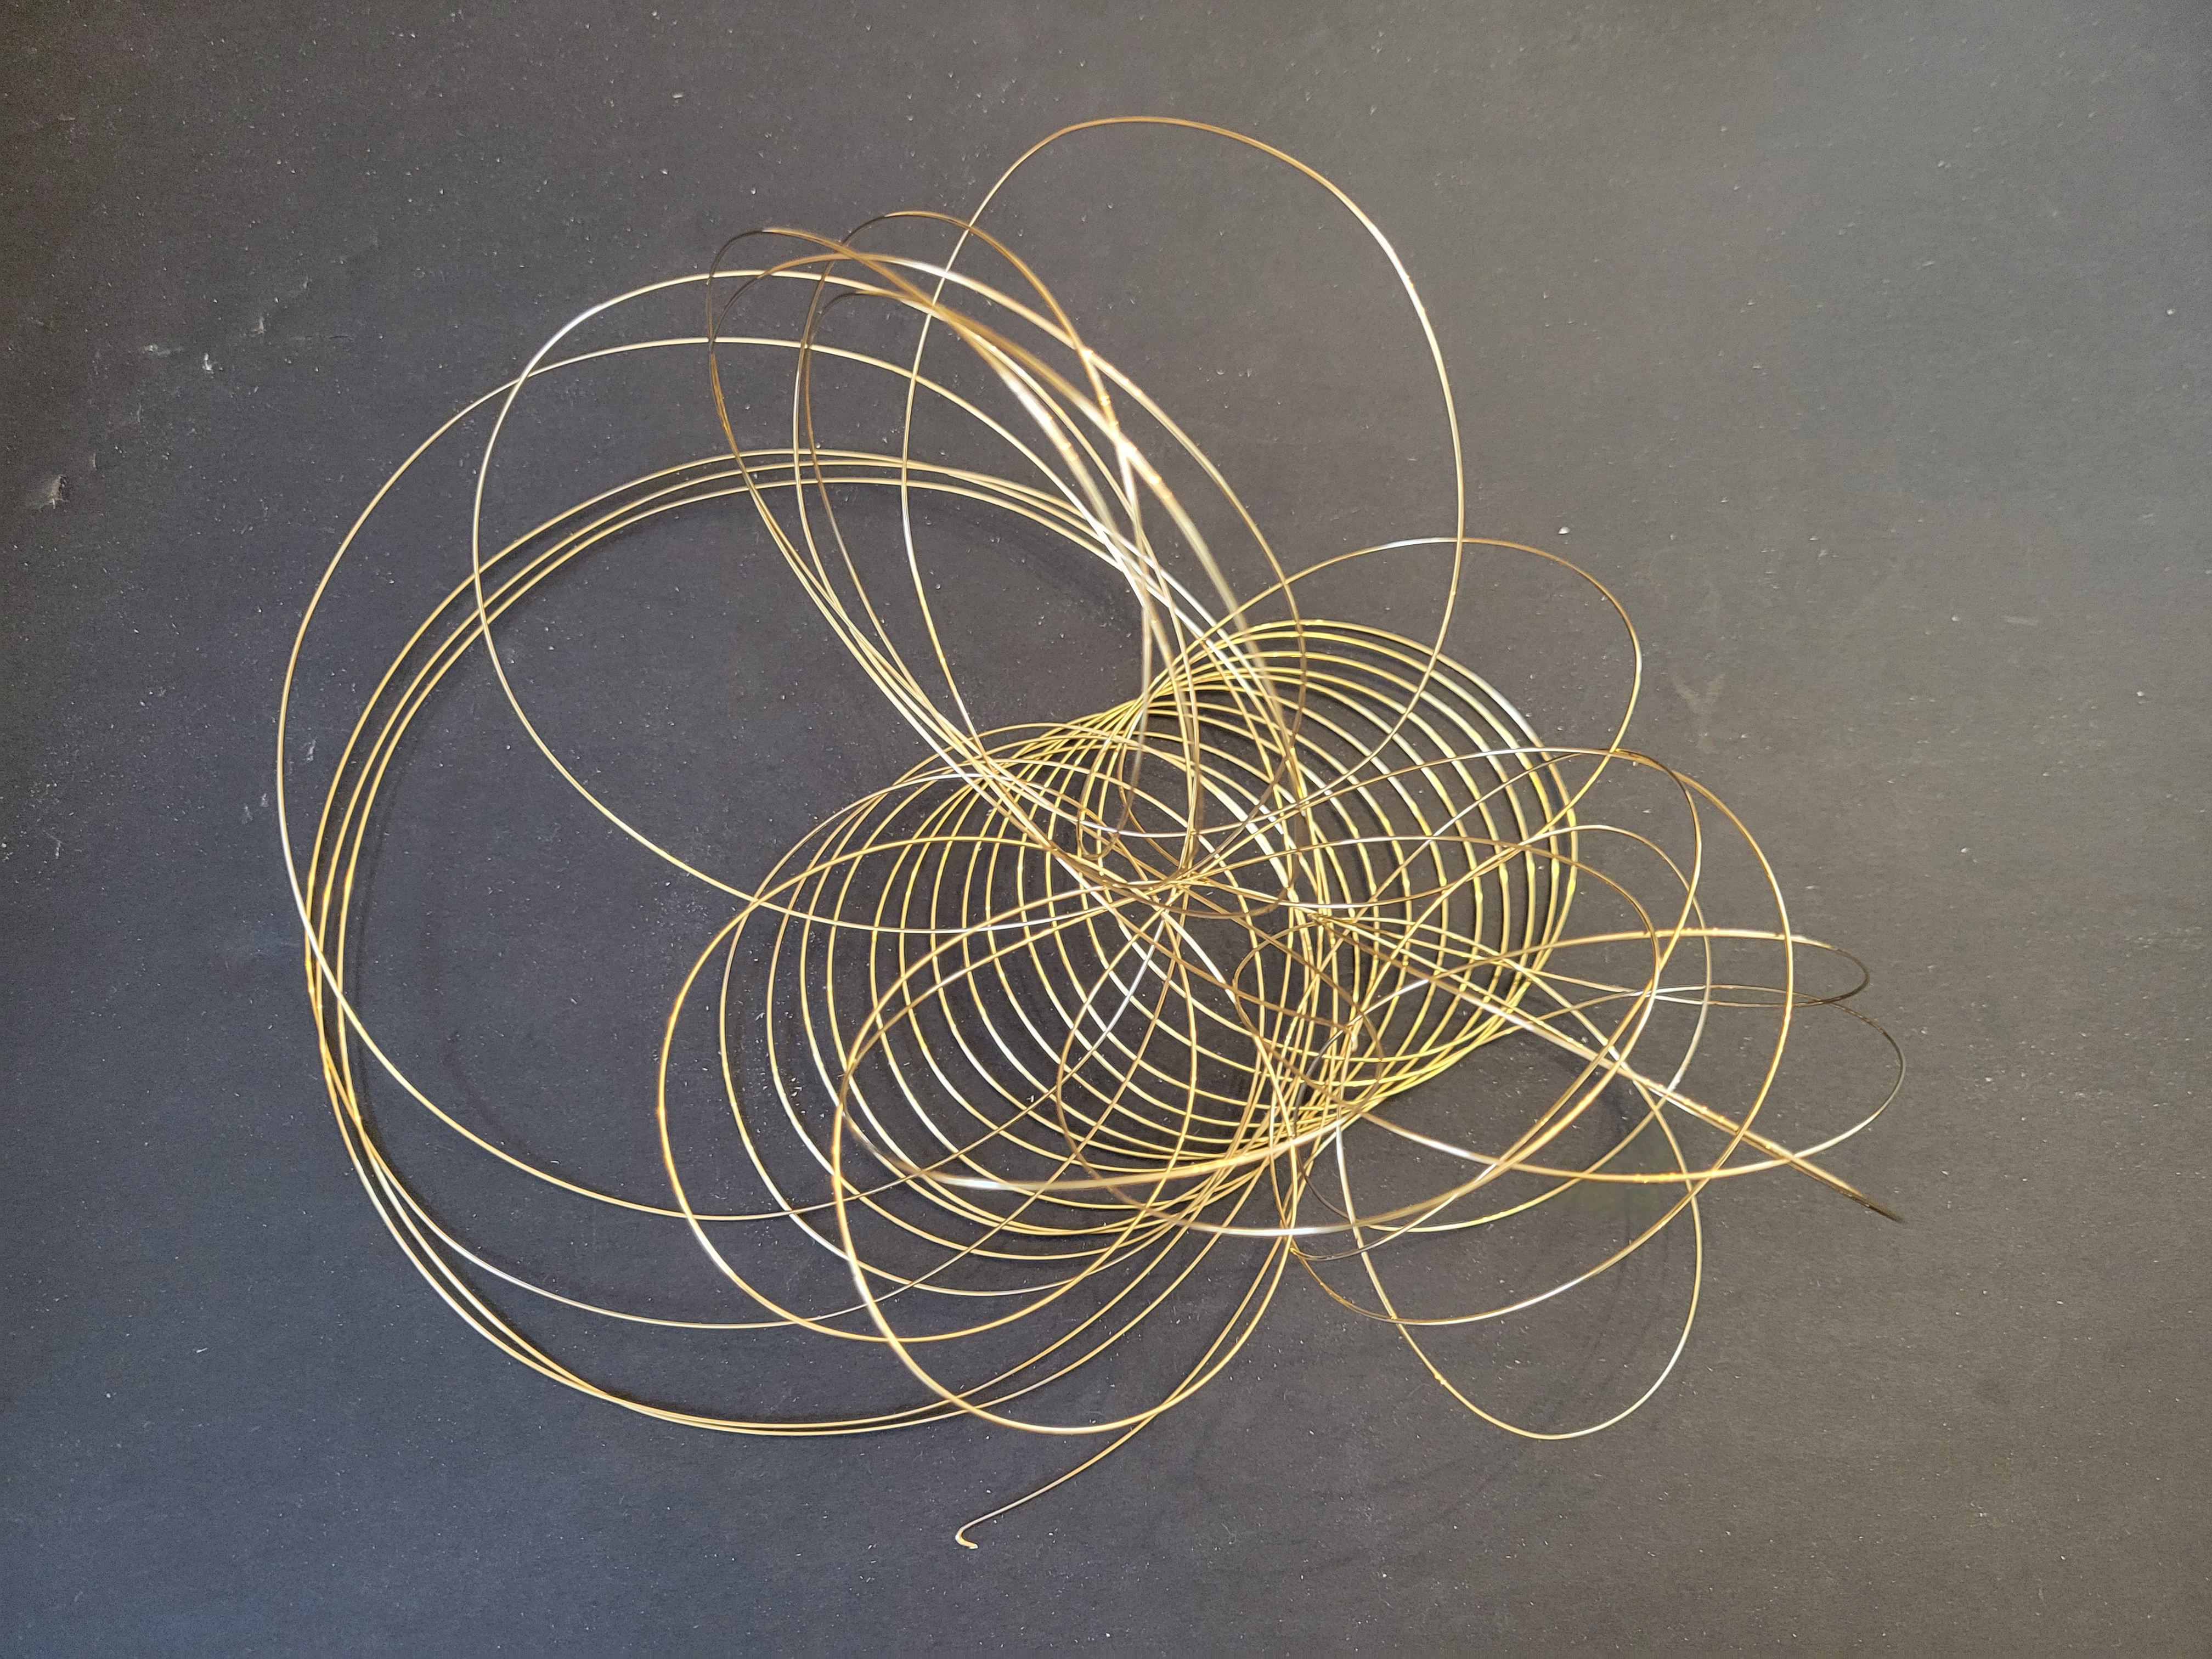
It is tempting to remove the two twist ties that hold the wire in a roll, but almost immediately the mistake is revealed:
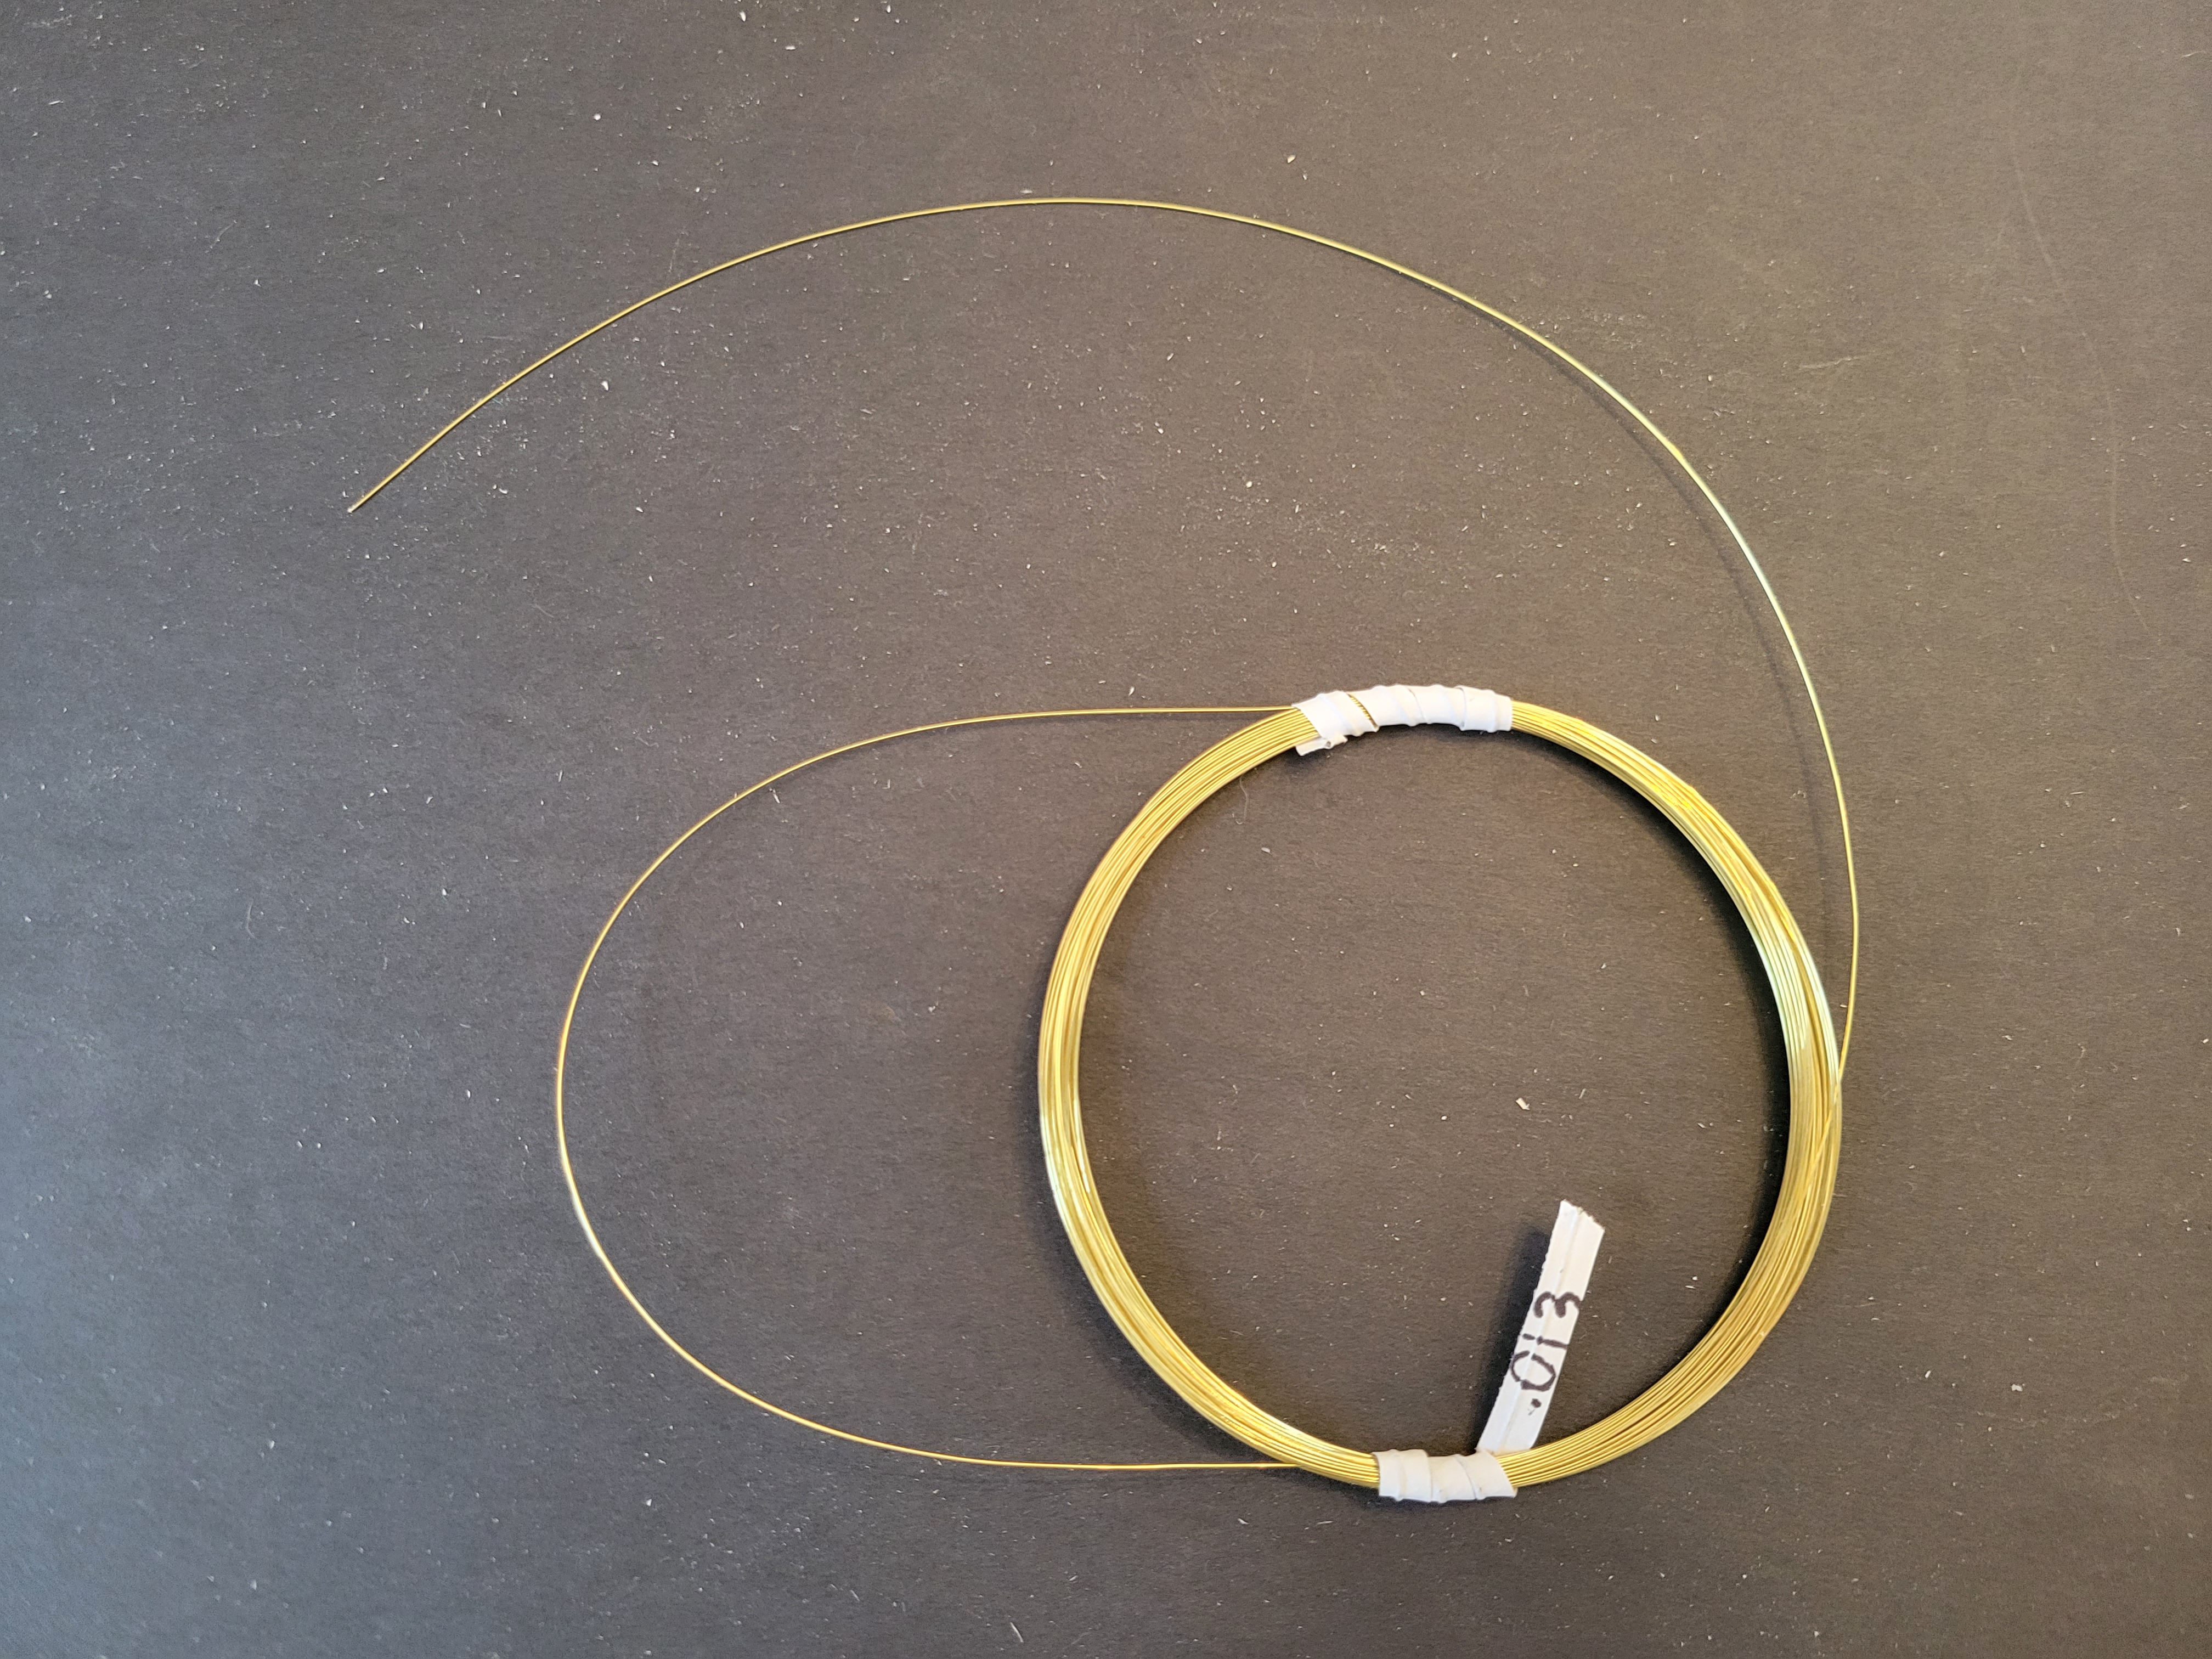
A much better way to extract a length of wire from a roll is to find an end and gently push the wire backwards through the twist ties until you have the length you need. The length of wire you need for each note is roughly the length from the hitch pin to the tuning peg plus roughly a foot. Some 5 or 6 inches gets would around the tuning peg, and several inches are consumed making the hitchpin loop.
Making hitchpin loops is well documented, but I discovered a technique that makes use of three of my limbs rather than just two, much like a monkey might do the job:
The hitchpins themselves are nailed into holes that circle around the left and top of the soundboard. Here are the hitchpins on the left side of the case for 11 lowest-pitched strings:
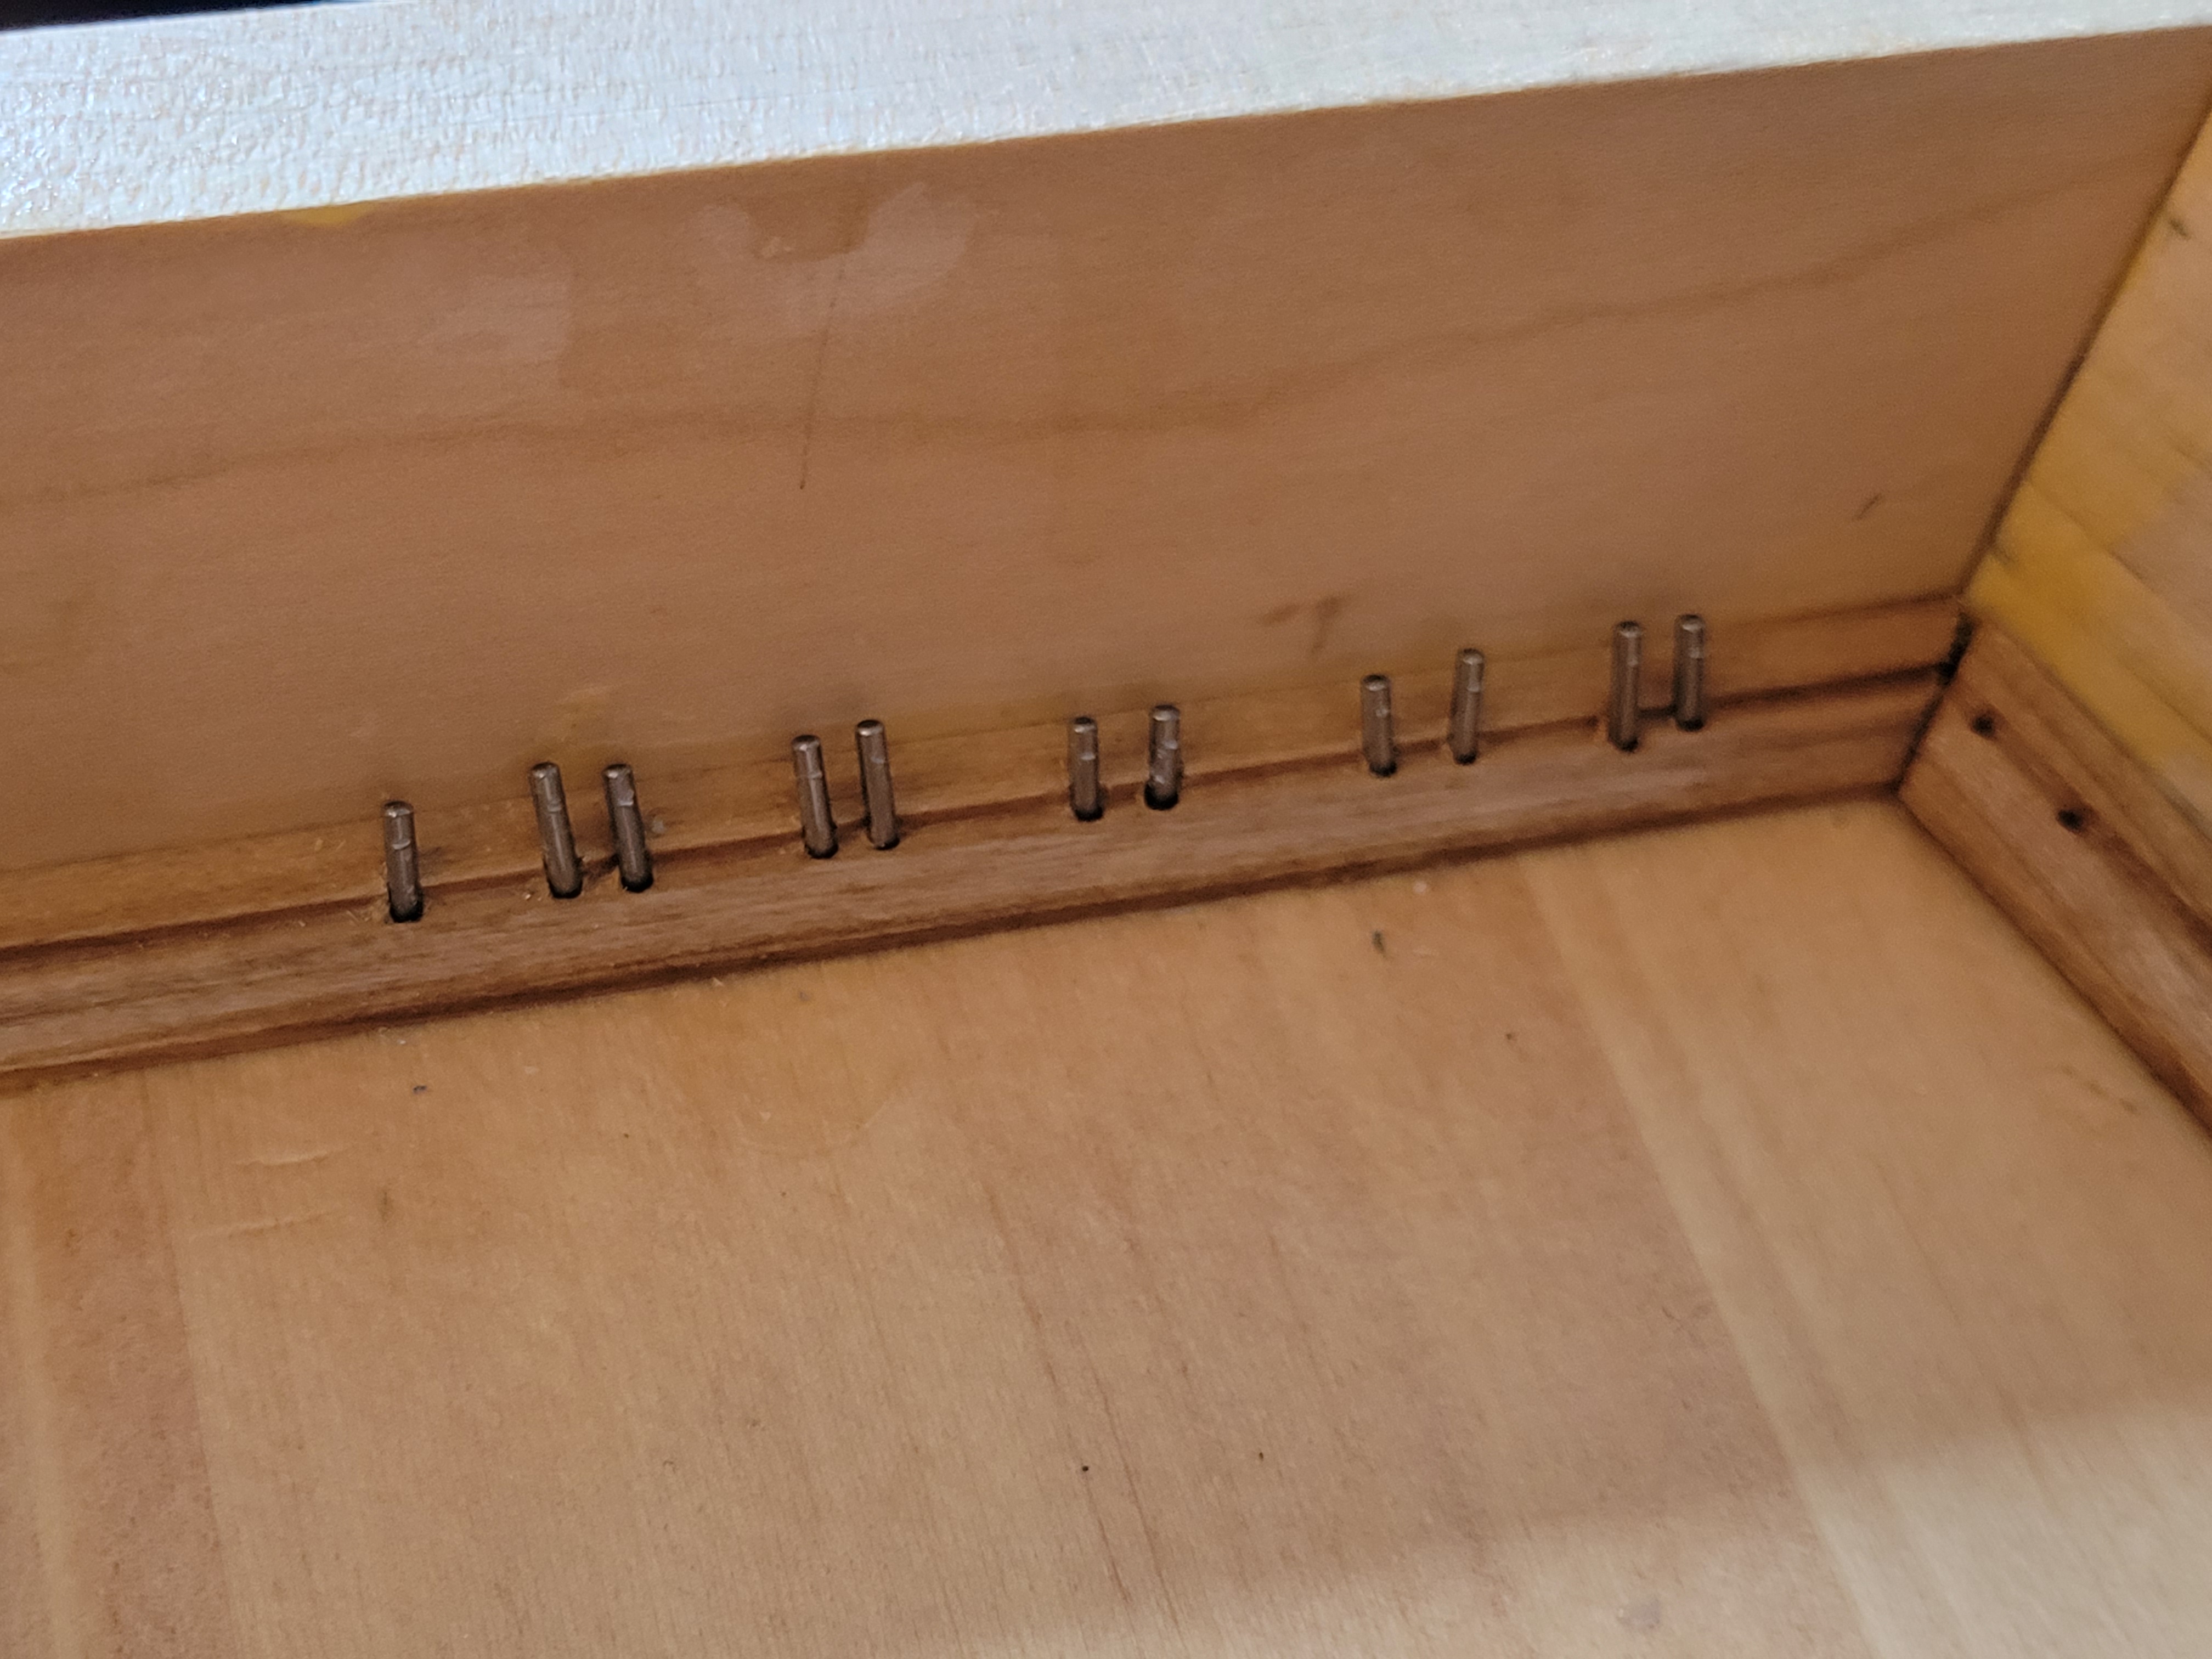
I hammered these in via a nail punch.
I originally tried starting at the bottom of the soundboard with the bass notes, but decided it would be easier to start at the top with the treble. The treble strings are thinner and shorter and all around easier to manipulate. Construction Days 15 and 16 (yesterday and today) have so far resulted in the stringing of the top 12 notes:
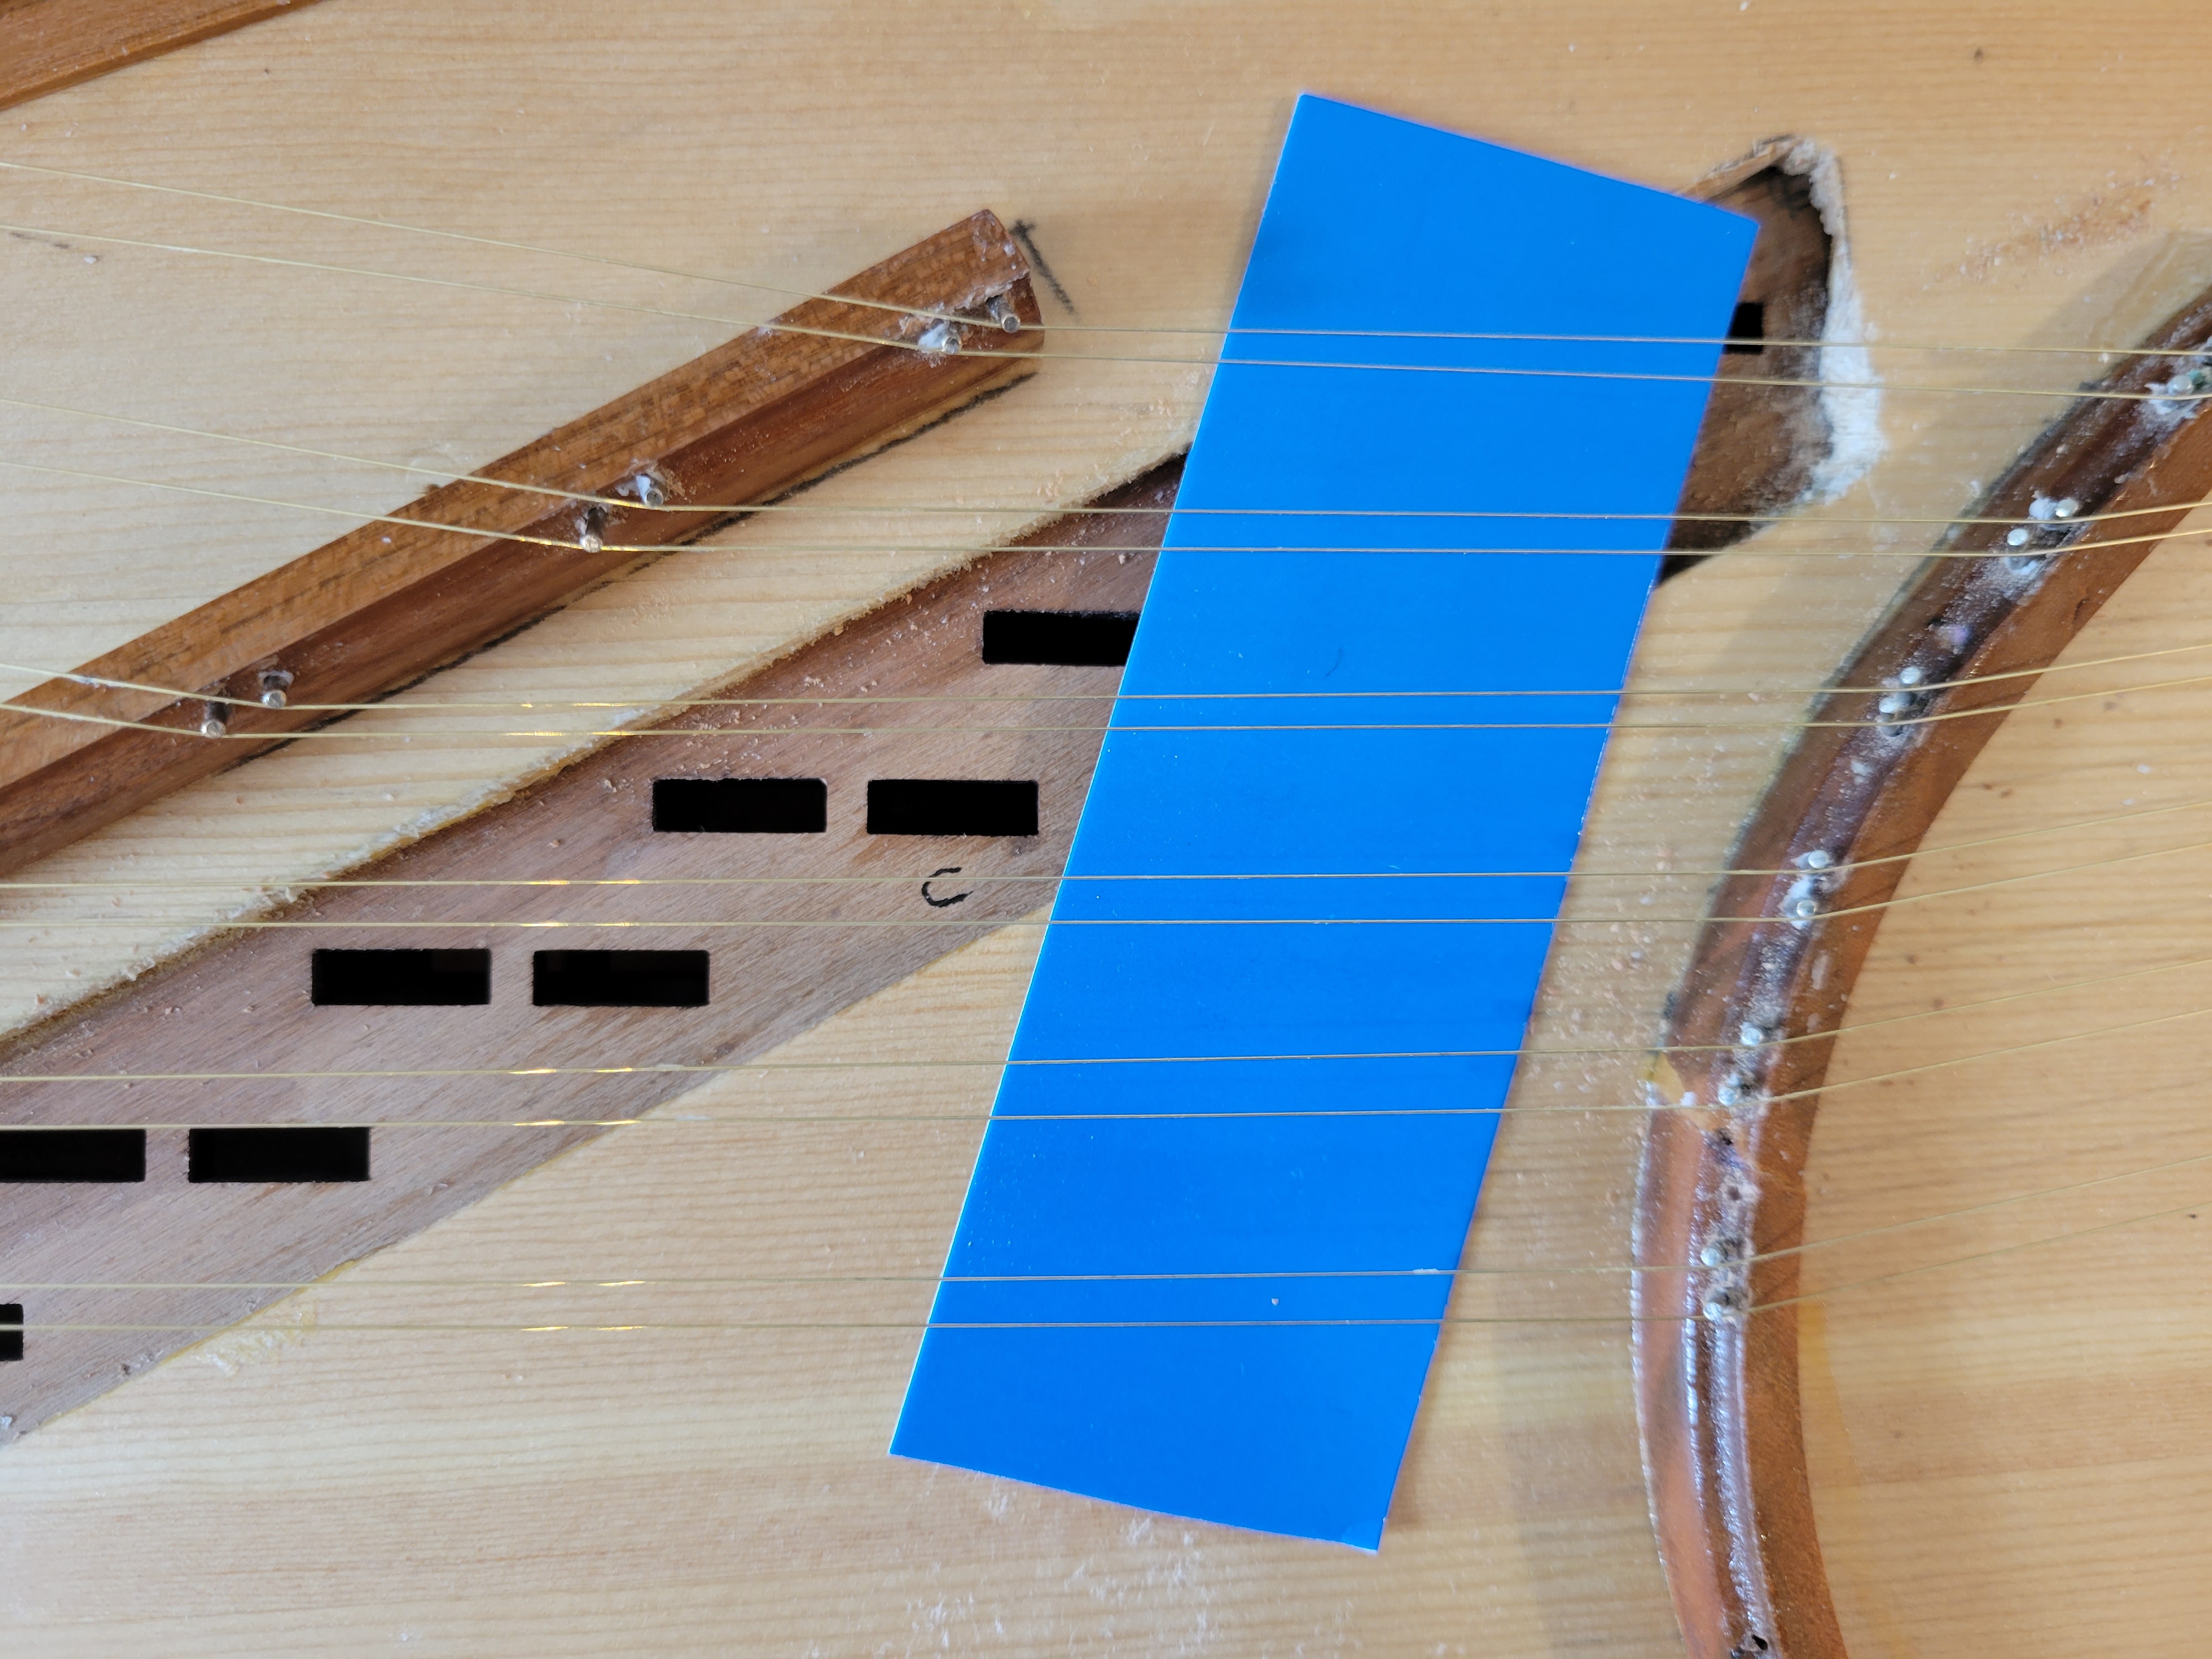
I’ve inserted a piece of blue cardboard for contrast; otherwise the strings are nearly invisible. The gunk around the bridge pins is soap that I used to facilitate their entry into the bridges. I’m going to switch to beeswax for this purpose soon.
I was even able to perform a rudimentary tuning of these notes using a free app I installed on my Android phone. (There are numerous such apps.) These strings are tuned based on A 415, and have a range from F♯5 to F6 (using the “scientific” notation for octaves):
I strung these twelve wires using the tools I discussed yesterday and you can judge for yourself if I was able to maintain consistency. I’m not happy with the results, and as I looked ahead to stringing the remainder of the virginal, the limitations of the tools became apparent.
Let me demonstrate the problem using the string for middle C as an example. Here’s the Stringing Tool inserted in the proper hole in the box guide:
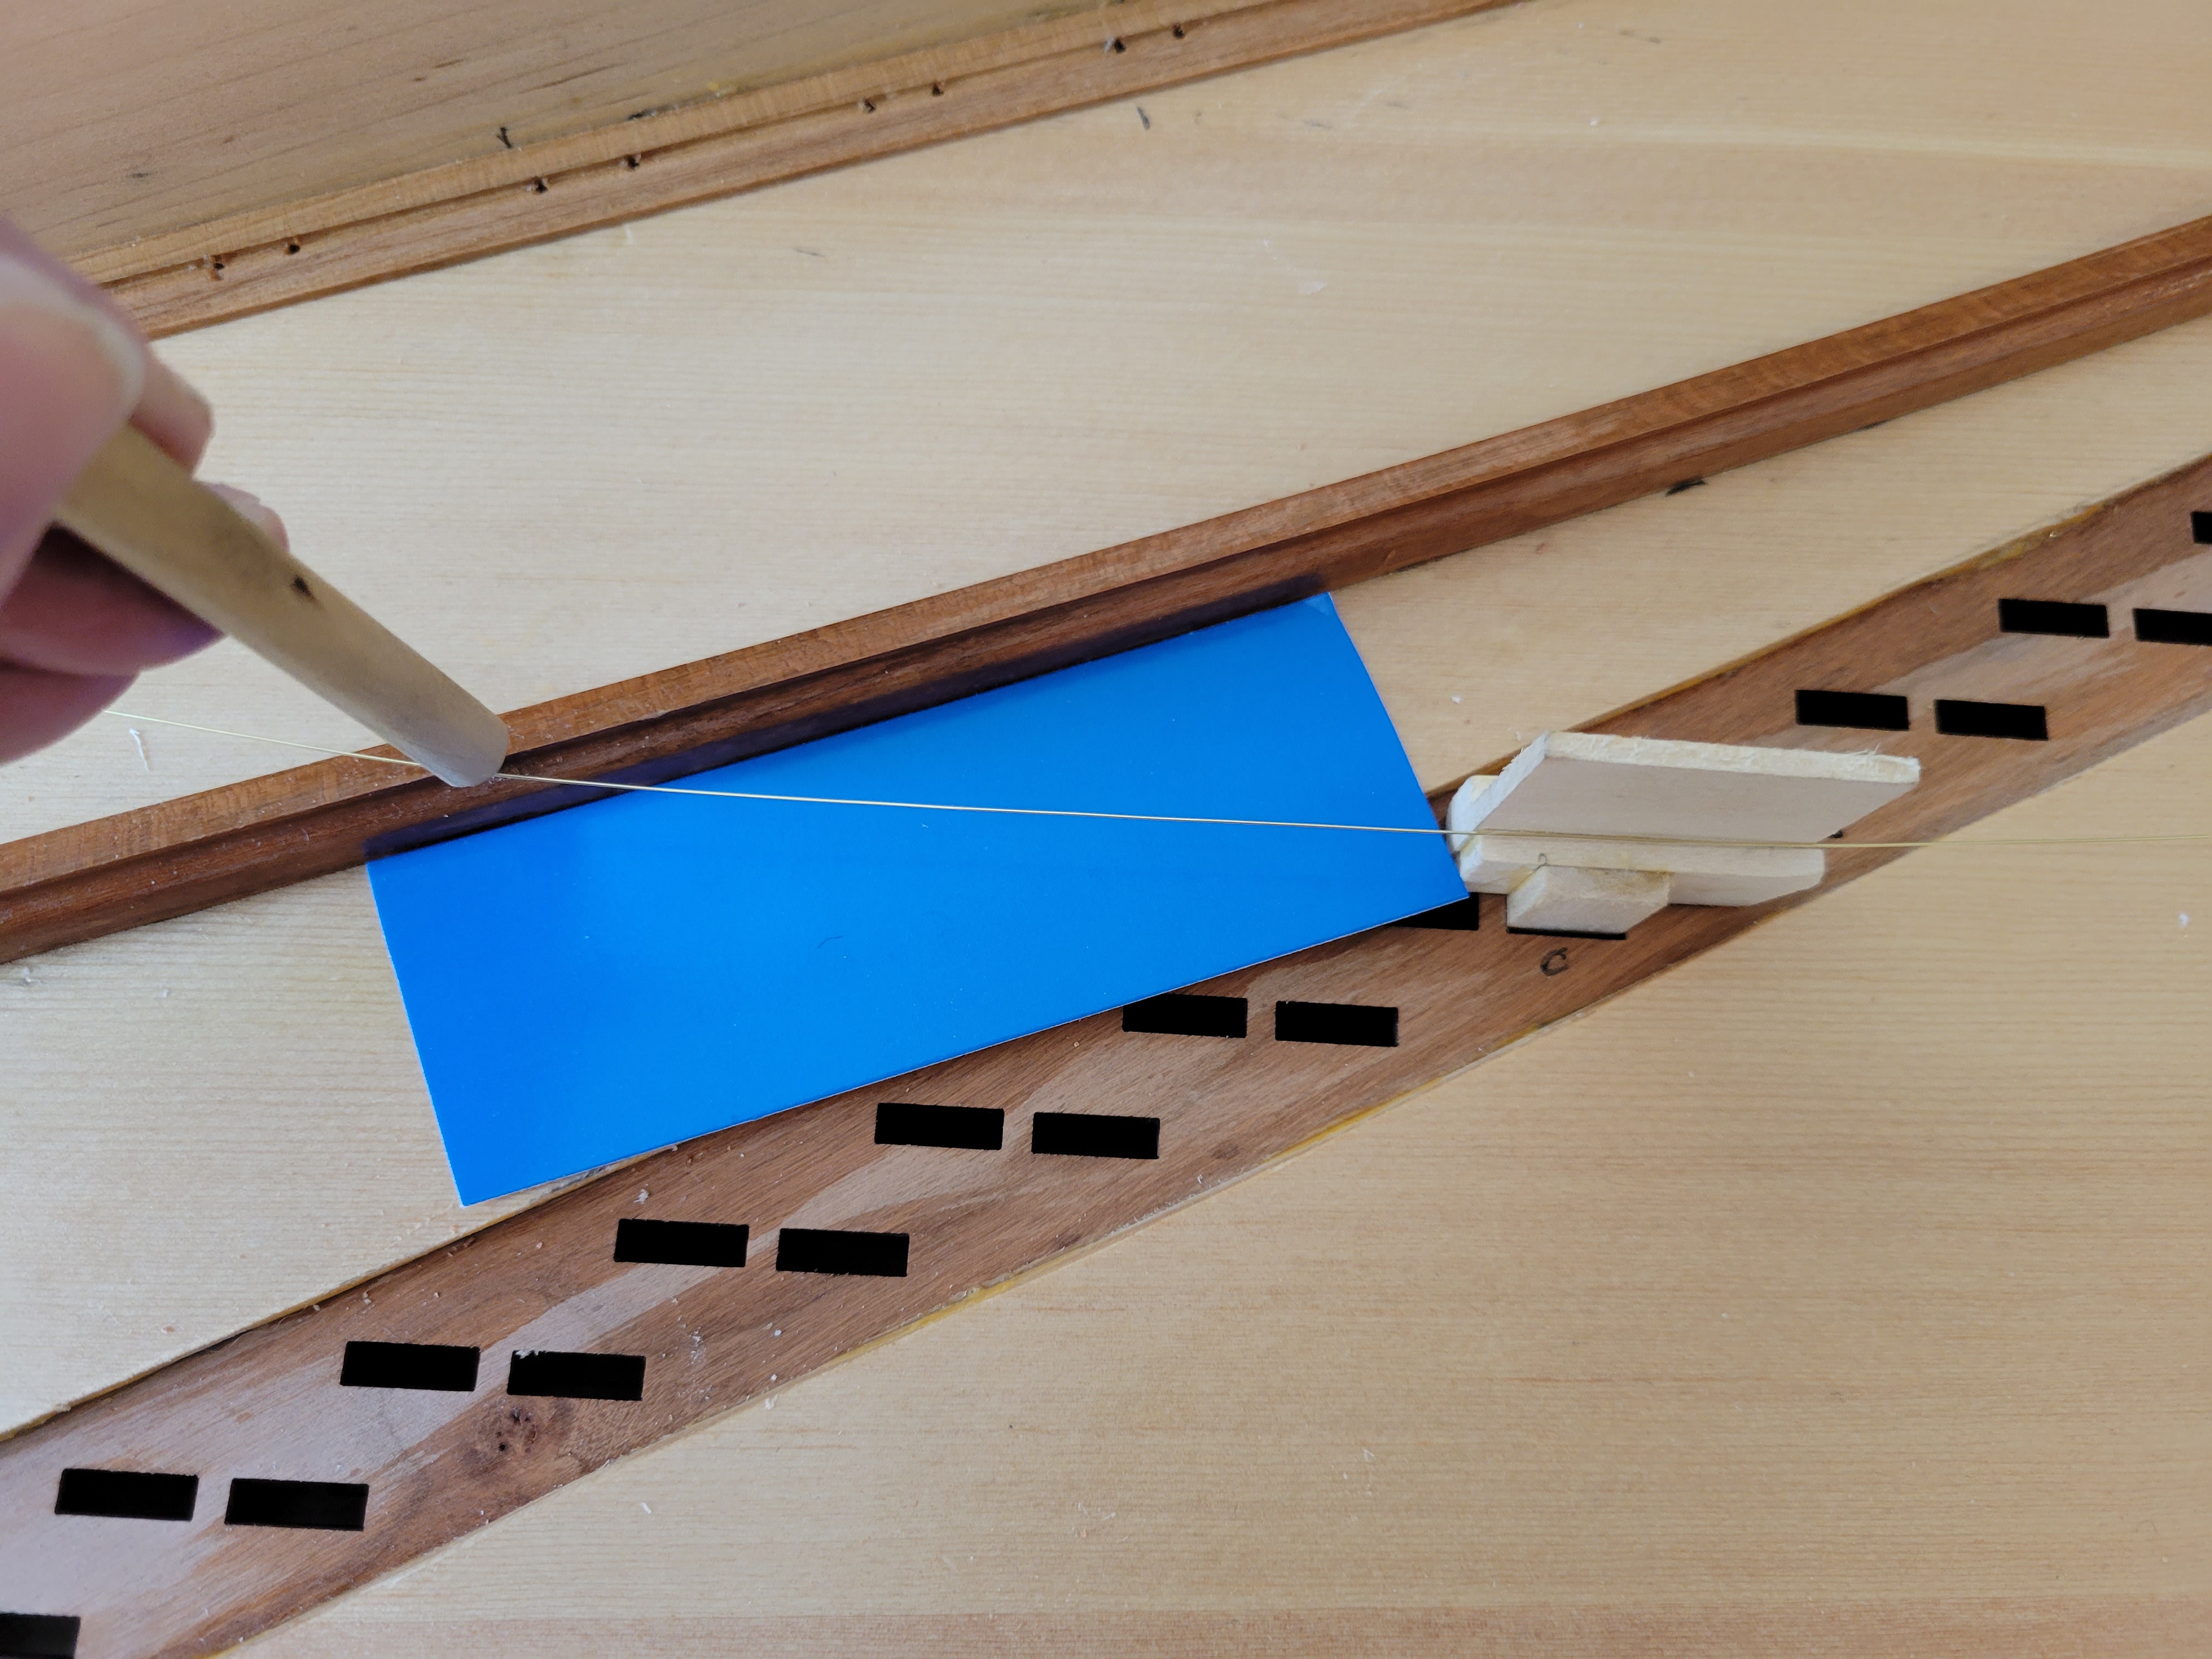
The idea is to move the Poking Tool along the left bridge until the wire lies snugly in the Stringing Tool and is parallel to the shim. Then I use the Poking Tool to make a little hole, drill about 1/2” down with a tiny #57 bit in a Dremel, and insert a soapy bridge pin. Then it’s time for the right bridge:
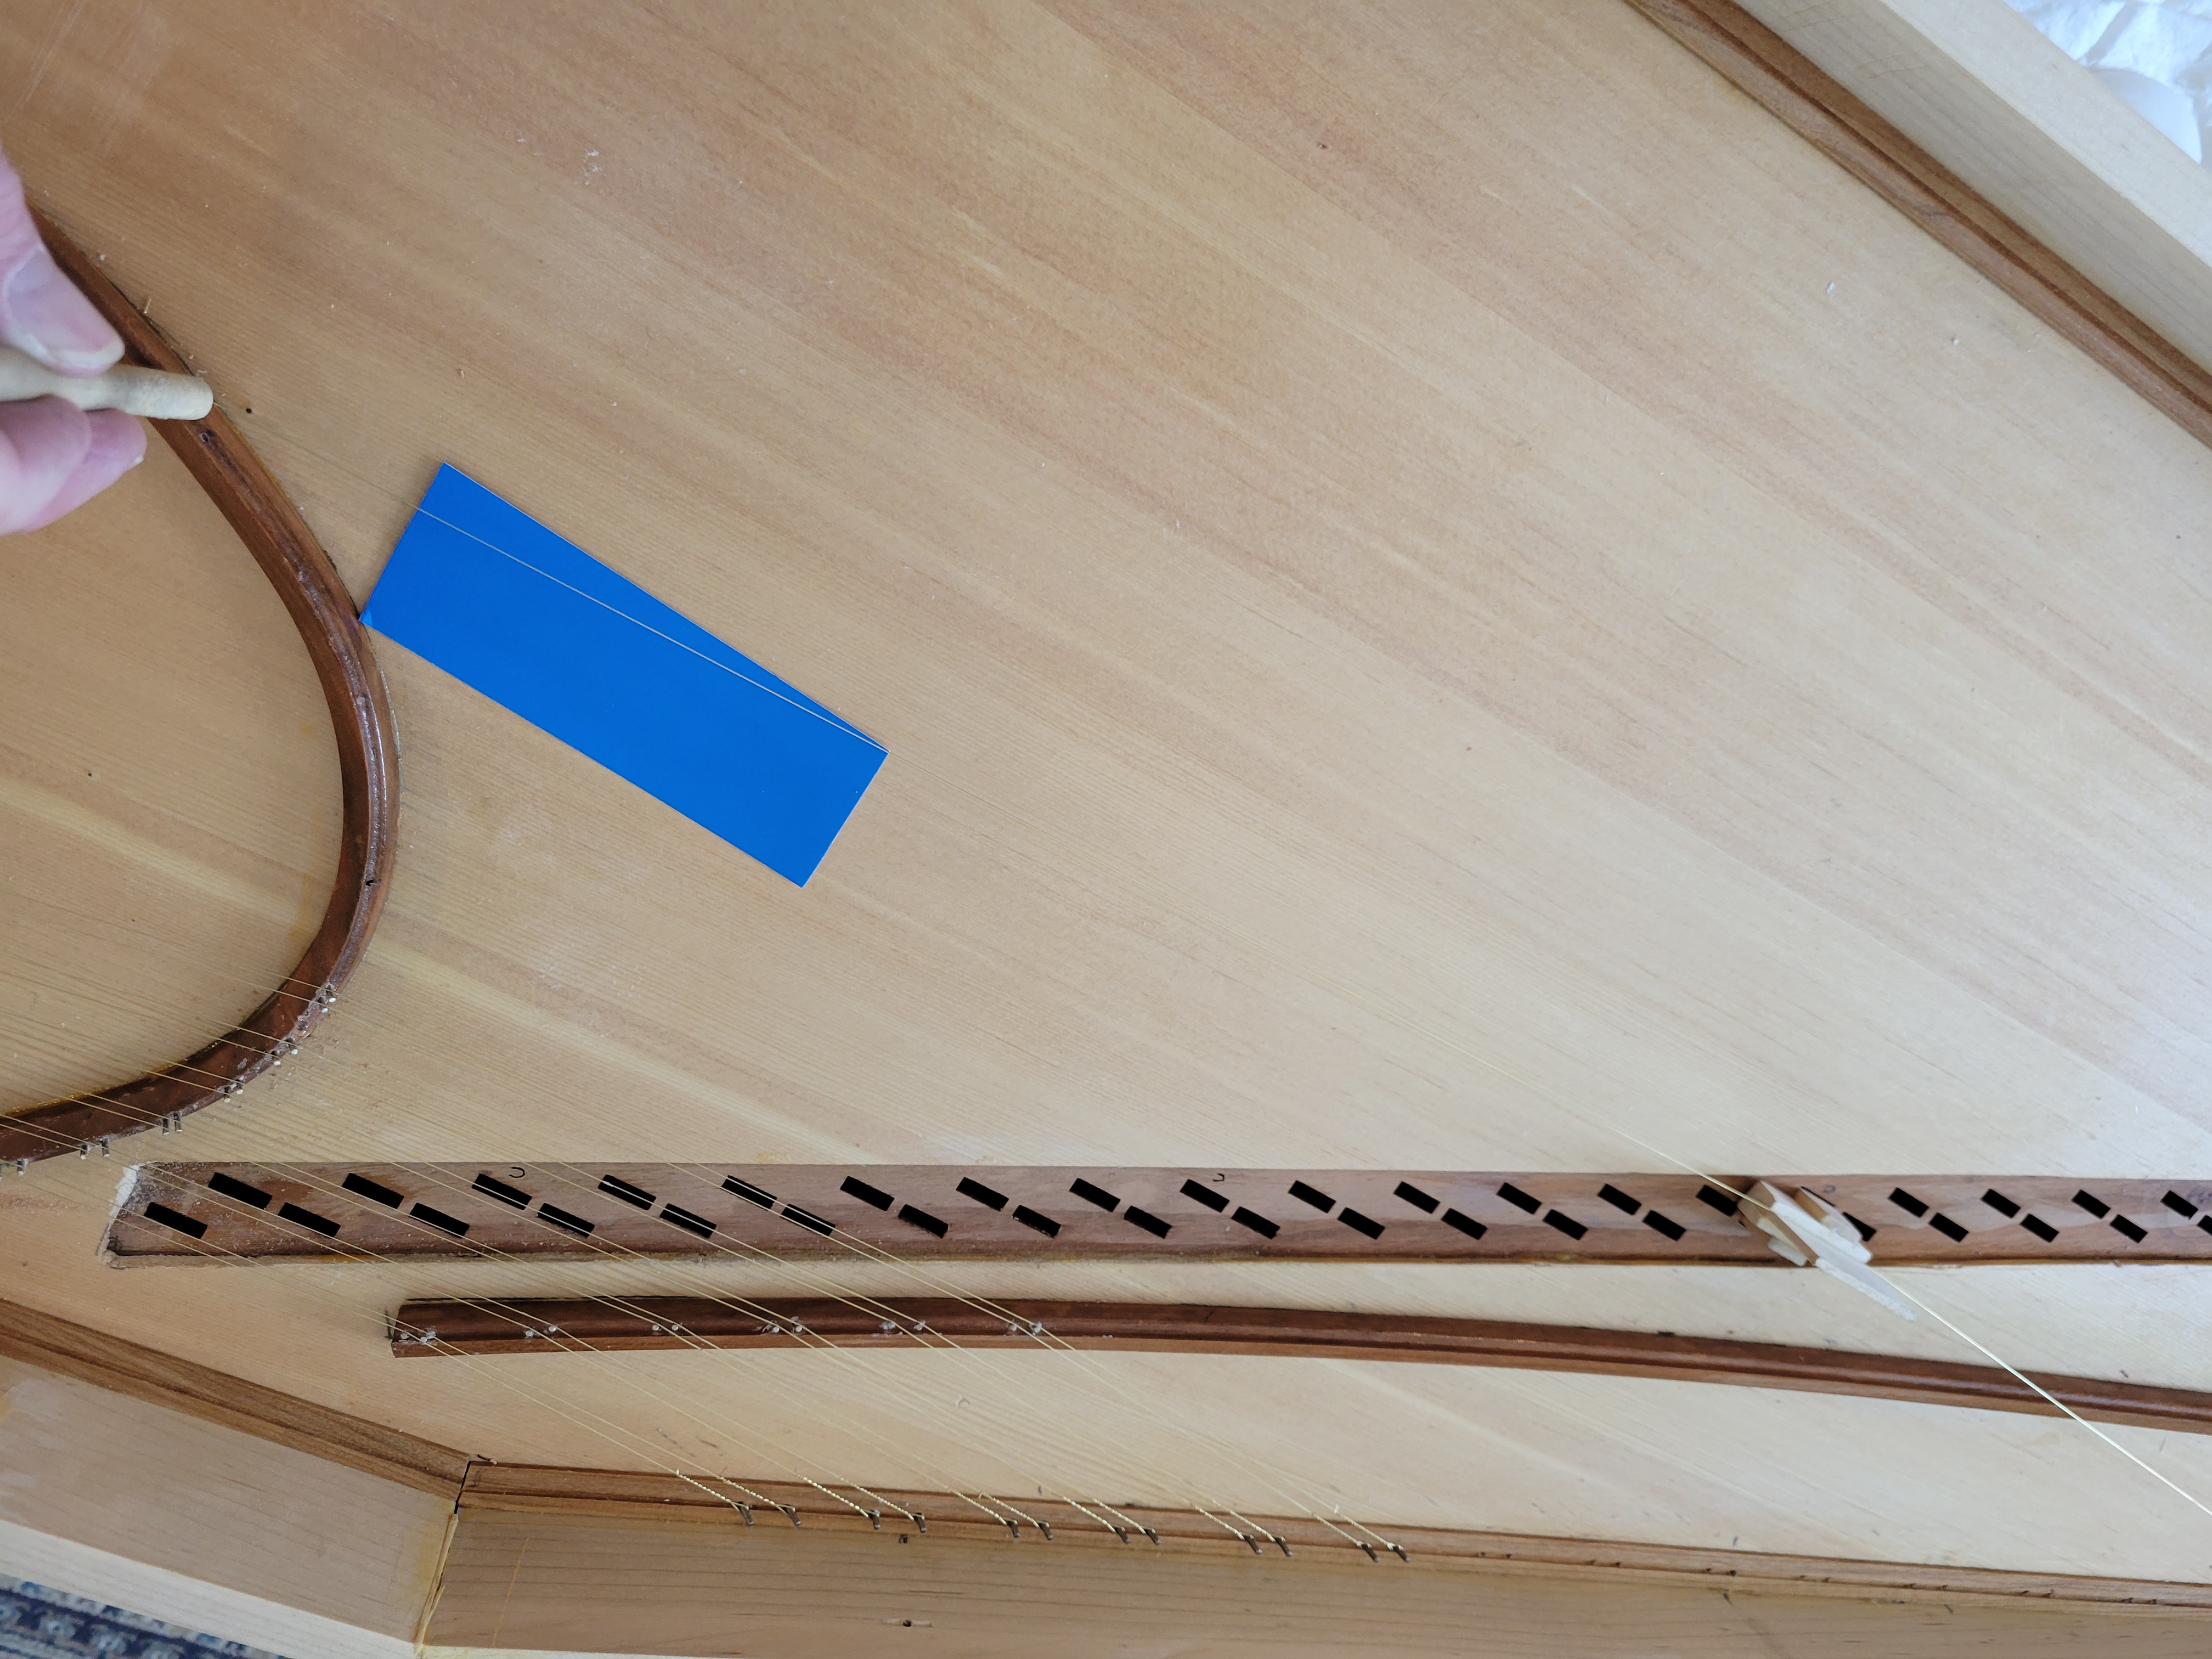
But long before you get to middle C, the right bridge has become so distant from the jack that much movement of the Poking Tool results in very little movement of the wire in the Stringing Tool.
This problem leads me to conclude that I should have pinned the right bridge before I started, just as Ed Kottick describes on page 41 of The Troubadour Virginal Construction and Maintenance Manual.
Is it too late to do that? I don’t think so, but I’m going to do it a little differently. I’m going to use a square on the life-size Mylar drawing to measure the distance from the bottom edge of the inside of the case to each pin on the right bridge, and then transfer that distance to the actual right bridge, and drill for pins for all the remaining strings.