Building a Virginal: Stringing Progress II
April 24, 2023
New York, N.Y.
At the conclusion of my last installment of this series of blog entries documenting my construction of a Zuckermann Troubadour Virginal, I realized that my approach to stringing the virginal using a tool I described was flawed. I assumed that each wire would be positioned so that it ran parallel to the face of the jack. This is not so. When I took a ruler to the Mylar drawing, and measured the locations of the bridge pins relative to the inside bottom of the case, I discovered that the left bridge pins were positioned between 2¾ inches to 15 inches, while the right bridge pins were 2⅛ inches to 14½.
On Construction Days 17 and 18 (April 18th and 19th) I completed the stringing with some modifications to my method, but it become evident in retrospect that I was not modifying my method sufficiently.
I had already used my little tool for positioned the highest 12 strings. For the remainder, I carefully measured the Mylar drawing to determine the positions of the right bridge pins relative to the bottom of the case. I then marked the right bridge for those positions using a combination square. I drilled the holes using the tiny #57 drill bit inserted in a Dremel, and inserted the pins with a combination of a hand-held nail punch and a brad-pushing tool supplied with the kit (and shown in this photo):
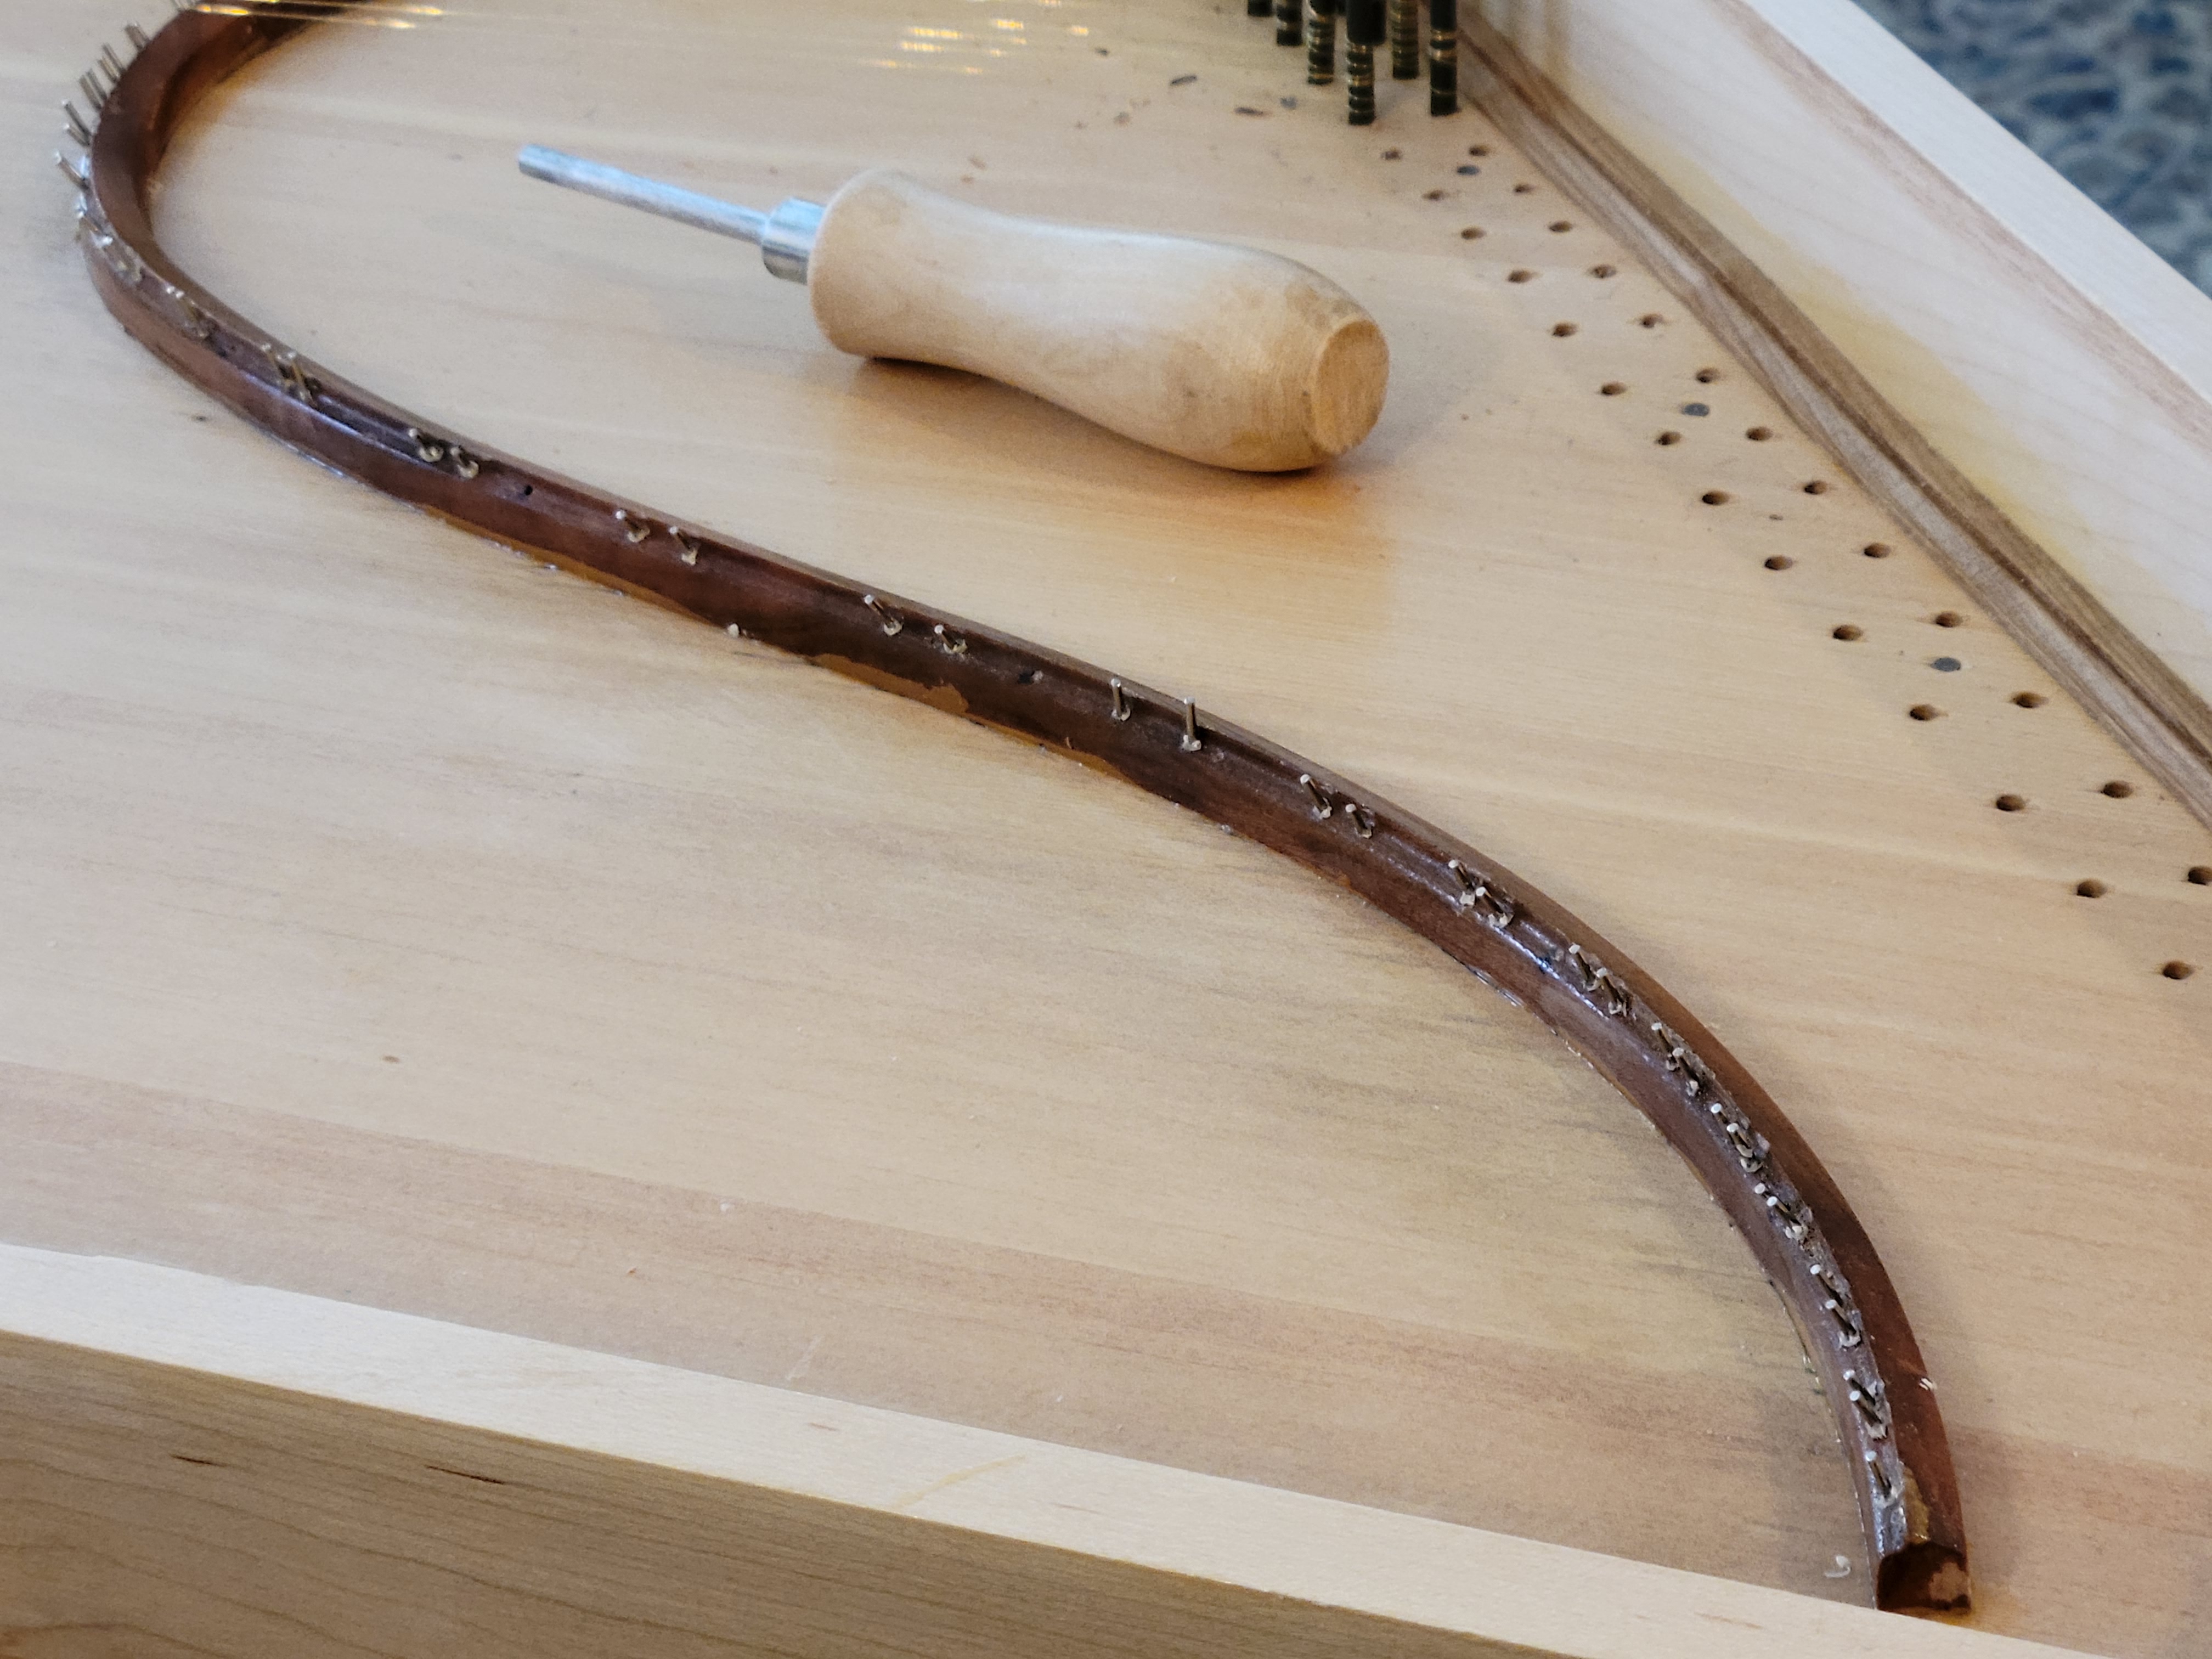
I switched from soap to bees wax to grease up the hitch pins for easier insertion, and I only bent a few of them. One of the more amusing passages in Ed Kottick’s The Troubadour Virginal Construction and Maintenance Manual reads:
When the [bridge] pin is driven home, 1/8” will protrude from the bridge. After you’ve filed the pins level they’ll be at about 3/32”, which is what you want. Please do not allow your pins to stick up any more than that, like a row of telephone poles—a sure sign of amateurish inadequacy that will reflect badly on you, Zuckermann Harpsichords, and me! That aside, long, protruding pins bleed off energy from the vibrating strings, and you don’t want to do that. (p. 41)
I also completed inserting the hitch pins along the left rear side of the virginal:
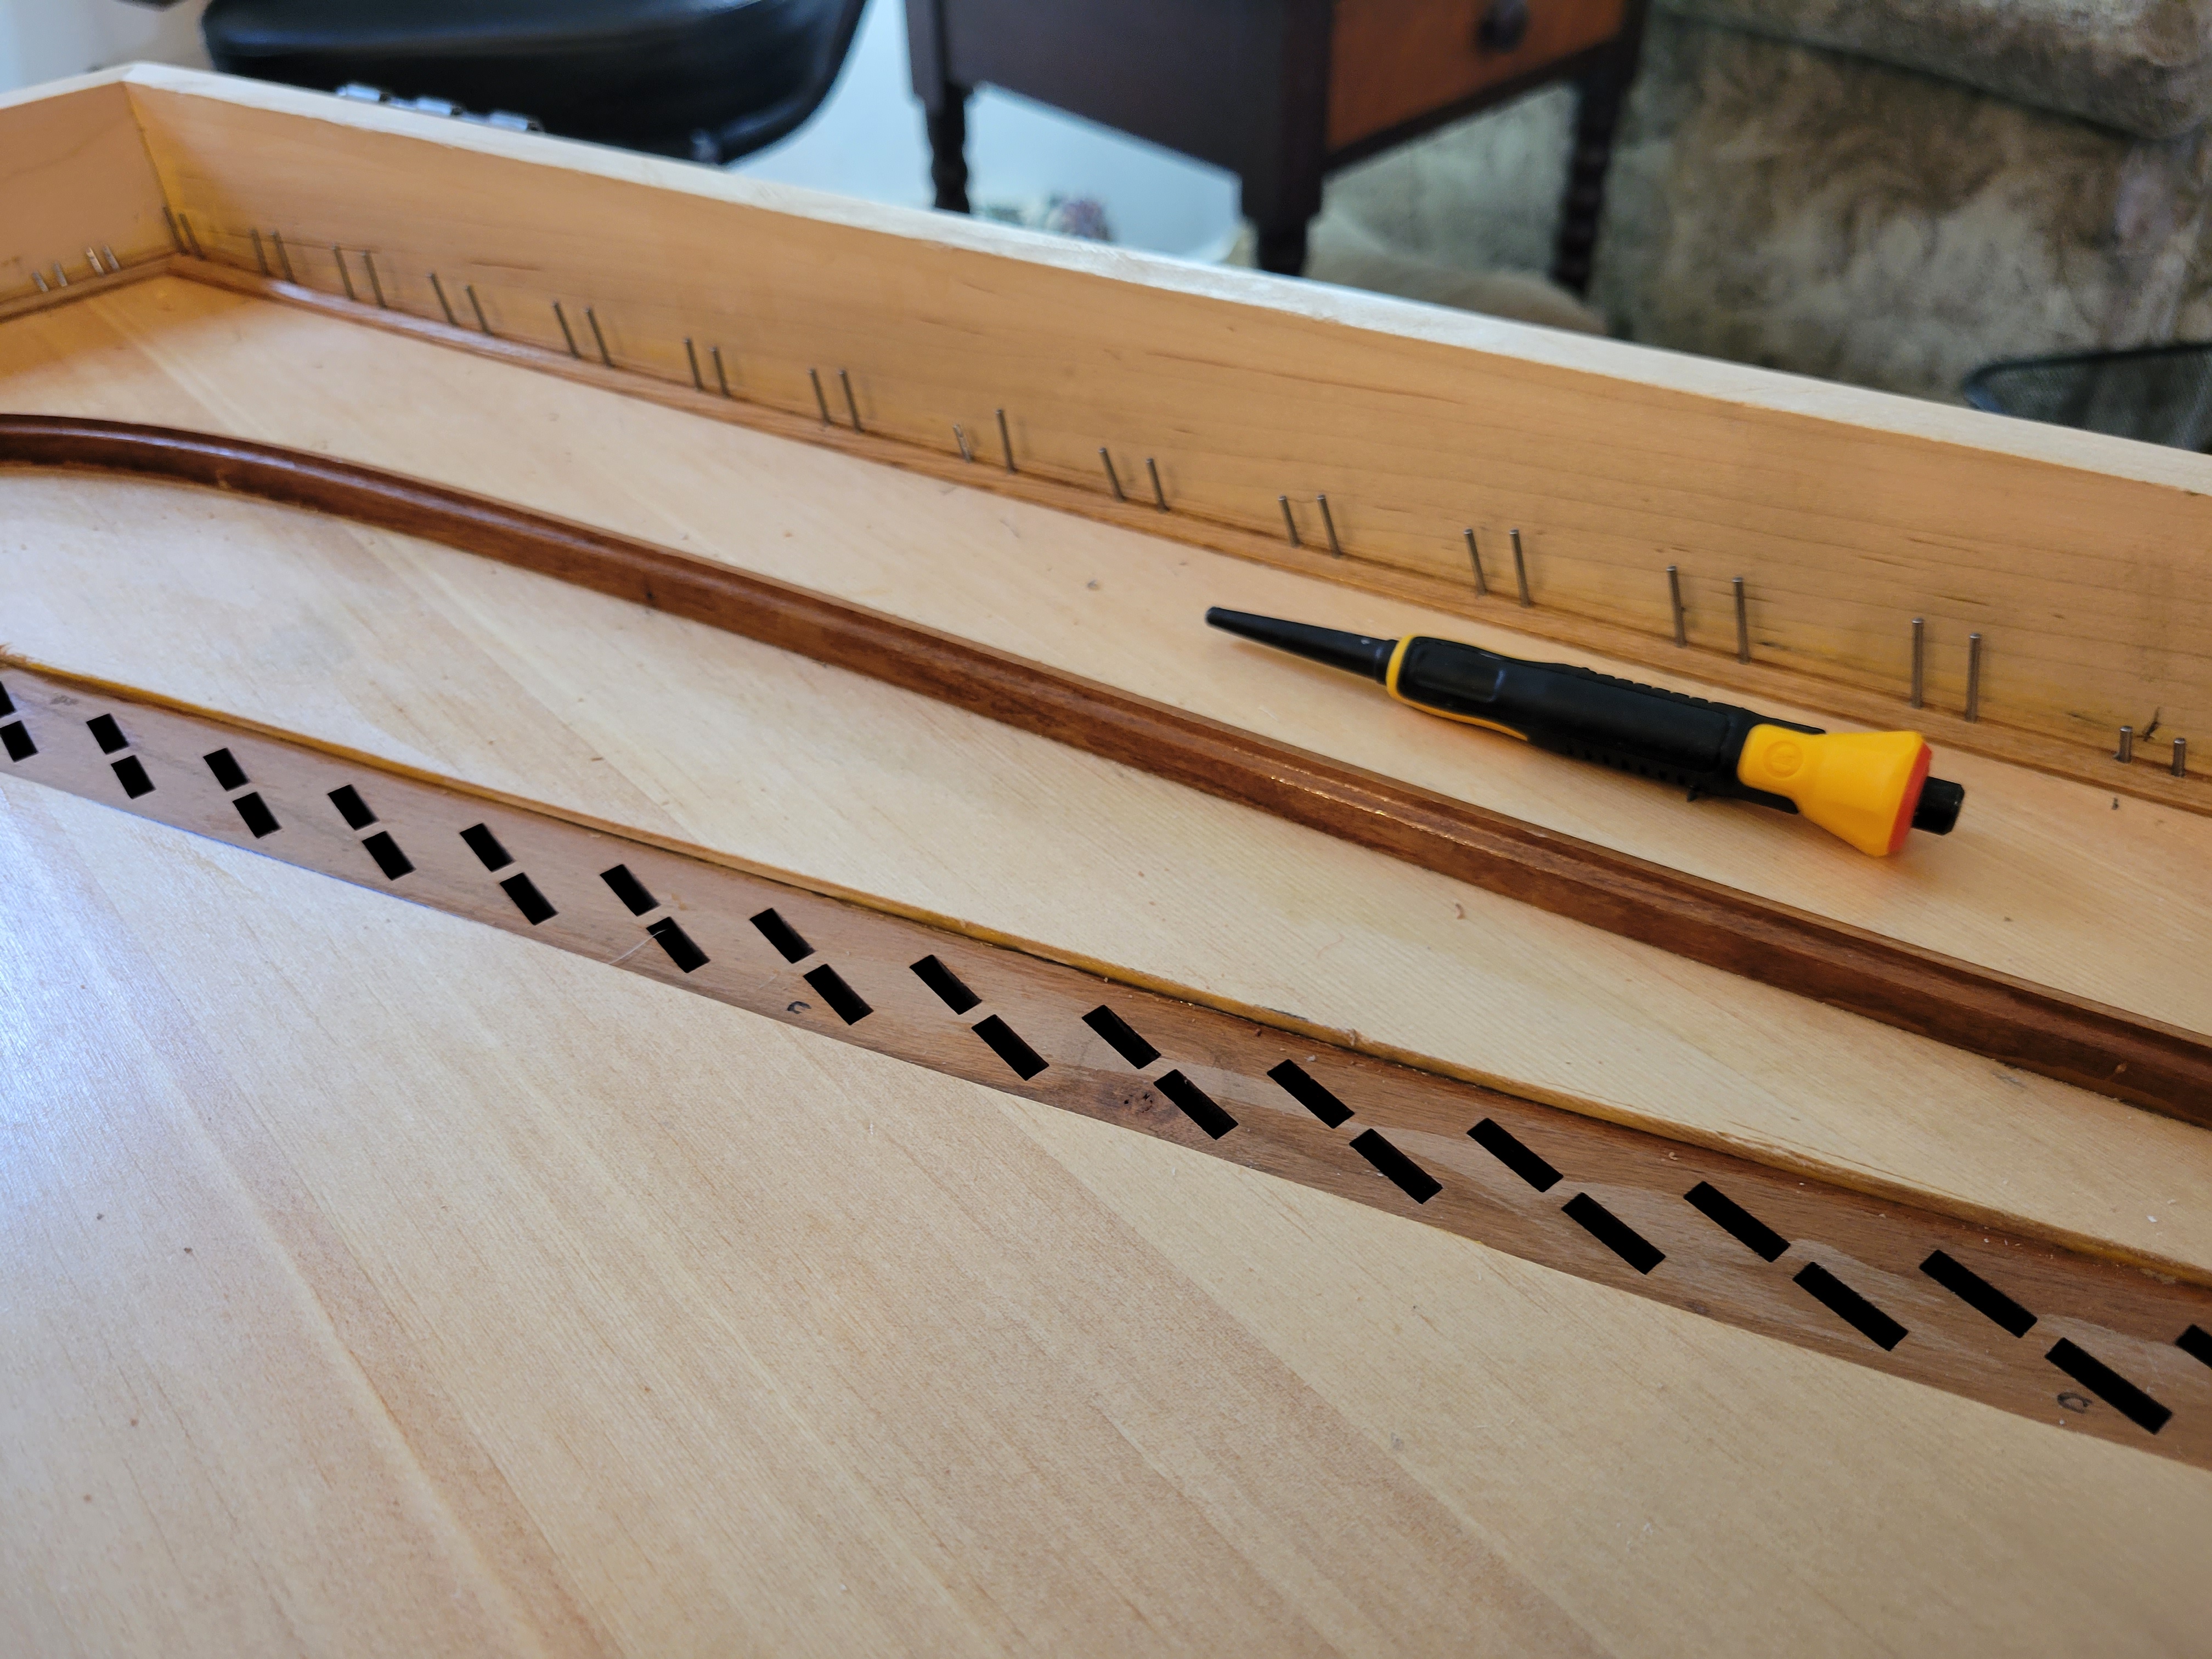
I used a hammer and the nail punch shown in the photo. Some of the hitch pins are only partially hammered in, and they will all eventually be slightly tilted away from the direction of the wire.
At that point, I completed Day 17 with eight more strings from A♯4 to F5, all using 0.011” diameter wire:
On Day 18, I took a little break from stringing to working more on the keyboard, trying to get all the keys swinging freely and quietly — an ongoing job that is still not done — and painting them with tung oil. Here’s the first of two coats on the first 11 keys:
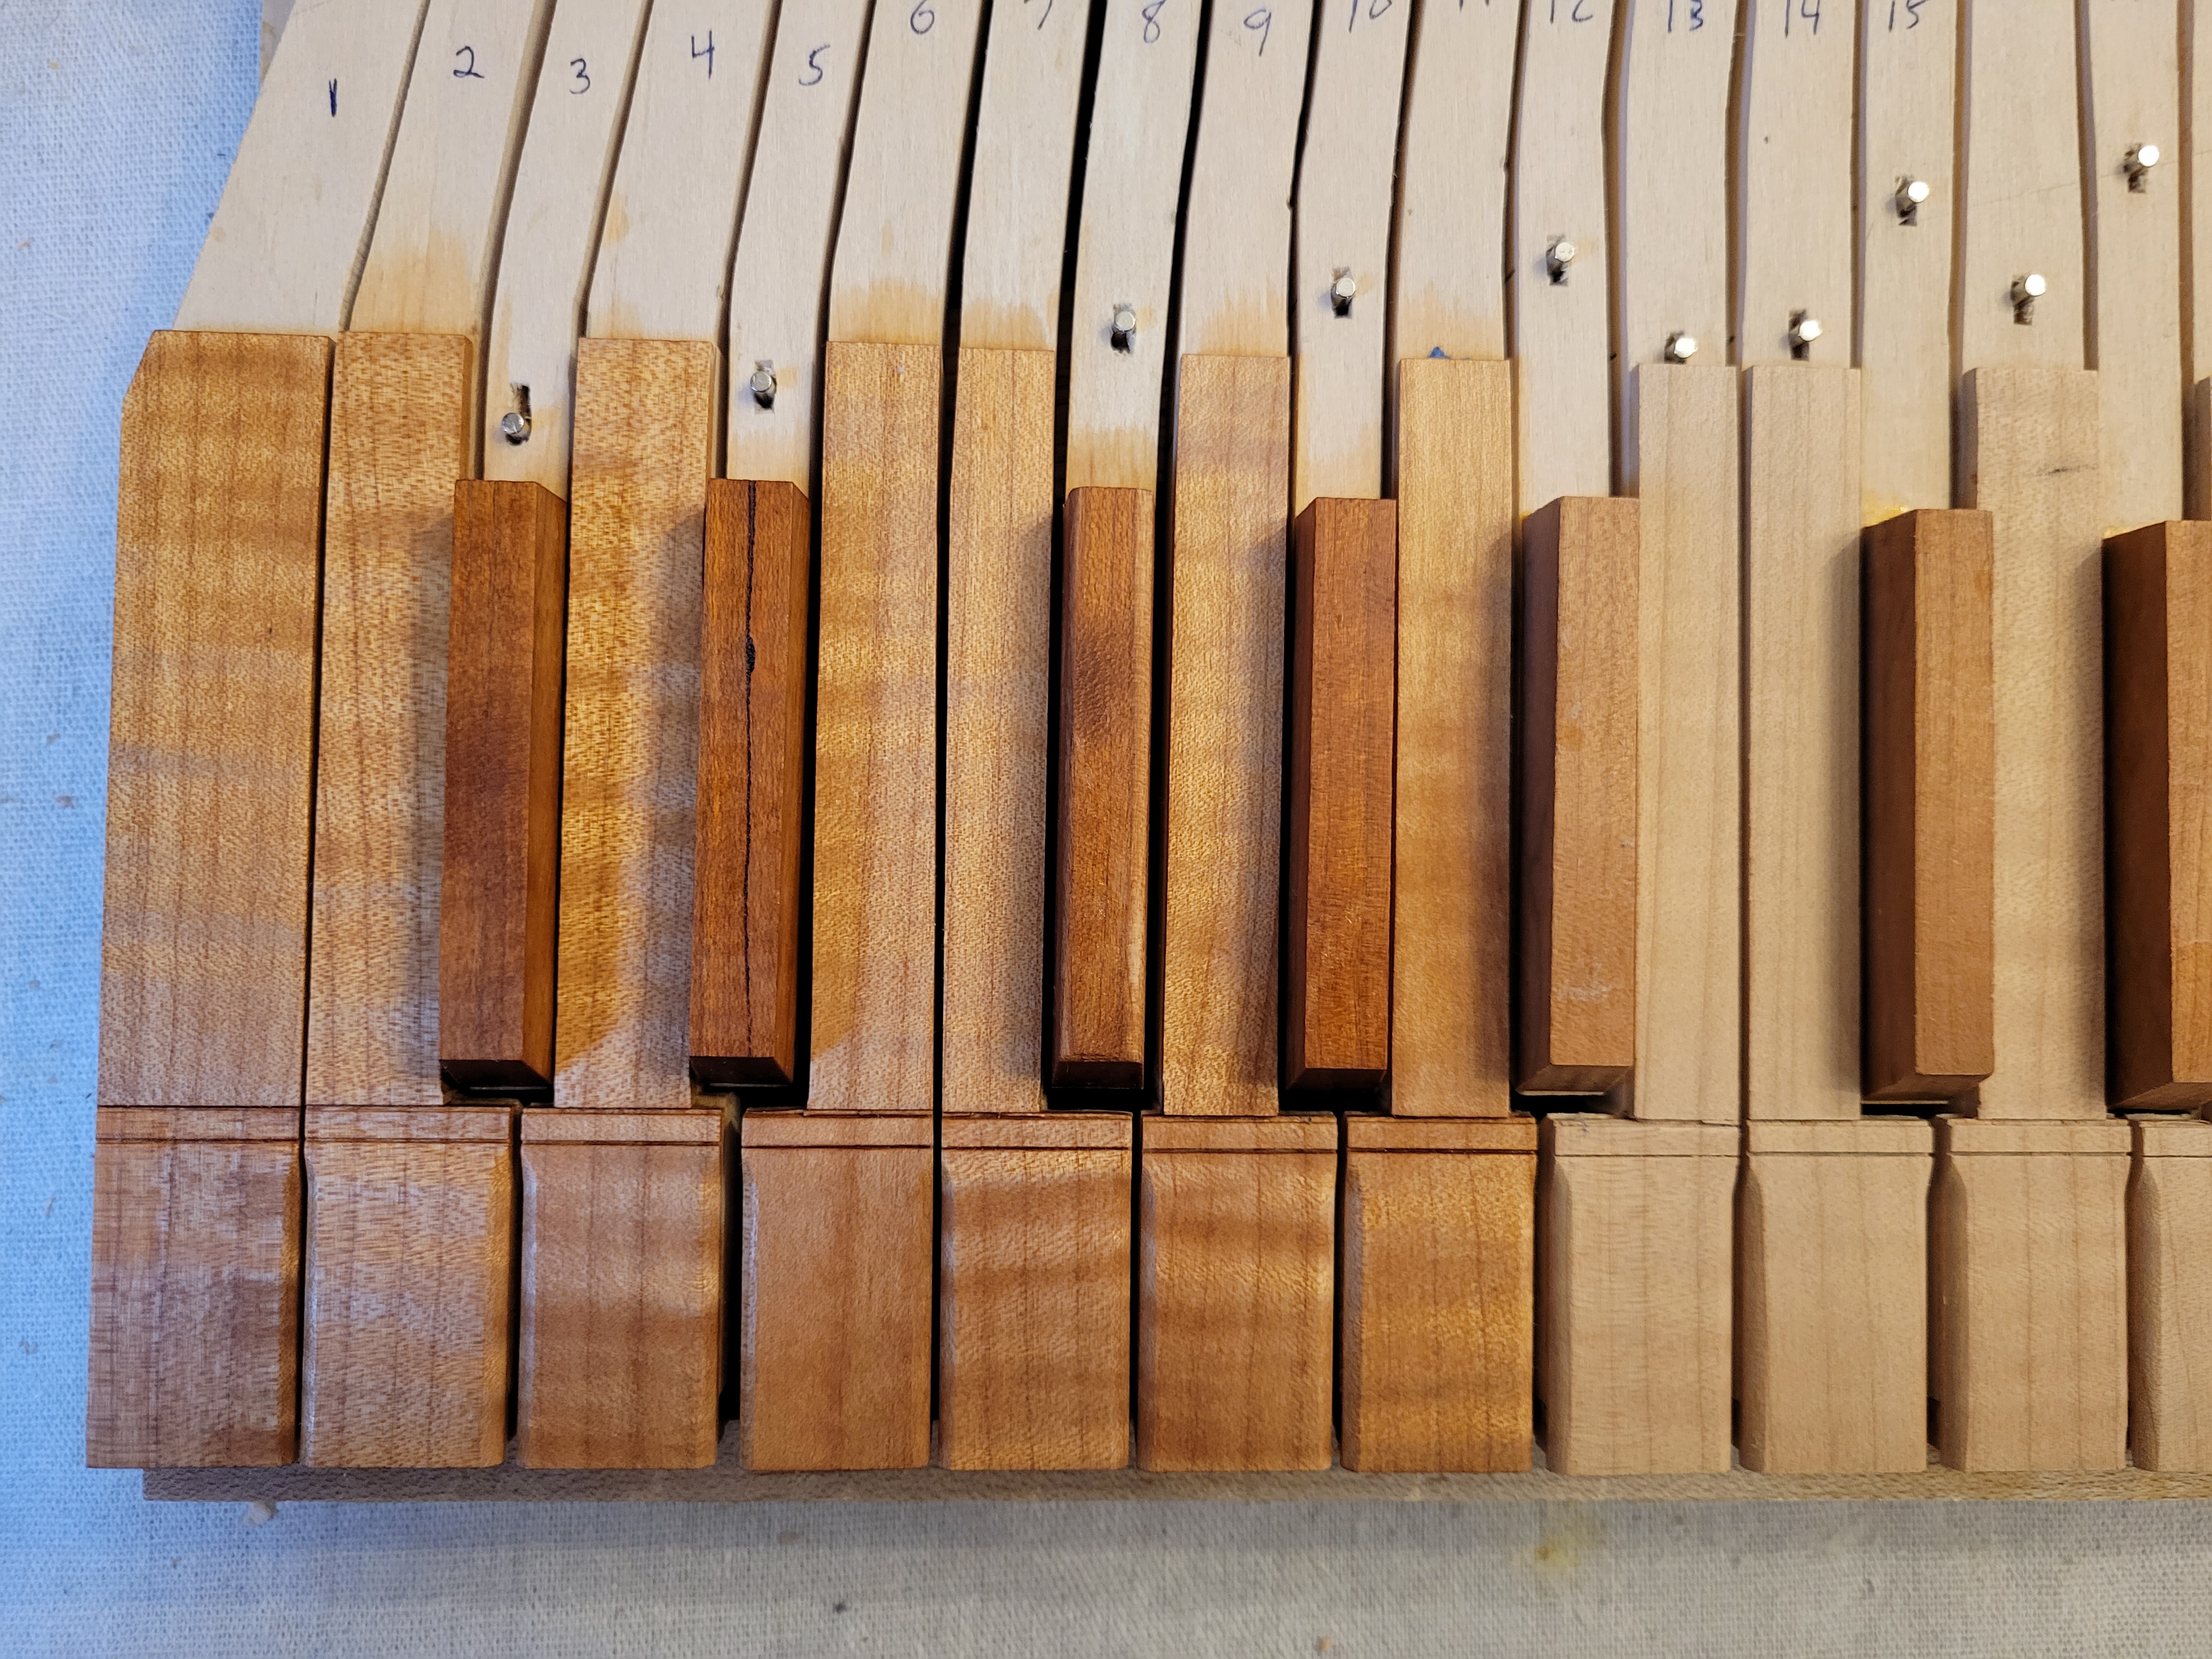
The Construction Manual says “The natural covers and the sharps need to be protected in some way, or the oil from your fingers will stain them.” I rather liked the idea of the oil from my fingers coloring the keys over time, but the tung oil sure makes them look pretty!
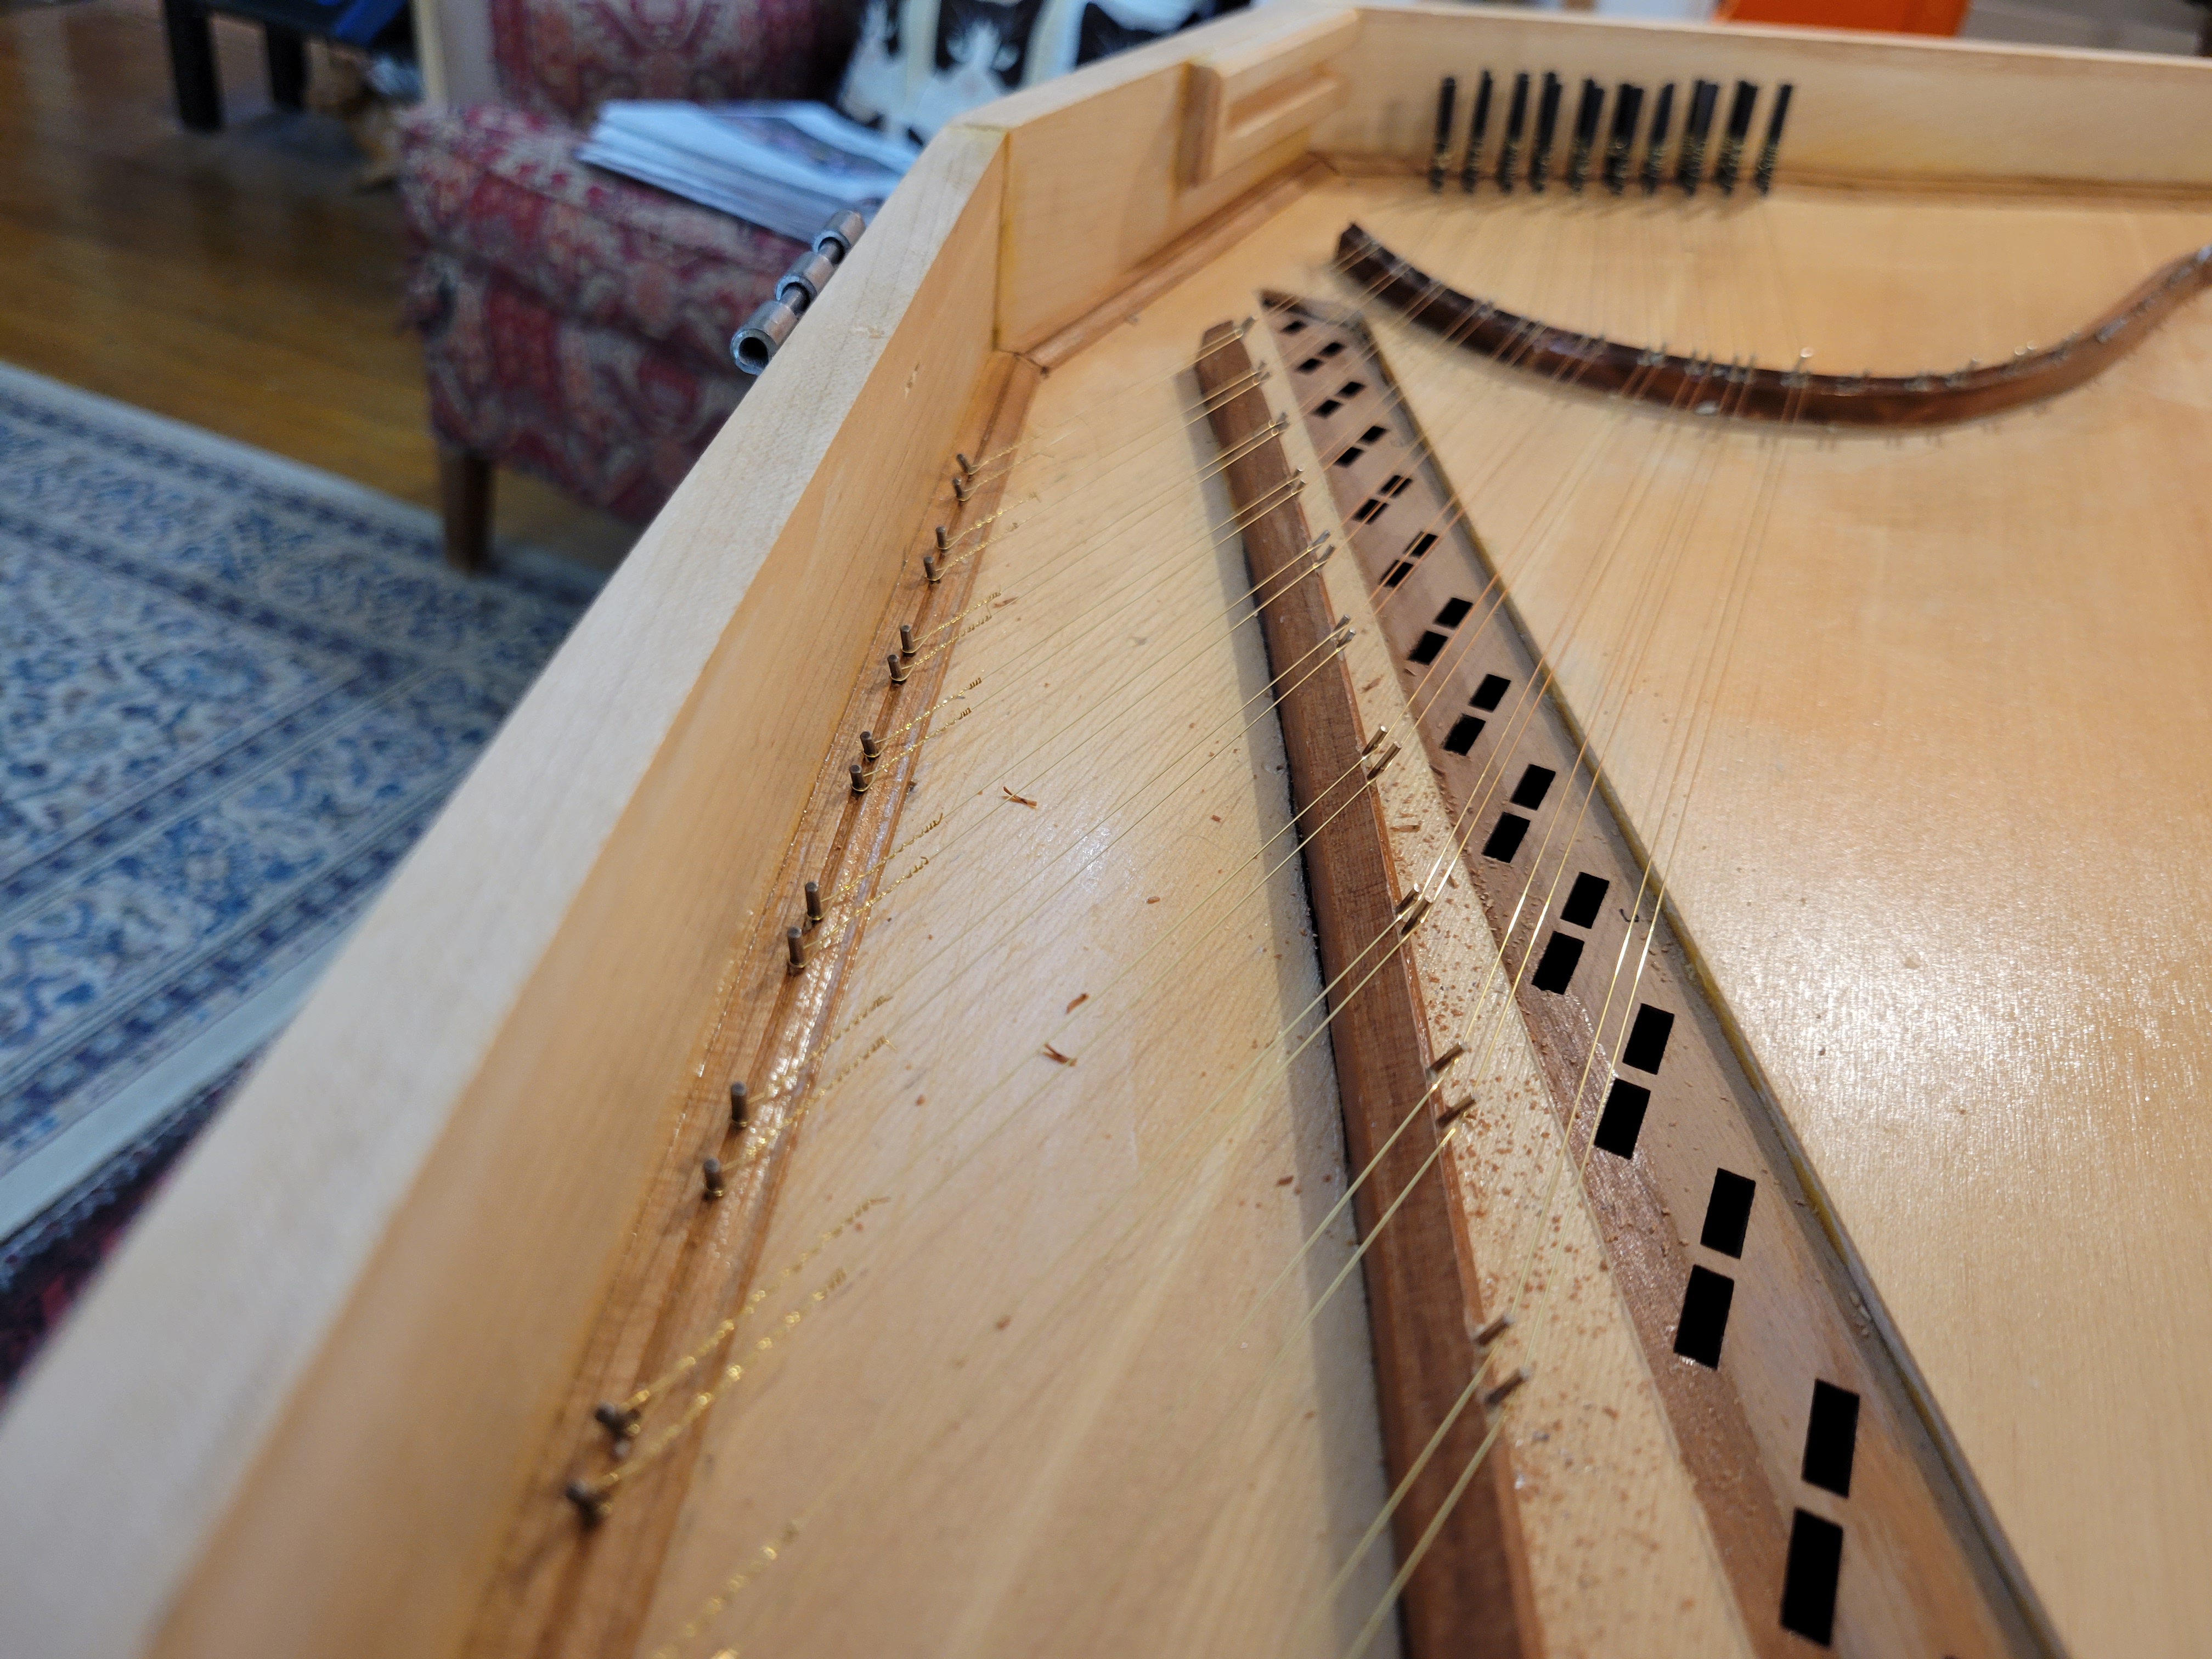
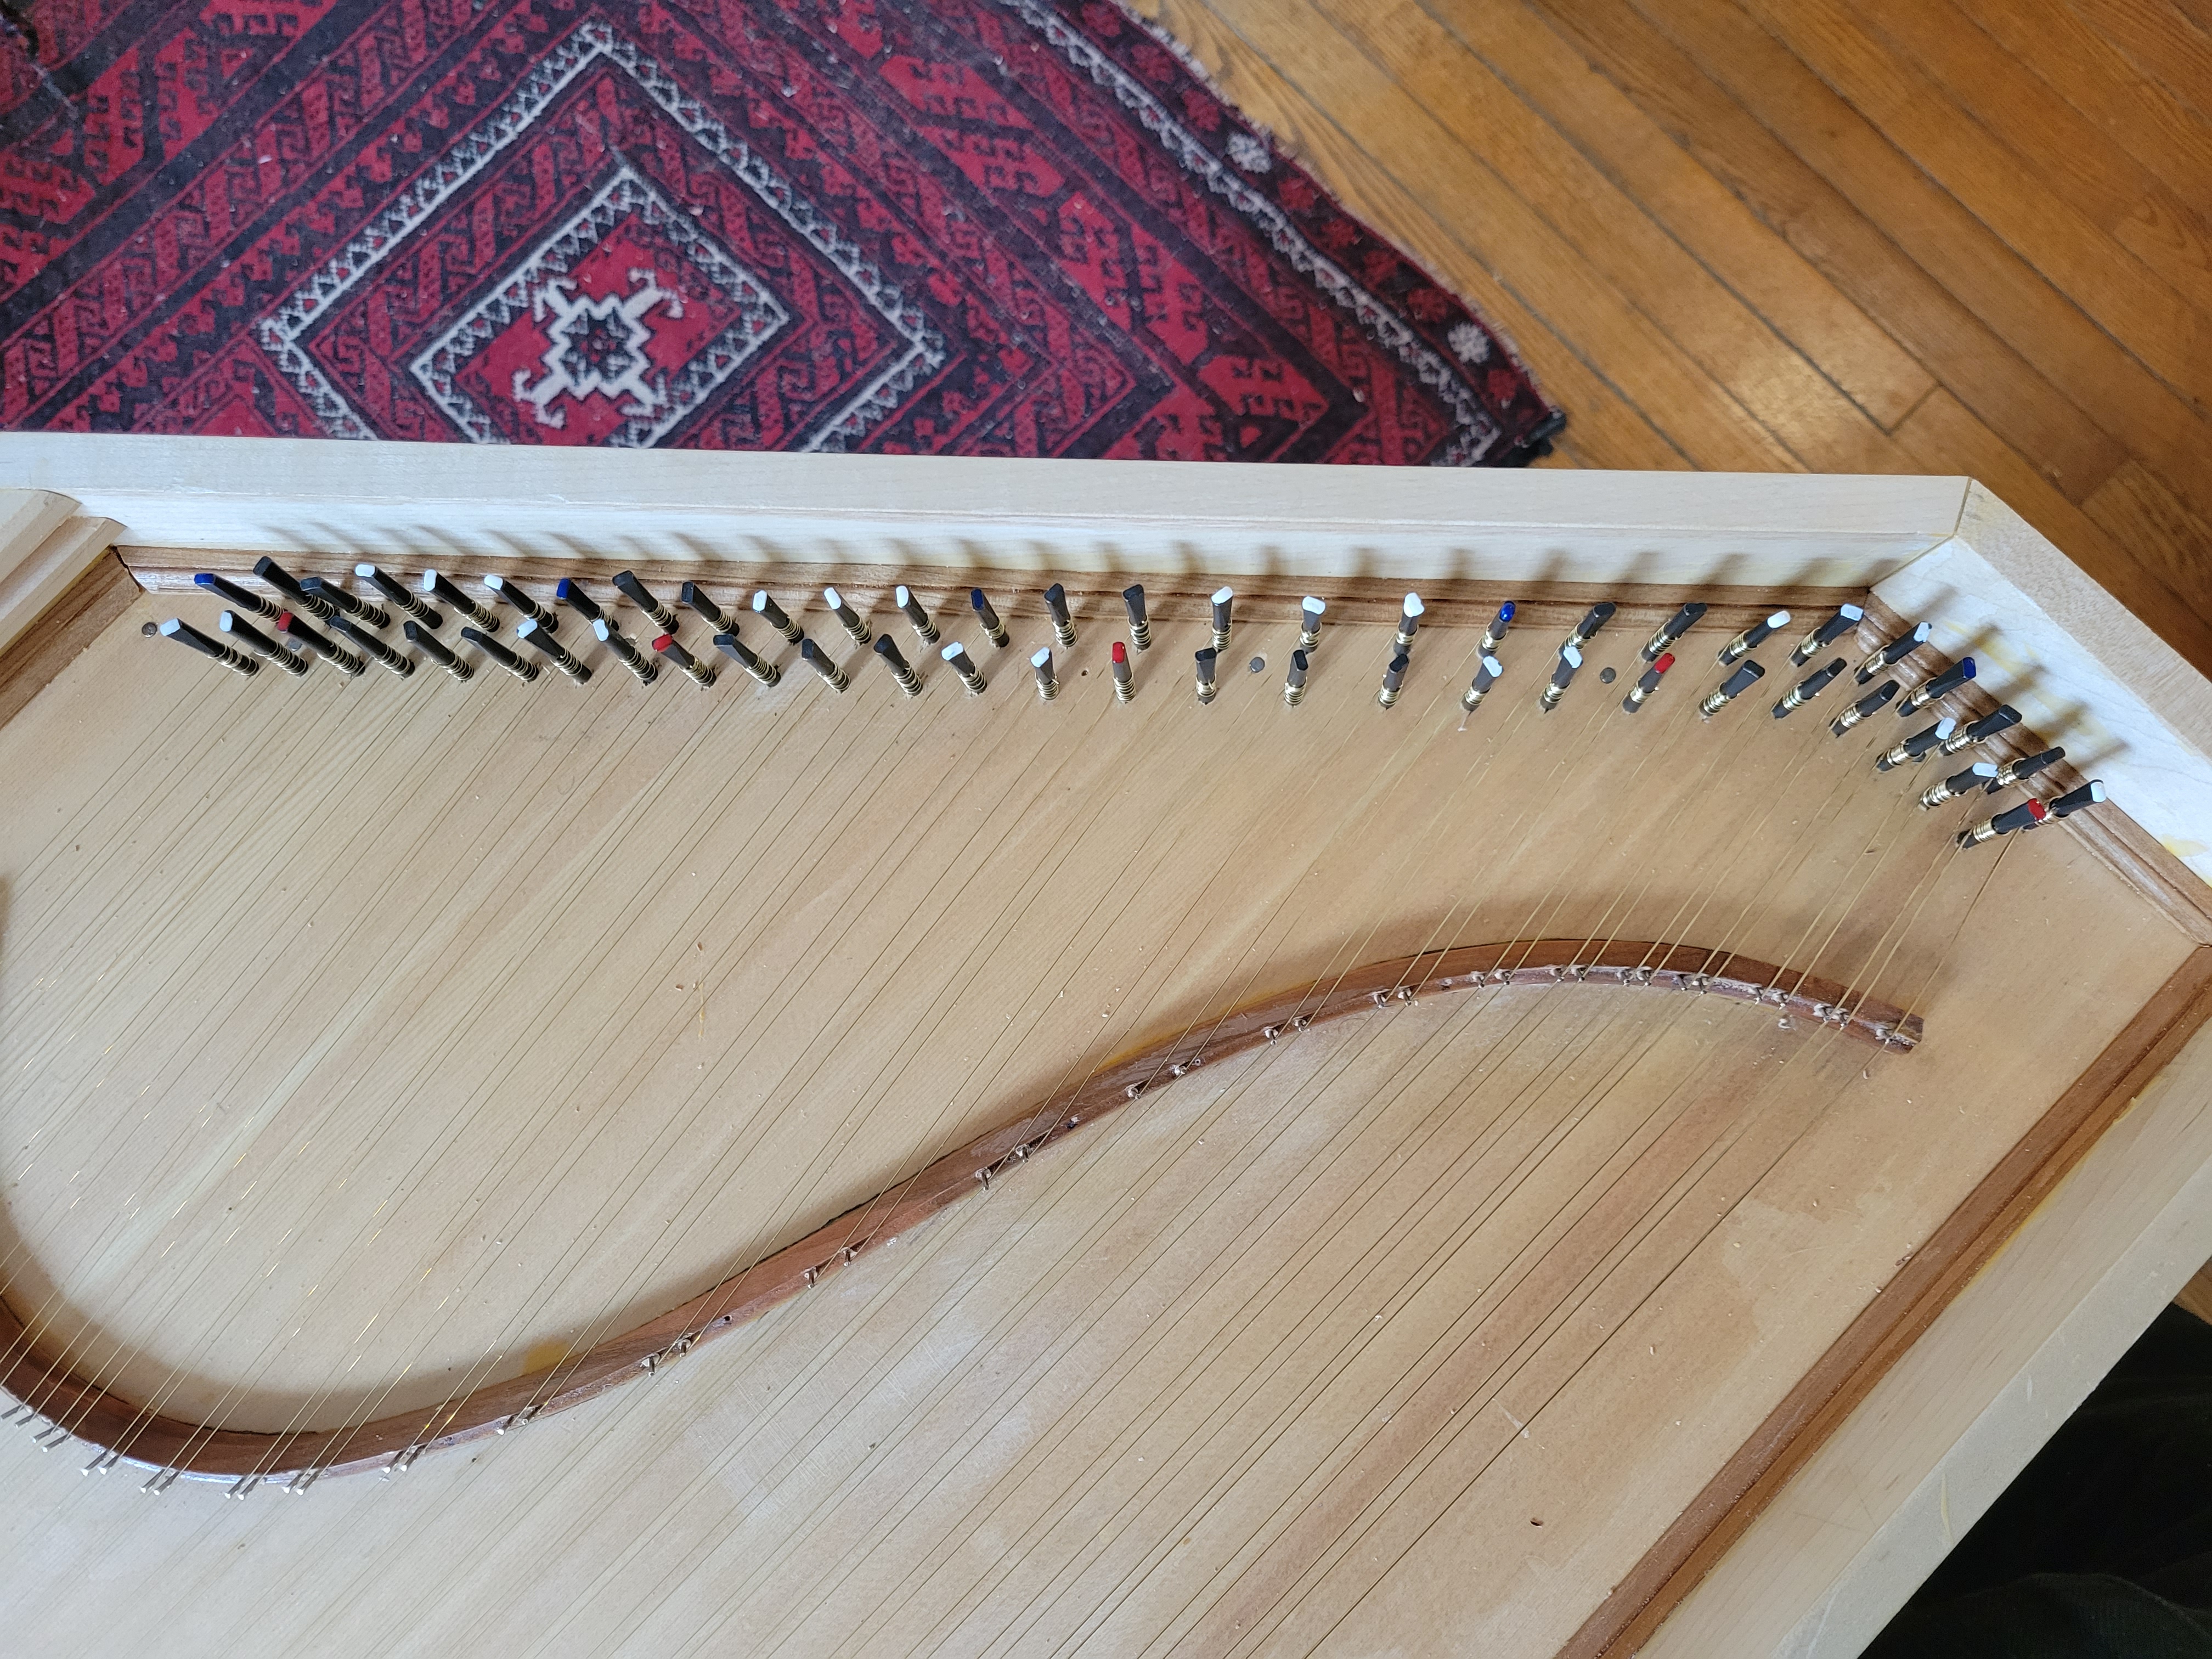
I then continued stringing the instrument with a total of 55 wires ranging from short wires of 0.010” diameter to a long wire of 0.029” diameter.

In the keyboard well are the tools involved in this process. The hammer was needed to pound in the tuning pegs. I continued to use my little stringing tool, although by this time I should have known that it was flawed.
I then used a little nail polish to color-code the tuning pins based on colors used on harp strings: red for C, blue for F (which can barely be seen), and white for A, B, D, E, and G:
It was then possible to reunite the case and the keyboard assembly:
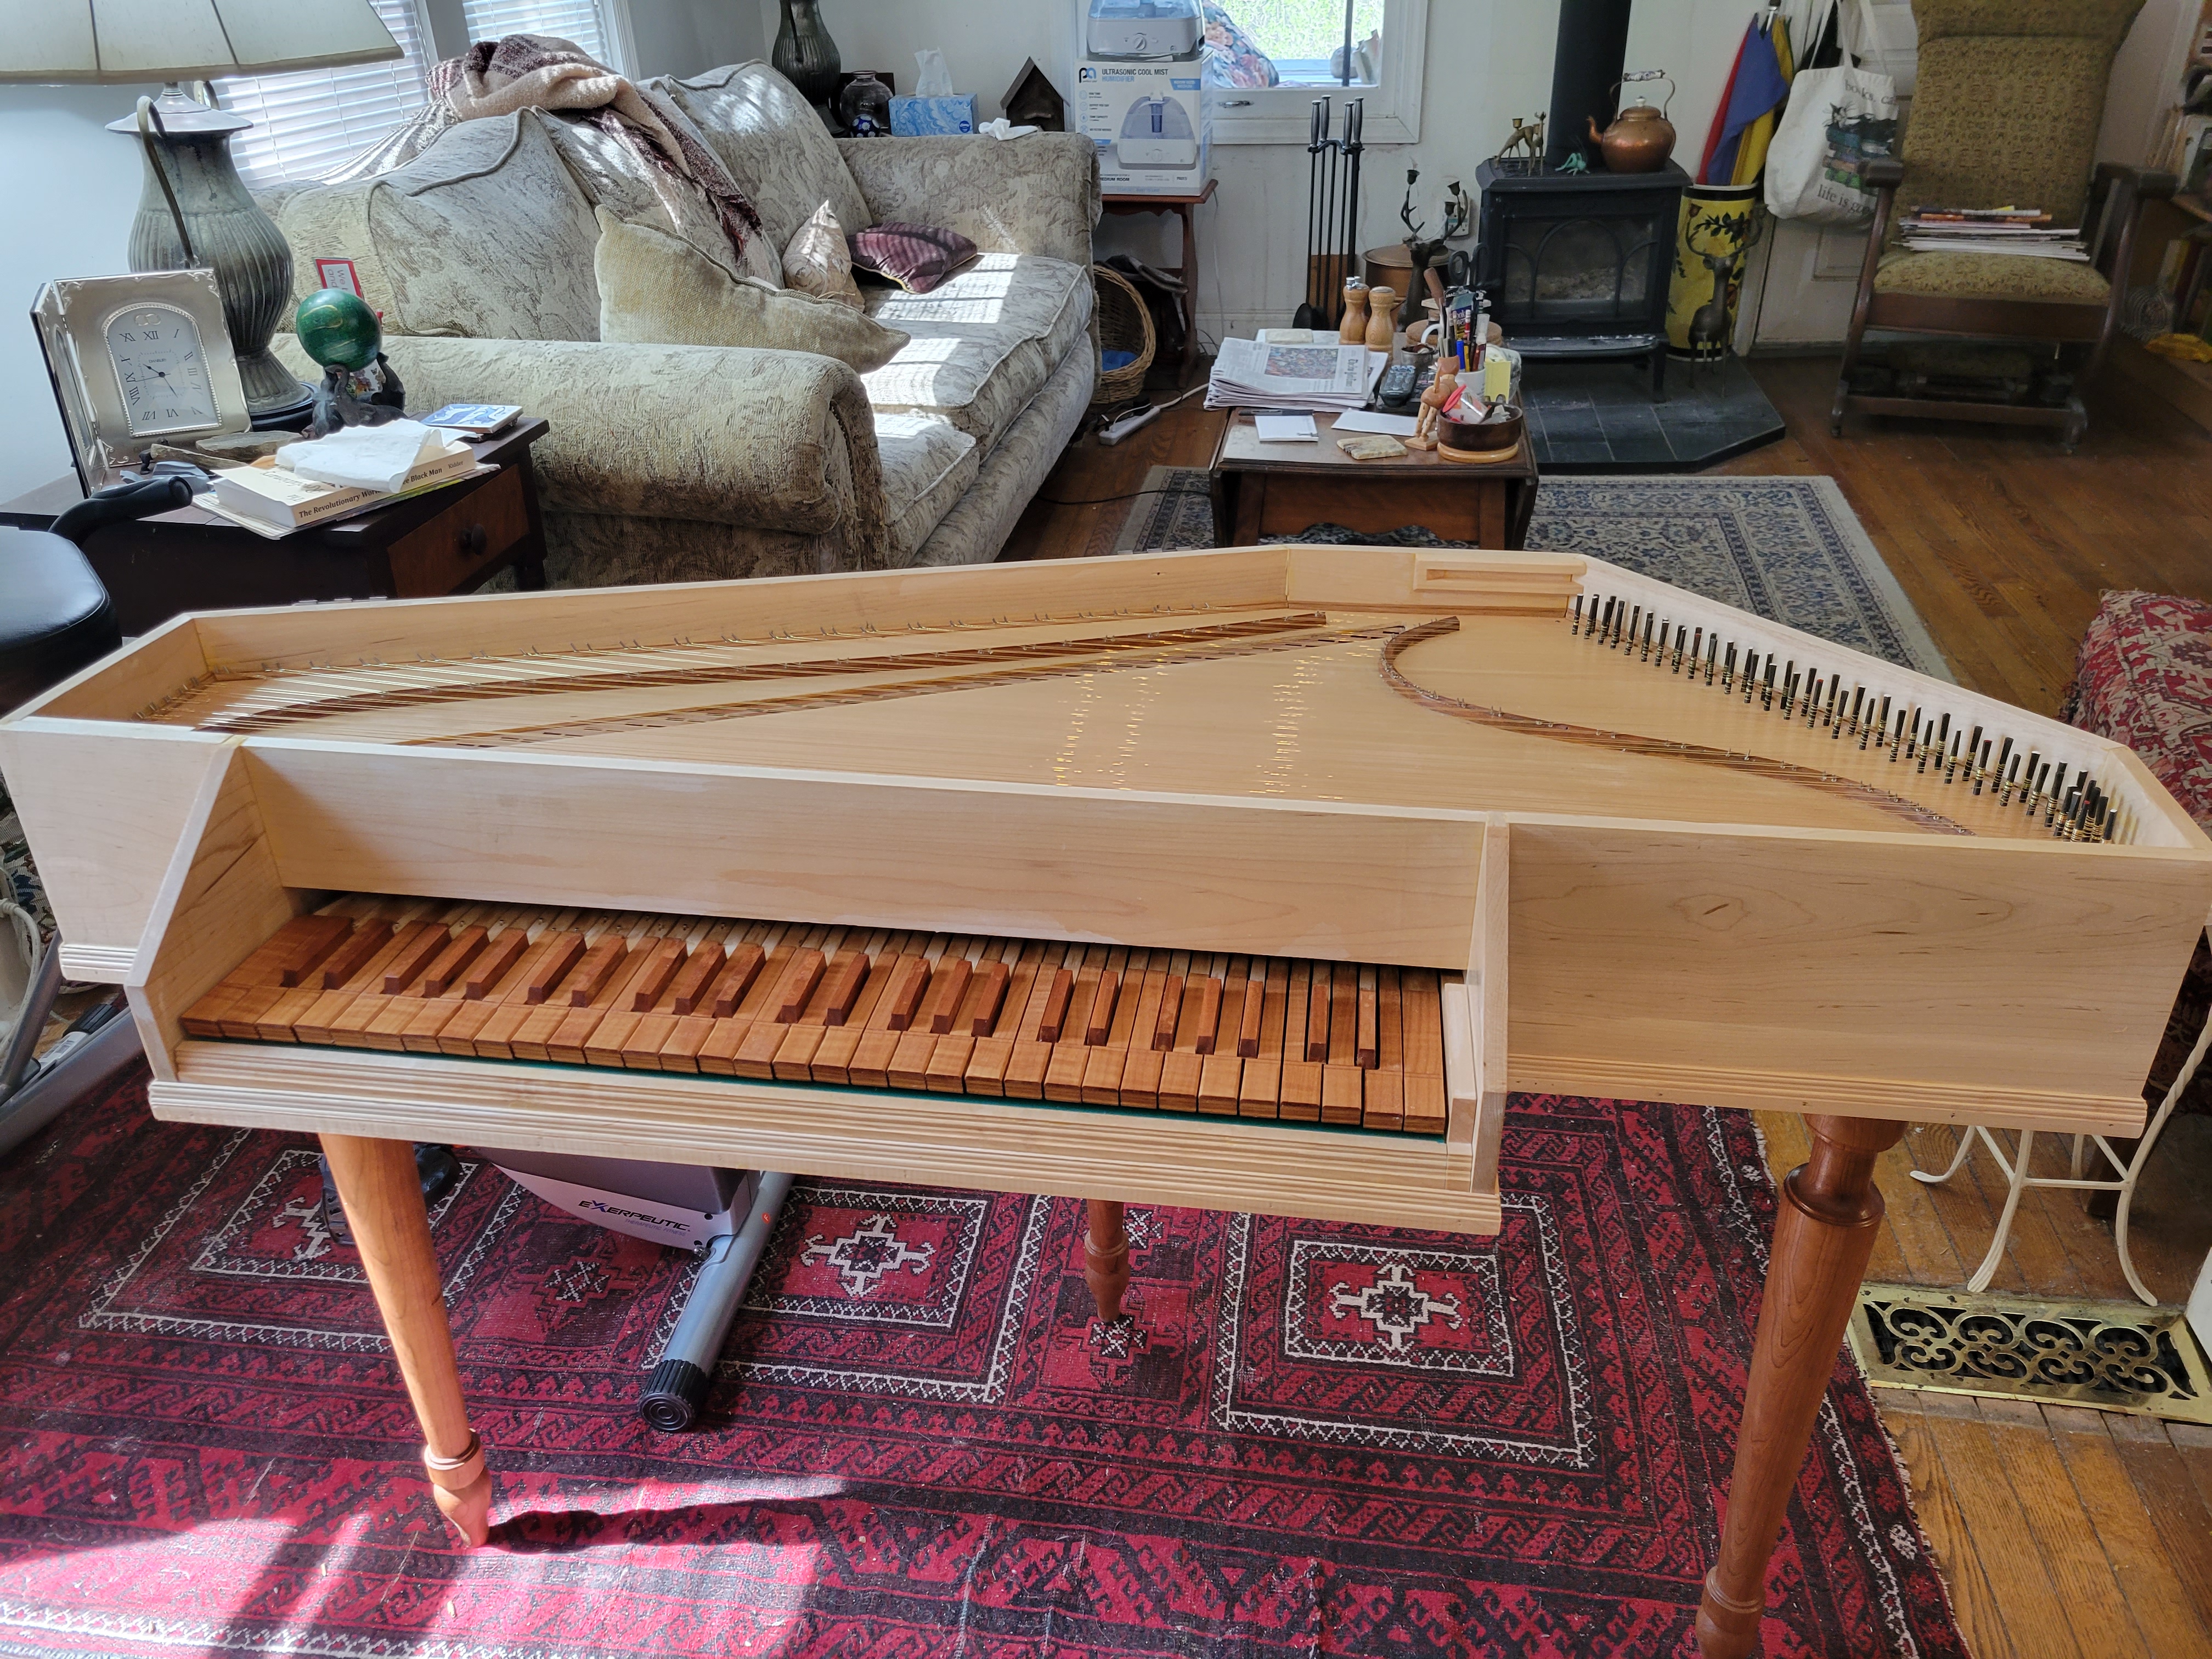
And yes, you can say “Ooooh, nice!”